
Free Scrap Stash Plus Quilt pattern
I’m excited to finally blog this free Scrap Stash Plus Quilt pattern today! This is a free pattern to help you sew through your scrap stash.
You can download a free copy of the free Scrap Stash Plus Quilt pattern here.
Every once in a while I start to feel overwhelmed by my fabric stash or my scrap stash. This time it was my scrap stash. The scraps were piling up so it was time for a happy scrappy quilt!
The Scrap Stash Plus Quilt is perfect for your scraps. It uses 2.5 inch strips and only needs a small amount of each fabric. You can use left over 2.5 inch strips or cut all of your pieces from various size fabrics in your scrap stash. I mostly used odd sized pieces in my stash.
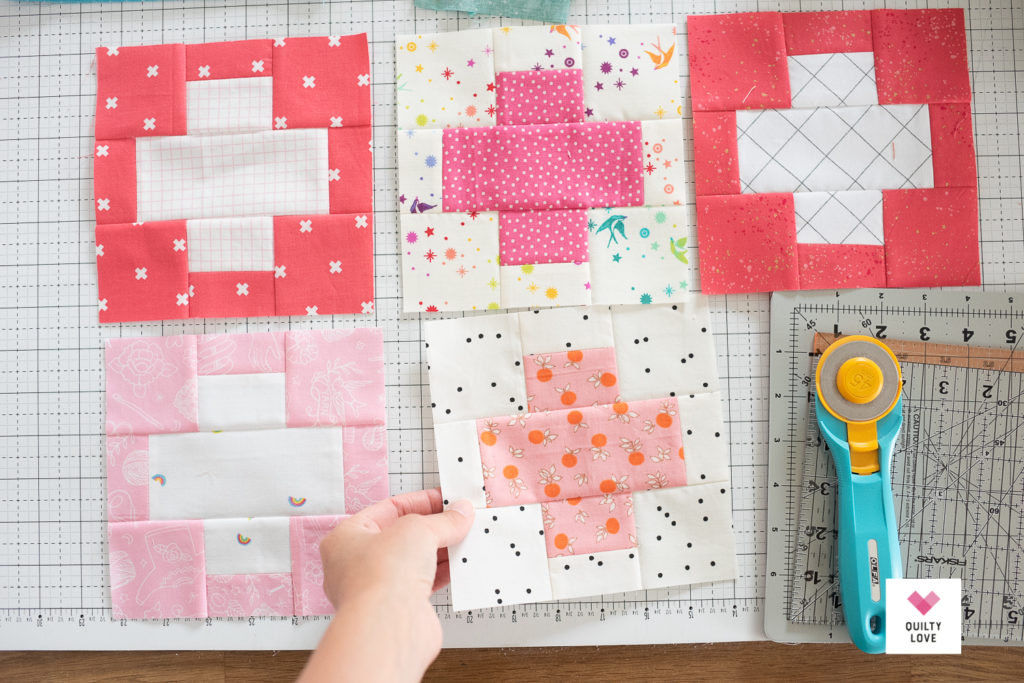
The Scrap Stash Plus quilt is a modern scrappy plus quilt pattern.
Rainbow scrappy plus quilt
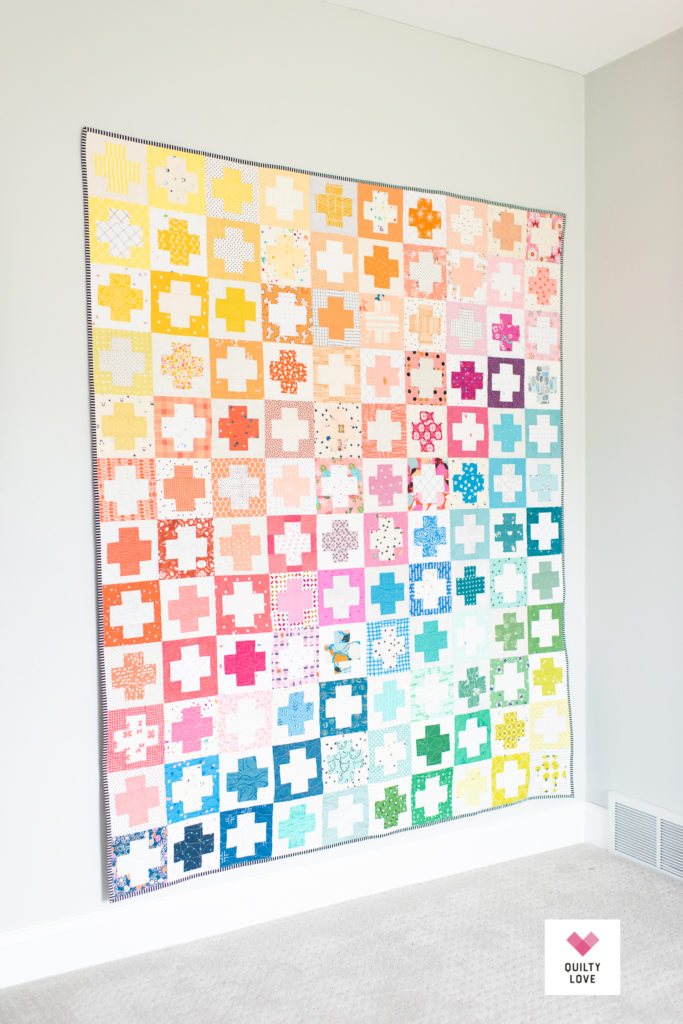
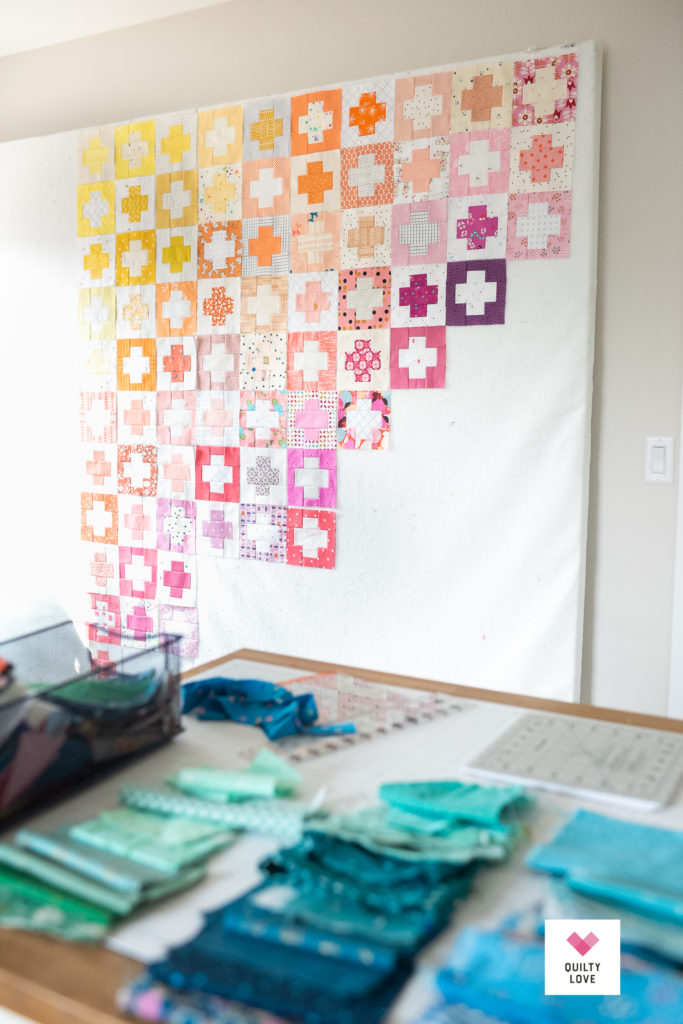
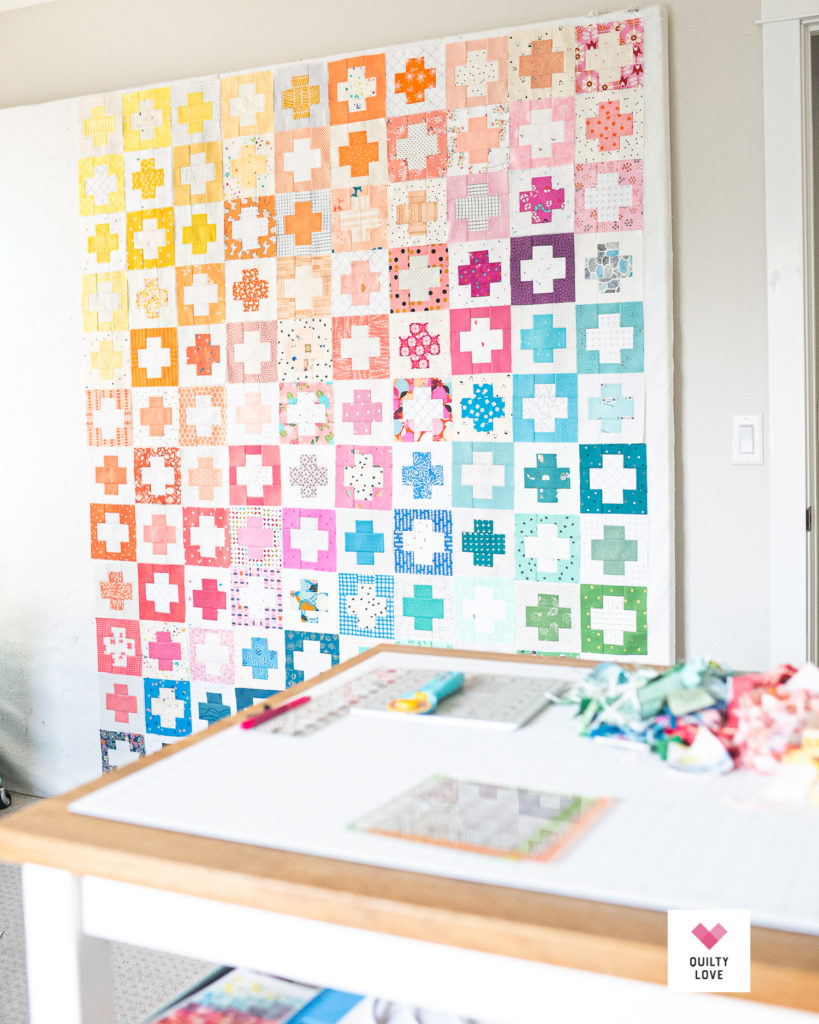
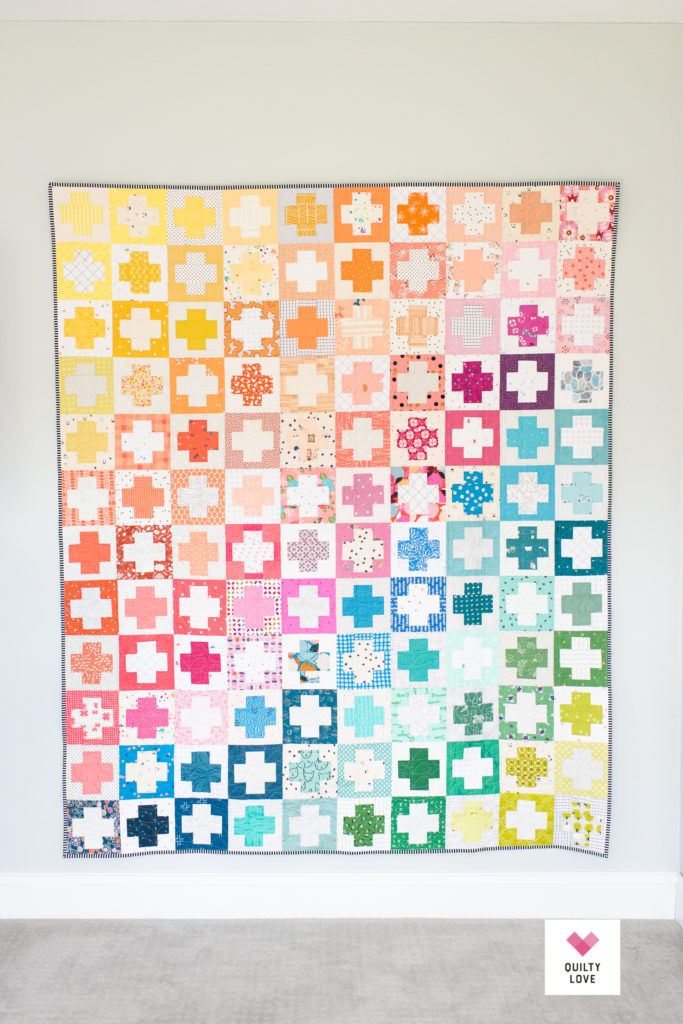
The Scrap Stash Plus quilt became a rainbow quilt kind of by accident. I was picturing it to be a random colorful quilt but as I was writing up the pattern I decided to color in a mock up to see how many blocks of each color would be needed. The easiest way to figure that out was to start coloring in order starting with a corner.
What resulted was the rainbow of color that you see in this quilt. I would still love to see how these blocks would look randomly placed but the color fade was too pretty not to try.
Scrap Stash Plus Quilt options
There are so many different options you could do with this plus quilt!
- Make a rainbow version like the one featured here. (exact colors are suggested in the pattern)
- Make a monochromatic version using one color scraps + low volume scraps.
- Use the same solid throughout instead of low volume scraps.
- Make monochromatic blocks using a lighter + darker color for each block.
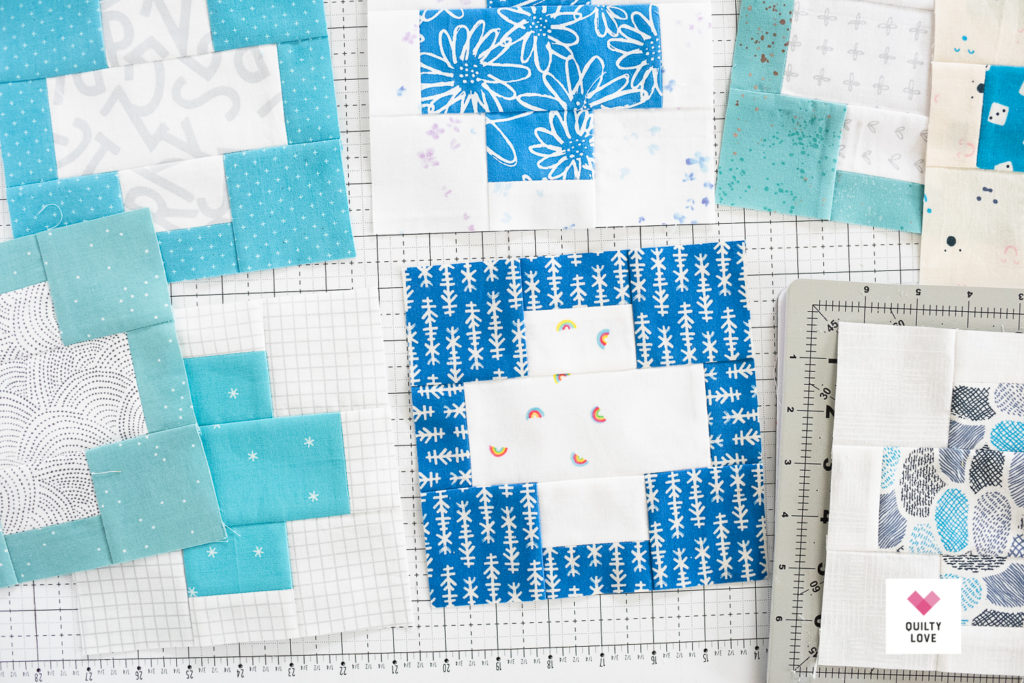
If I make another Scrap Stash Plus quilt, I’d like to make a monochromatic one with all blues or blues and aquas.
Check out the Instagram hashtag for ideas and inspiration! Be sure to hashtag yours when posting on Instagram too! The hashtag is:
Scrap stash organization
Before I get into the Scrap Stash Plus quilt pattern I want to talk a little bit about scrap stash organization.
When I first started quilting I threw all fabric scraps into one big basket. Everything was mixed together. I would pull from that basket every once in a while but it was mostly overwhelming especially as the scraps started piling up.
You can see a couple of baskets overflowing with scraps in my old photo below (left.)


Color, size, prints, solids… How should you organize your fabric scraps?
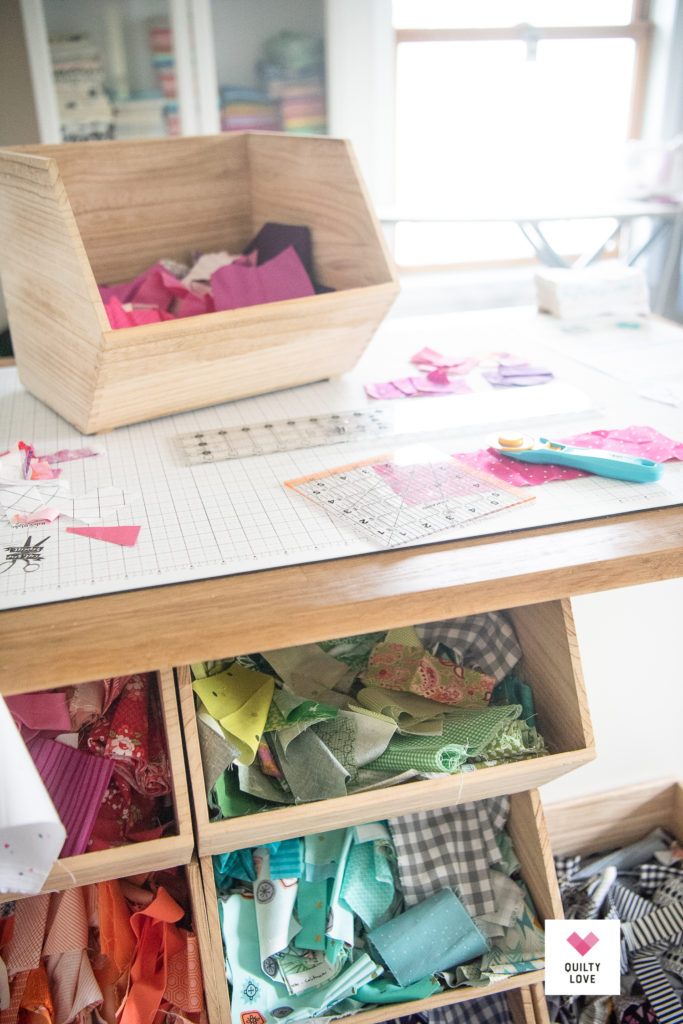
How you organize your scraps will be such a personal preference. When I finally got overwhelmed enough with a big basket of assorted scraps, I decided to sort by color. You can see the very beginning stages of this in the second photo up above.
I just started tossing scraps into piles by color. You can even see the little sticky notes with the colors written on them. This was also a great opportunity to decide and filter out what was worth keeping vs what wasn’t.
So during this initial sorting process I only kept the prints I loved and knew I would use and I only kept everything over 2.5 inch minimum.
Some quilters keep smaller scraps because they also love sewing with those smaller scrap sizes.
I personally find that I enjoy using my scrap stash when it’s not bogged down with fabrics I don’t love love.
Over the years I’ve gotten pretty ruthless with what scraps I keep, what I toss and what I sort out and give away.
Prints vs solids
When I first sorted out by color, I only included prints. Solids were still stashed all together in a basket. I still have them sitting in a basket (unused) so I need to add them to these bins one of these days. Going forward, I’ve started mixing solids and prints in my scrap bins.
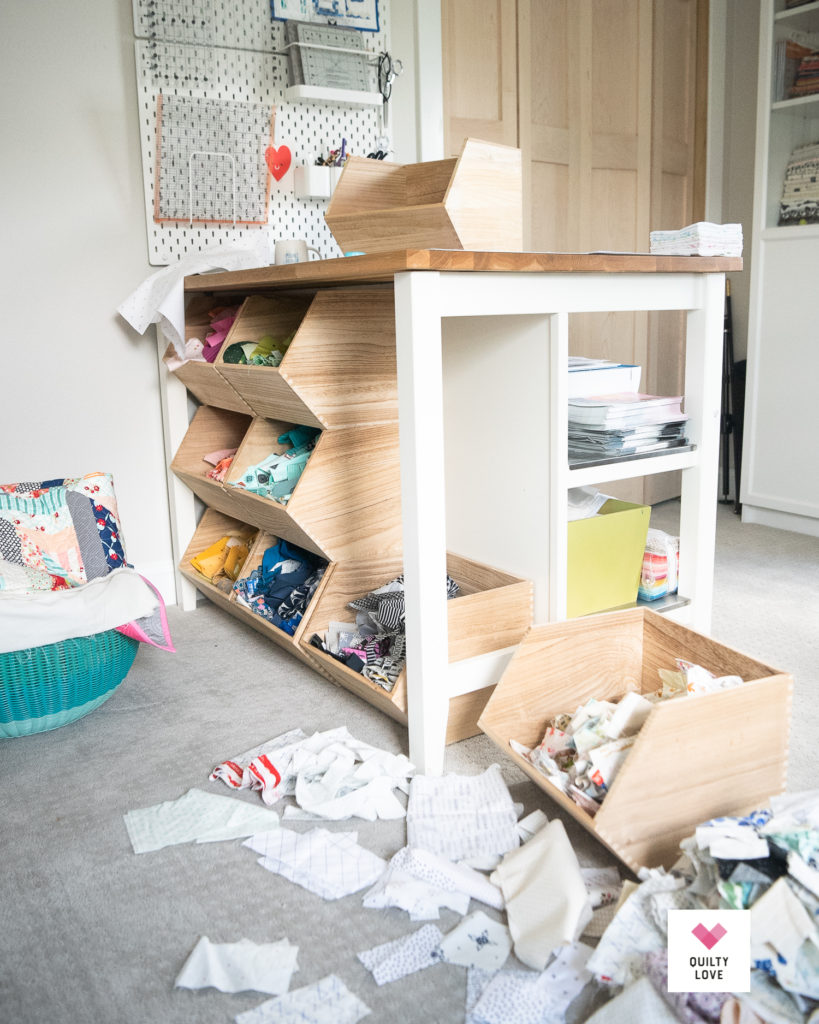
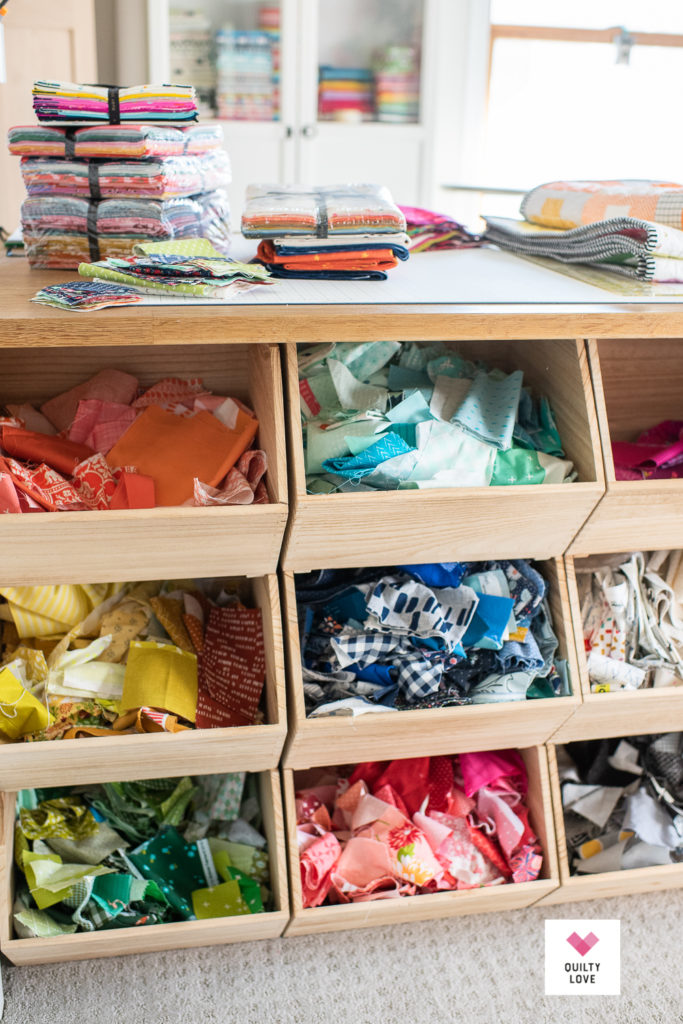
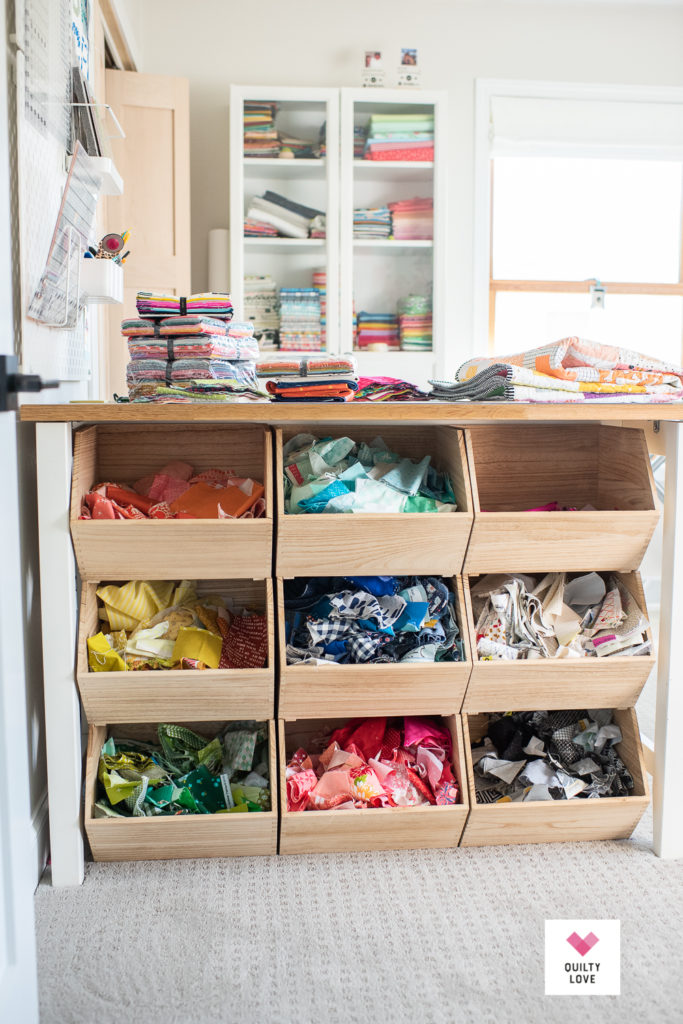
Scrap Bins
One of my favorite sewing room purchases has been my scrap bins! For me personally, I knew that having my scraps out and visible would help me use them the most so I went on the hunt for containers that would help with that.
I bought and returned a few options but when I found these wooden bins from Target I knew they would be perfect! I absolutely love these bins. These are the larger size and they stack so nicely. They happen to fit perfectly underneath my Ikea kitchen island cutting table.
These bins are very lightweight though and one or two of them showed up cracked so that would be my only complaint. They haven’t gotten damaged at all since using them though.
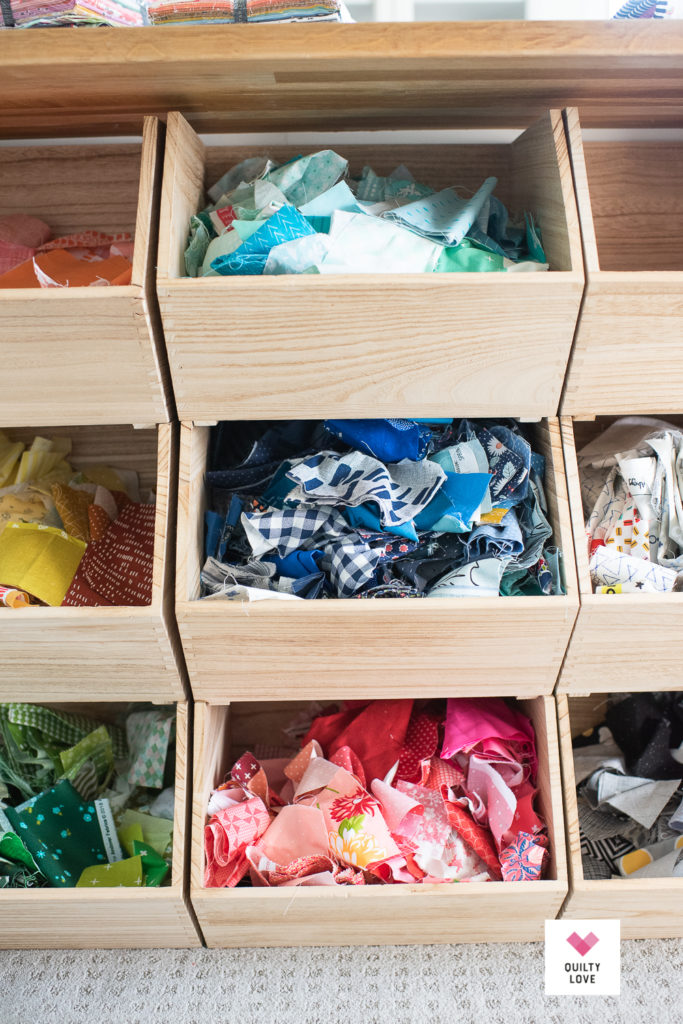
I love that I can take out just one color bin at a time.
Sew your scraps
So if you want to make more of an effort to sew with your fabric scraps, organizing them is going to be key! Maybe you like this system that I use or maybe tucked away in clear bins is more your preference.
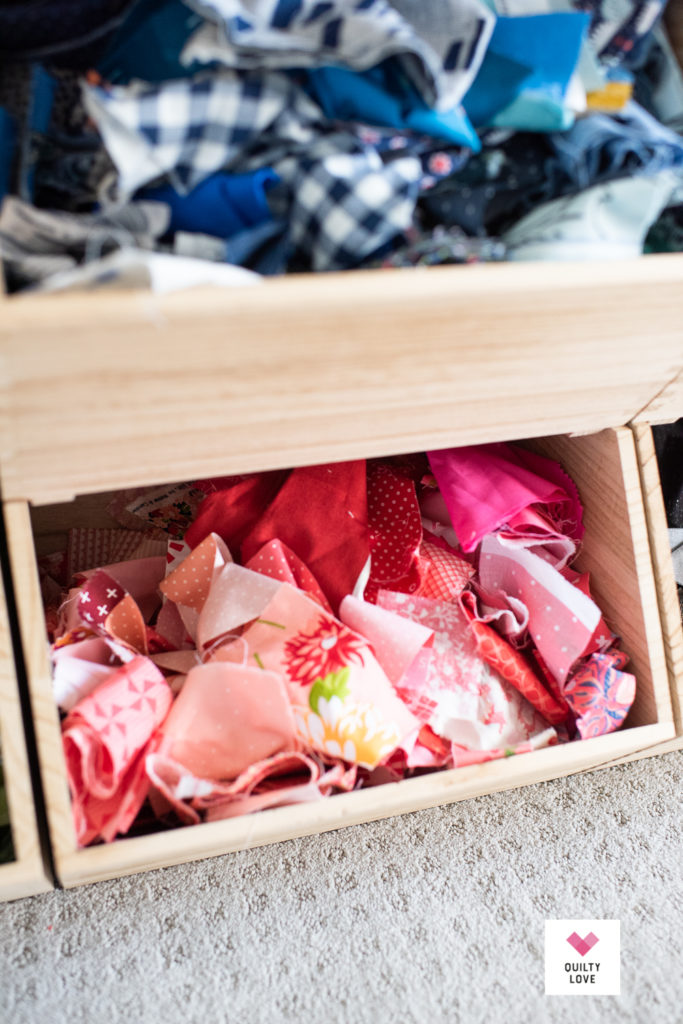
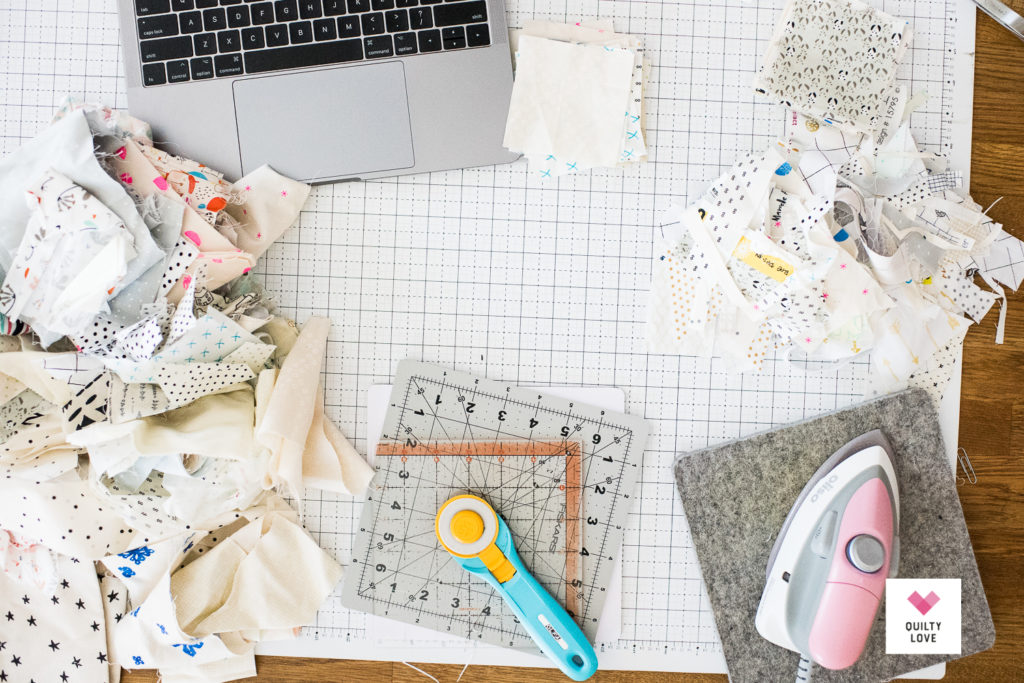
I see some quilters who keep their scraps all pressed and folded neatly. Personally, I don’t mind them all mixed and messed. Digging through the bins is half the fun for me. 🙂
I enjoy the process of pressing scraps as I sort and use them. The Oliso mini iron is perfect for this task. Sorting, pressing and trimming is one of my favorite steps in scrap quilts because you can watch a show while doing it.
Easy Scrappy Plus quilt pattern
Back to this free plus quilt pattern!
The Scrap Stash Plus Quilt is a really easy beginner friendly quilt pattern. And for those beginners who may not have a large scrap stash yet, you can always cut into a fat quarter bundle, jelly roll or even layer cake for this free plus quilt.
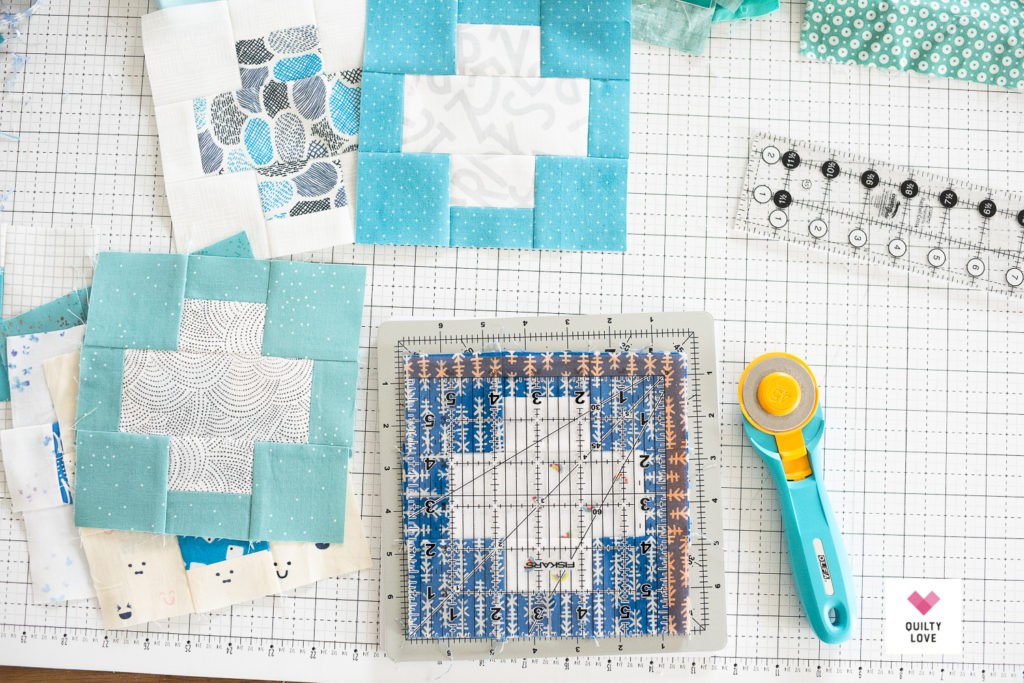
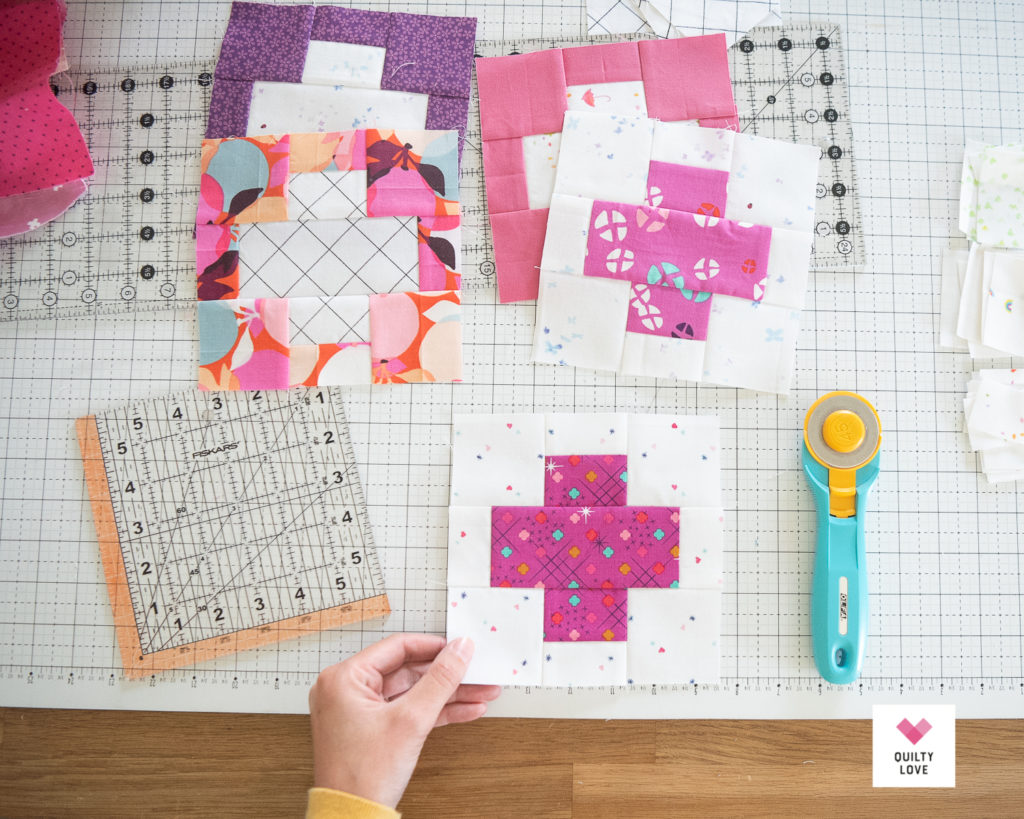
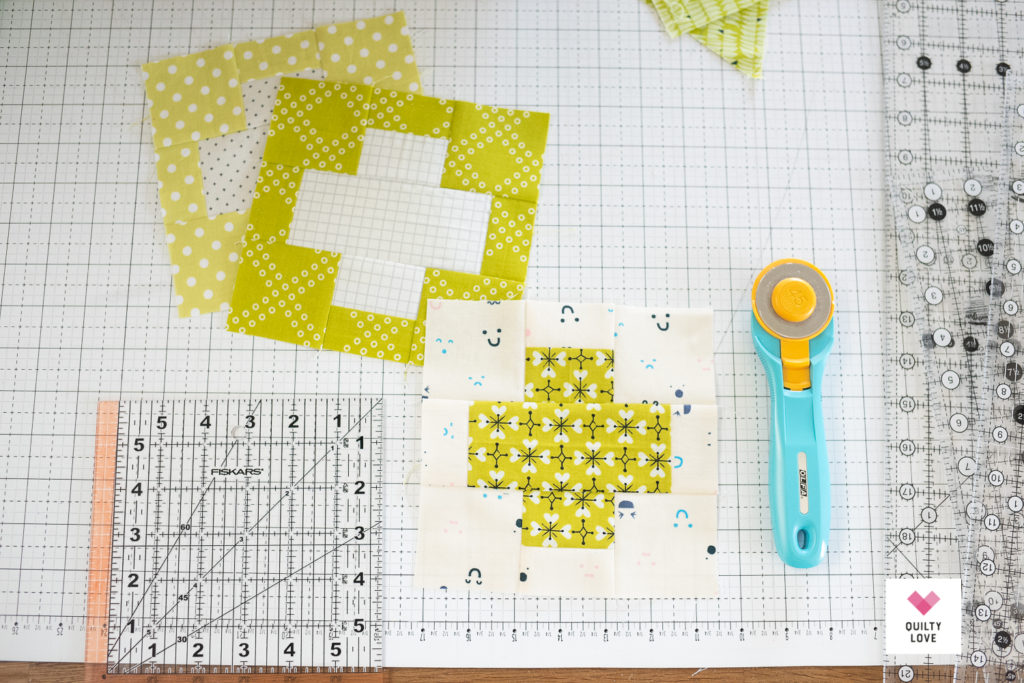
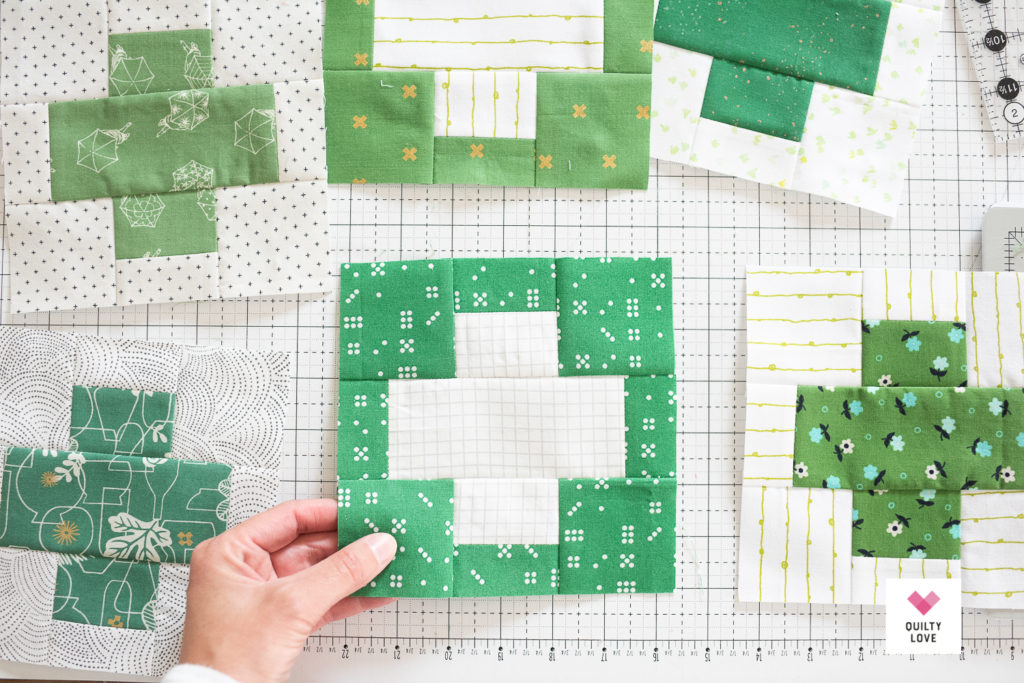
These plus blocks are quick and easy to sew up.
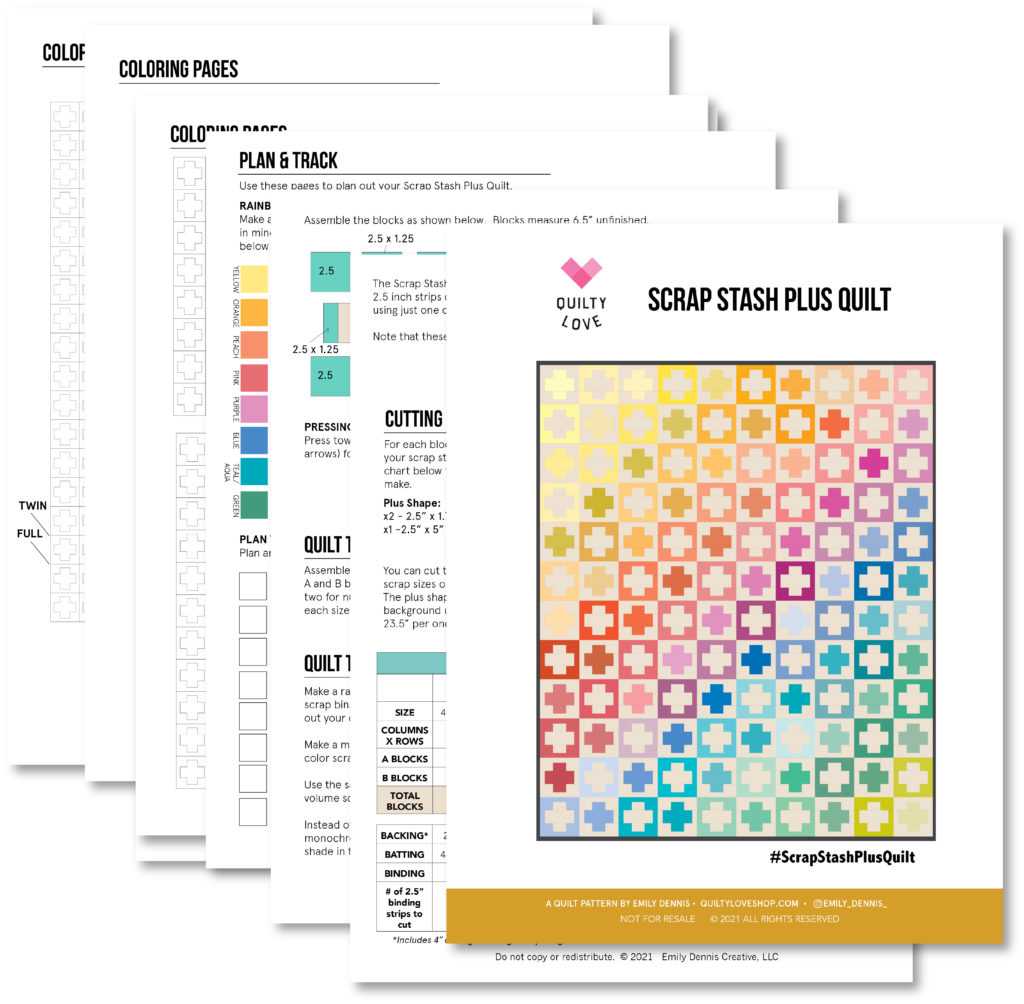
Color Guides included
I’ve included color guides in the quilt pattern if you want to replicate this exact version. I’ve also included a planning page for you to plan out your own color schemes.
There is also a coloring page to try out different color options.
Fun and easy scrappy quilt pattern
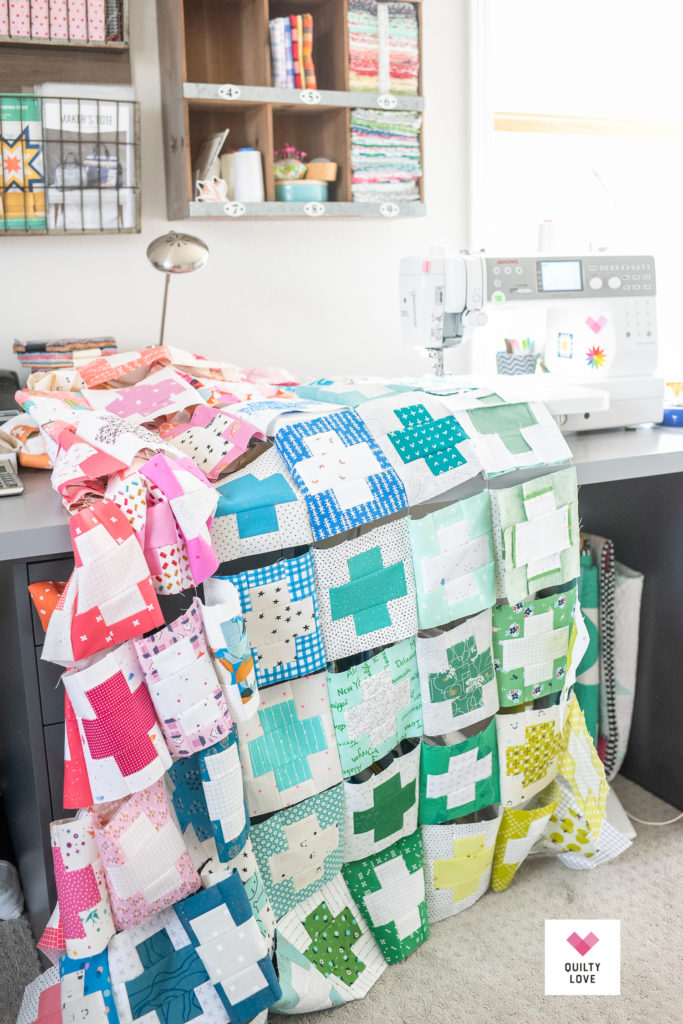
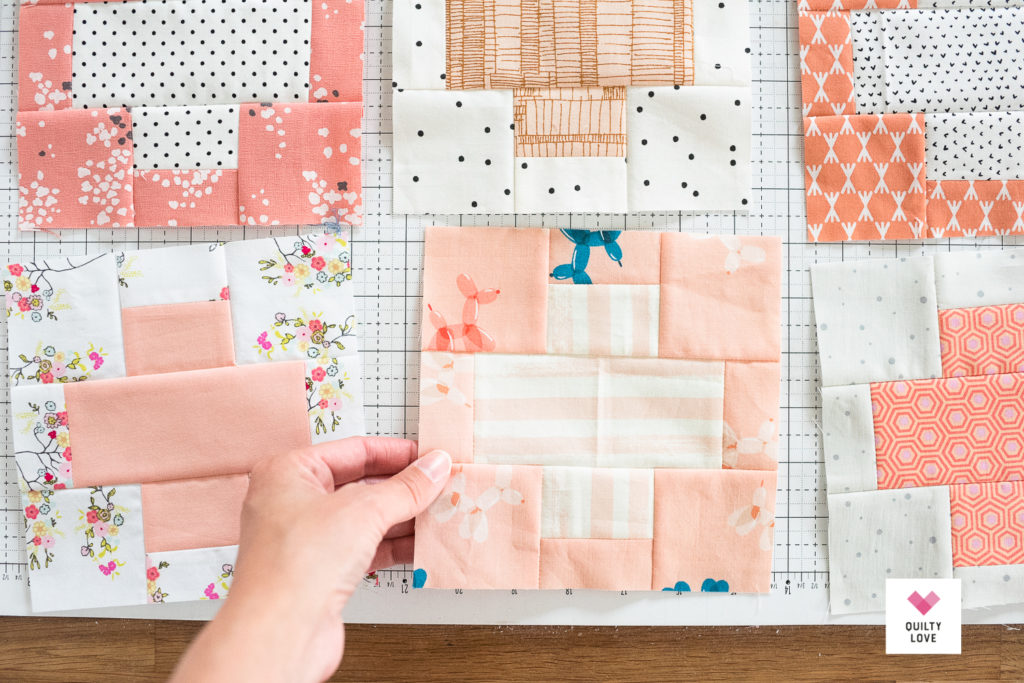
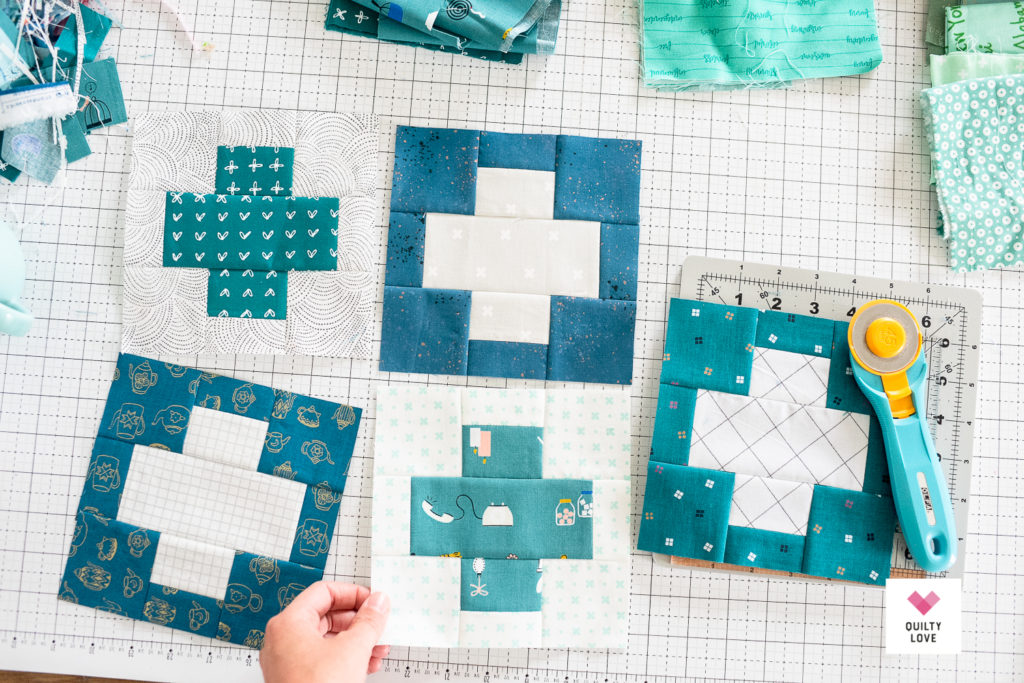
This scrappy plus quilt was such a satisfying quilt to sew up. I worked on it over the summer when I needed a break from other projects. These plus blocks are cute little 6 inch finished blocks and it only takes a few minutes to make a block or two.
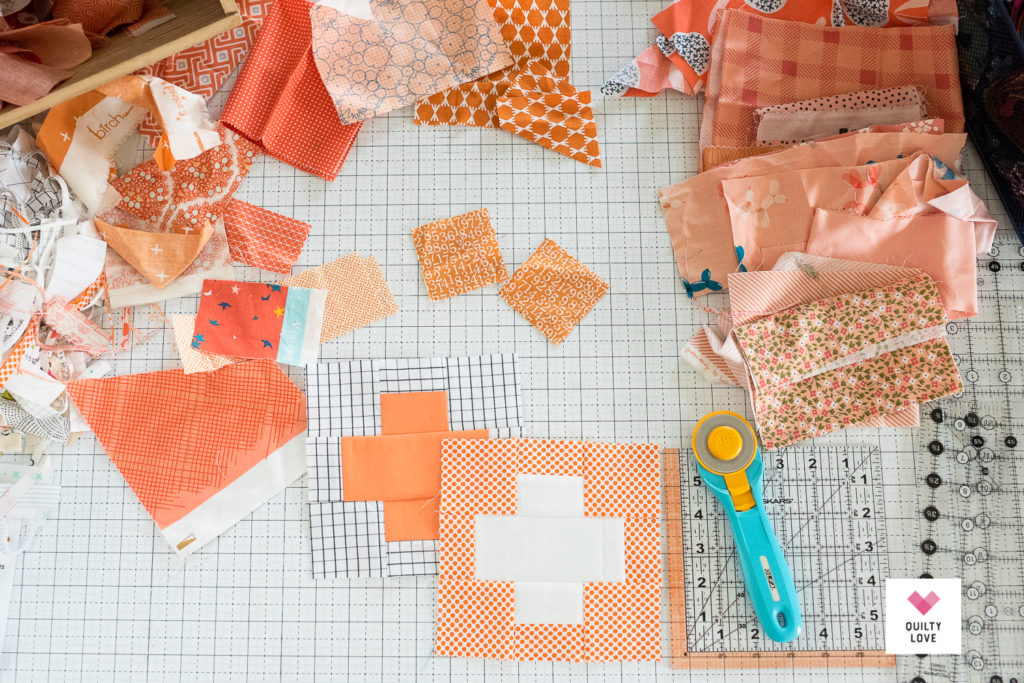
I worked on these plus blocks by color. So I pulled out each color bin and cut all of my pieces for that particular color and would sew them up as time allowed.

Low volume scrappy background
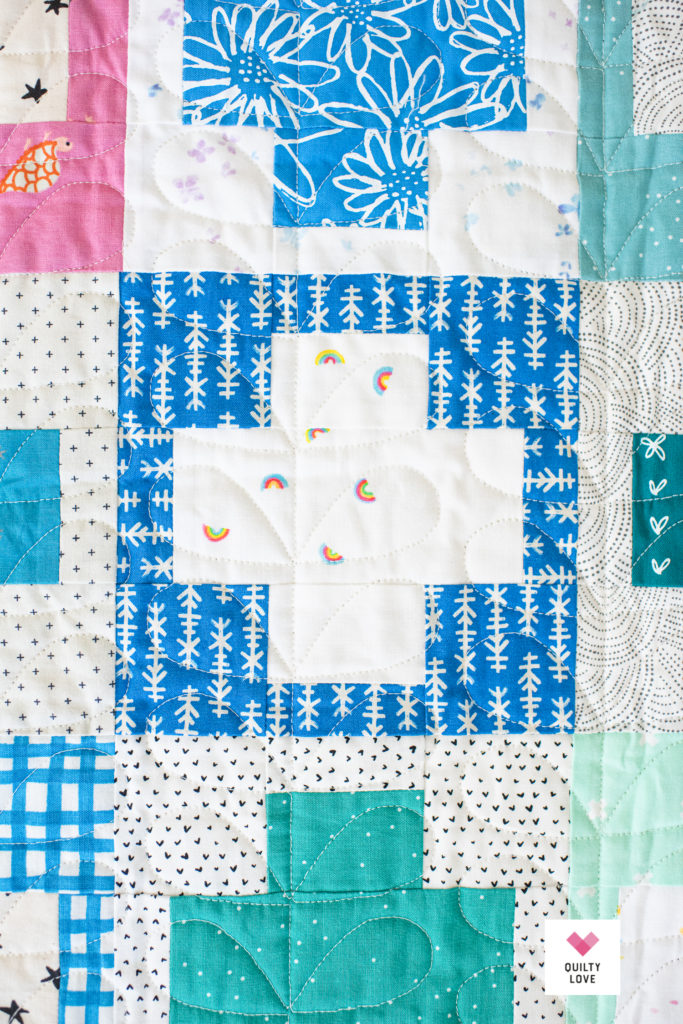
To keep this quilt 100% scrap stash friendly, I used low volume scraps as the background. In fact, my low volume scrap stash was my inspiration for this quilt. I wanted to make a quilt that would put a dent in those low volume scraps.
Low volume fabrics are fabrics that read as a neutral but usually have some kind of print on them. They are very light fabrics.
So I cut most of my low volume pieces up front and had them ready to go. Then I cut the colors as I went.
It was so satisfying and enjoyable sorting through my scrap bins finding just the right colors and prints for this scrappy plus quilt.
Free Scrap Stash Plus Quilt Pattern – all the quilt sizes
I’ve included alllll of the quilt sizes in this free Scrap Stash Plus quilt pattern!
This scrappy friendly plus quilt pattern includes instructions for:
- Baby size
- Small throw size
- Medium throw size
- Large throw size
- Twin size bed quilt
- Full size bed quilt
- Queen size bed quilt
- King size bed quilt
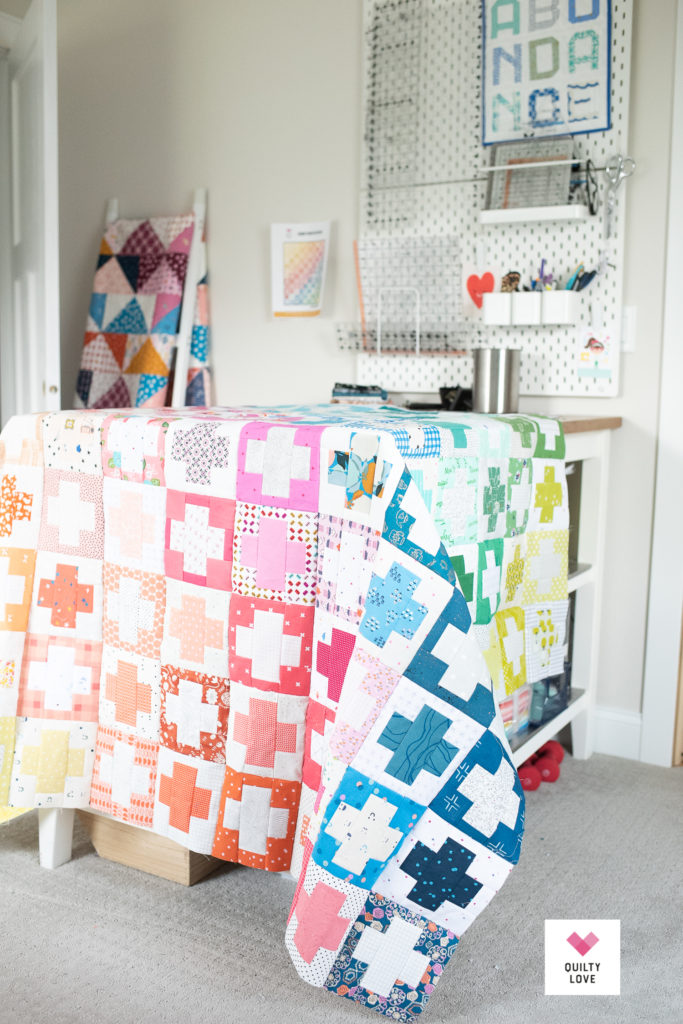
So I have you covered for every single size plus quilt you would need. The quilt featured in this blog post and on the cover of the free pattern is the medium throw size.

Quilt top assembly – Webbing chain piecing method
If you follow all of the pressing instructions in the free quilt pattern then assembly is a piece of cake! All of your seams will nest together eliminating the need for pins.
I took it a step further and assembled my quilt top using the webbing method. I just learned that term..haha. Webbing is when you piece the quilt top in a chain piecing method without cutting the threads.
I’ll try to explain it but looking up a tutorial might help you understand it better.
- Start with the first two blocks in row one. Sew them right sides together.
- Now grab the first two blocks in row two. Sew them right sides together without cutting the threads or removing those first row blocks.
- Now grab the first two blocks in row three, four, five, etc…. Keep adding without breaking the threads.
- Once column one and two are completed remove from your machine.
- Now you will add column three.
- Sew block three in row one to your quilt top.
- Sew block three in row two.
- Sew block three in row three, etc, etc, etc…
- You will end up with completed rows all webbed together as shown in the photos below.
- Last step is to sew your rows together. I don’t break the threads and in this case didn’t press my rows first either. Instead I nested them together and then gave the quilt top a good press after it was completely sewn together.
This webbing chain piecing method works well for block based quilts. I’ve been using this method quite a bit lately as it is faster and also helps keep the quilt top organized. No more sewing a row on the wrong direction. I’ve done that more than I care to admit..ha.


Long Arm Quilting
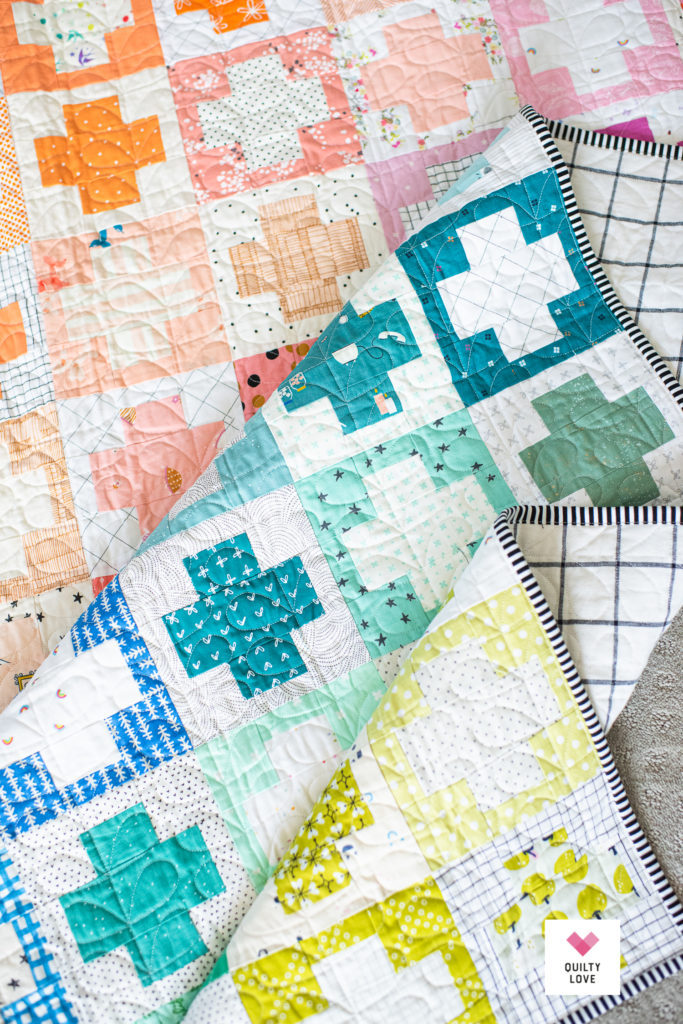
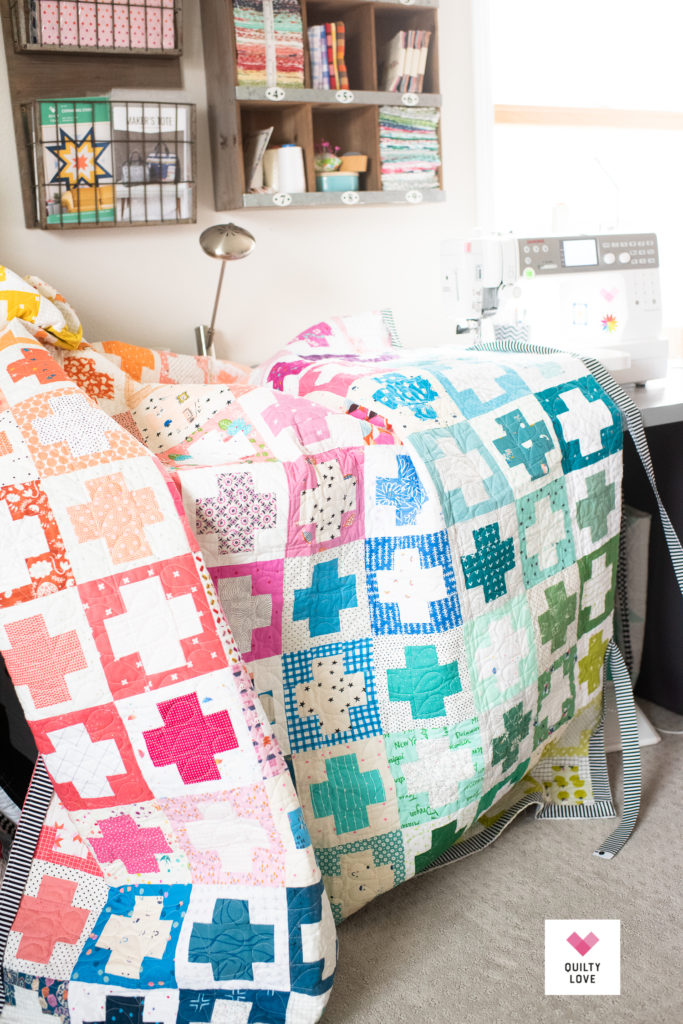
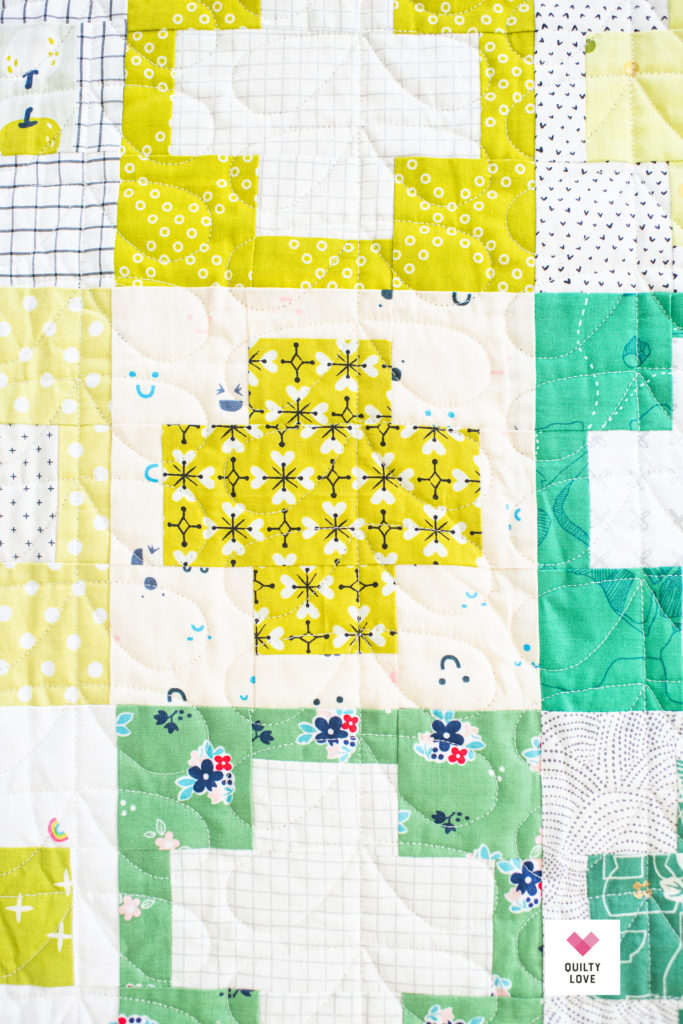
This colorful Scrap Stash Plus Quilt was quilted by Katie of Modern Textiles. We chose this fun loopy pantograph which keeps this colorful quilt nice and playful.
Katie did an amazing job quilting this one and I highly recommend her.


Backing and Binding
I finished off this colorful scrappy plus quilt with a Yarn dyed classic grid (Ivory) background by Robert Kaufman and a black and white striped binding by Timeless Treasures.
Since the front of the quilt top is so colorful and busy I toned down the backing with a neutral. I tend to use neutral backings for most of my quilts.
Materials used for this free Scrap Stash Plus quilt pattern
Quilt Pattern: Scrap Stash Plus quilt pattern by Quilty Love – Free quilt pattern!
Fabrics: Assorted scraps
Backing: Yarn Dyed Classic grid in ivory
Binding: Black and White Stripes by Timeless Treasures
Pieced on my Janome MC6700p
Long Arm quilted by Modern Textiles
