
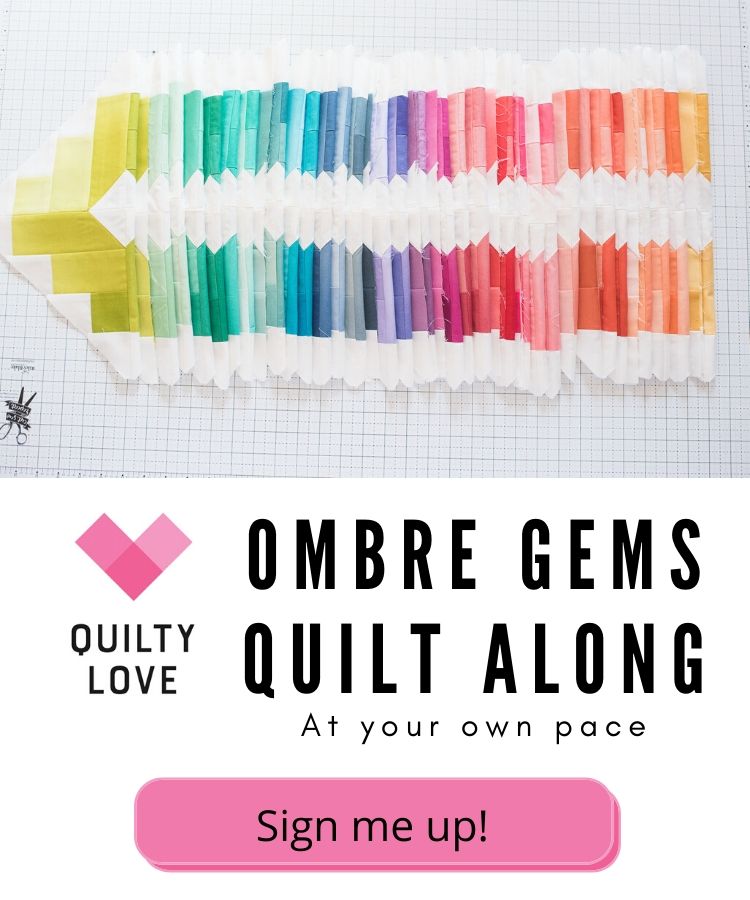
Welcome to Week 1 of the Ombre Gems Quilt Along!

I’ve been thinking about doing this Ombre Gems quilt along for many months.
The reason I’m hosting this quilt along is simply to offer support and pretty much hold your hands through the construction of it. This quilt is not difficult to make but is a little tedious and finicky in the seams so a little extra encouragement might be helpful. I am really blown away by how many of you are going to be quilting along! This should be a lot of fun!
I feel like I need to preface this by saying this is my first quilt along.
First time hosting, first time participating. I was also very nervous about putting this pattern out there because it wasn’t an easy one to put together! (I actually almost didn’t!) The original went together somewhat organically so coming up with instructions that others could repeat really stressed me out. I’ve seen a few come together already so phew, it does work..lol.
So I’m asking for some grace in this one! 🙂 It may take a little problem solving to get your layouts right, to make the right color of blocks to get the effects you want. Depending on what cuts of fabrics you are using, it may take a little bit of experimentation. I do think no matter how yours goes together it’s still going to look really cool! The nature of the Ombre fabrics will guarantee that. 🙂
Week 1 / 10
This week we will:
- Plan out your blocks by using the coloring pages (sign up for the quilt along list below to get yours!)
- Have your fabrics ready for cutting next week (See Shops to buy Ombres from below or scrappy suggestions below)
- Have your pattern ready to go! Available in the shop or in LPQ Magazine (see cutting corrections)
So we are starting out nice and slow. I want to give everyone time to be prepared for cutting next week! We will cut as we go because I want you to get a feel for how the blocks go together before cutting everything. There is a lot of precision required so I think you will see improvement with that as we go. (This is also why I recommend the Stripololgy ruler) I’ll demonstrate it next week.
Planning
 This week will be all about planning out our blocks.
This is a tentative plan that may change as your quilt comes together! Coloring it out will give you a better visual of how you will get the required blocks out of your fabrics.
Fat Quarter Cuts
I am using a Fat Quarter Bundle for my version. You need a minimum of 18 Fat Quarters. I’m using 18 (for now).
A fat quarter will make 2 full blocks and 1 half block (the edge blocks). Here is my process on planning out the fat quarter cuts:
- Choose 18 Fat Quarters to use
- Start by making a key on your page. I numbered 1-18 (the number of FQ’s I’m using) and shaded with the coloring pencils.
- Starting with the first color of fat quarter (yellow) I shaded in 3 half blocks.
- Moving on to the second color (another yellow) I shaded 2 full blocks.
- I also marked my blocks on my sheet and marked my fabrics with the corresponding number.
- Continue through all of your colors of fabrics until your sheet is filled up.
- Now you know how many blocks (full and half) you will be making with each color.
Keep in mind that the most you can shade per Fat Quarter is 2 full and 1 half (or mix it up 3 halves and 1 full..etc..)
Also… be flexible as you make your quilt! You will most likely change your mind on some placements. There are no wrong layouts here!

I organically moved around my coloring page as I went. I’m using the original quilt as my guide of color placement. But hey, mix it up! I’ll say it again, there is no wrong way to do this! The coloring page is already looking so pretty! It will be fun to see it come to life!
Also, you might notice there is one block center top without a number. I’ll have to fill in that gap as I go and maybe do some shifting. If you want your plan set pretty well before you start, make a rough draft and then a final copy once you know it works out!
Jelly Roll Cuts
If you are using jelly roll strips your process might look a little different. The original pattern requires 2 jelly rolls so you have enough sets of strips to use. If you only have one jelly roll I suggest doing the simpler version with less blocks.
You guys will have to correct me if I’m wrong but I looks like a jelly roll has 20 sets. (40 strips total, 2 of each color)
- Choose 31 sets of strips (1 Jelly roll = 20 sets, so 2 JRs = 40 sets)
- Your key will be 20 colors (or less if you take certain colors out)
- Combine like color sets.
- 1 set of strips will make 1 full block and 1 half block or looking at it as colors: each color will make 3 full blocks keeping in mind you can split that up into halves for the edges as needed.
- Color in 1 full block + 1 half block per set until all 31 sets are used up (or in terms of color: Max of 3 full blocks per color if using all 20 colors). There will be leftover pieces.
Using 1 Jelly Roll
- 1 Jelly roll will make 20 blocks so I suggest doing the alternate layout with 18 blocks.
- Choose 18 sets from your jelly roll
- Color in your blocks by coloring each block 1 of the 18 colors.
- Or feel free to skip the planning since you will basically be making one block from each color.
Half Yard Bundles
You will have the most flexibility with a Half Yard bundle. So if that is what you are using consider yourself the luckiest 😉
- You can get up to 3 sets of strips from each half yard but most likely will only use 1-2 sets per half yard.
- As you color in your sheet you will have the most flexibility because you can use the same color multiple times since your cut of fabric is big enough.
- Choose the colors you are using (up to 20) and make your key.
- Color in your blocks keeping in mind that you will most likely color a maximum of 2.5 – 3 blocks per color.
Find Ombre Fabrics
These shops carry the Ombre Fabrics:
US SHOPS
VandCo
Handmade is Heartmade
Fat Quarter Shop has yardage (Create your own half yard bundle)
Craftsy.com has ombre fabrics in their own brand. Need 2 jelly rolls or a 1/2 yard bundle
Sewitup.com
quilterssquare
UK SHOPS
sewsupplyco
CANADA
Dinkydoo
Making a scrappy version
This quilt also looks great as a scrappy version! I made one using my Bonnie and Camille stash. If you choose to go this route I suggest cutting blocks as you go. I started by cutting a bunch of strips and then cutting my pieces as needed from those strips.

I chose a range of like colors to use and made my blocks using same colors together.

If you are pulling from your stash I recommend multiple fat quarters or strips of the same color. Keeping like colors in one block will keep with the ombre effect.
- Pull multiple fat quarters or scraps from your stash
- Sort into like colors. If anything stands out in the groupings I would keep it out. Try to keep similar tones and colors together.
- If using a fat quarter bundle sort into like colors and tones.
- You can use as many colors or as few colors as you want! Even a one color scrappy quilt would look so cool!
- Cut into strips according to pattern
- Make your blocks according to the pattern using like colors in each block.

Sign up for the quilt along list to get a weekly update:
Join me next week as we start cutting and making blocks!!
Ombre Gems Official Post
Ombre Gems Week One
Ombre Gems Week Two
Ombre Gems Week Three
Ombre Gems Week Four
Ombre Gems Week Five
Ombre Gems Week Six
Ombre Gems Week Seven
Ombre Gems Week Eight
Ombre Gems Week Nine
Ombre Gems Week Ten


