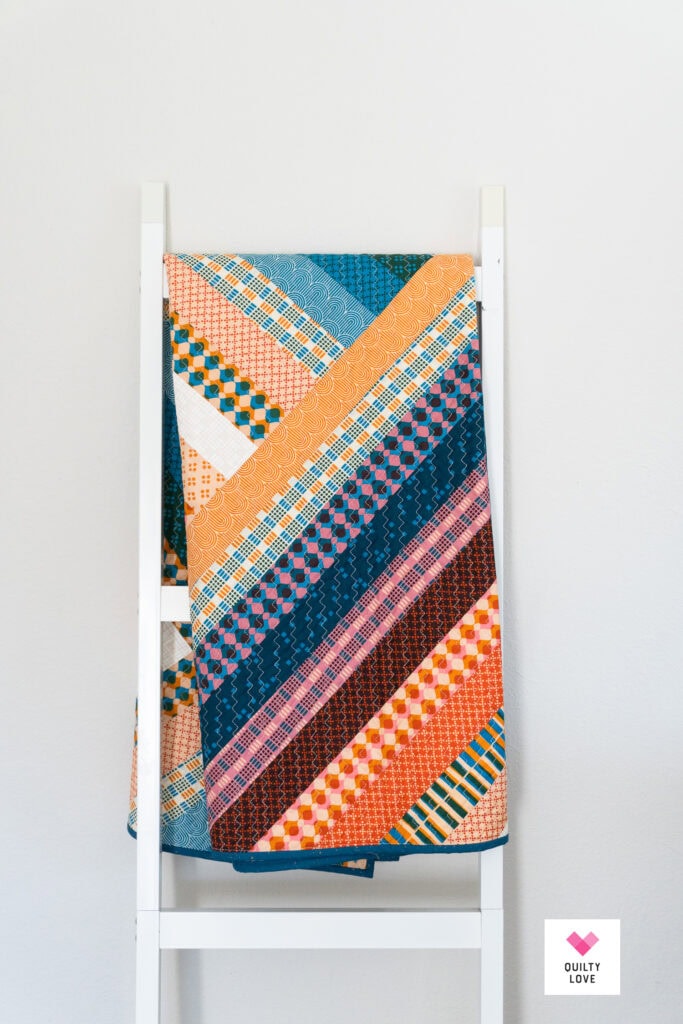
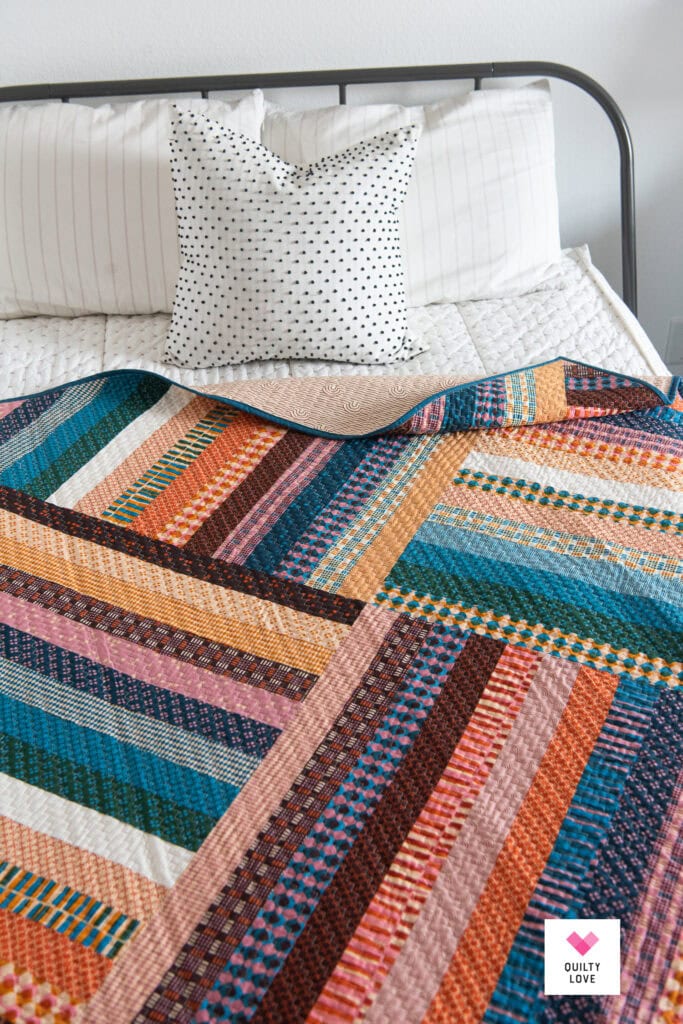
Today I’m finally sharing this completed Jelly Square quilt. This one has been done for a while but hasn’t had its moment on the blog yet. Jelly Square is a throw size quilt made using just one jelly roll. A jelly roll is a pre-cut of 2.5″ x WOF strips. Most widths of fabrics are 42″ – 44″. And most of these pre-cuts come in 40 strip rolls.
Jelly Square uses those 40 width-of-fabric strips and makes a throw that measures about 57″ square.
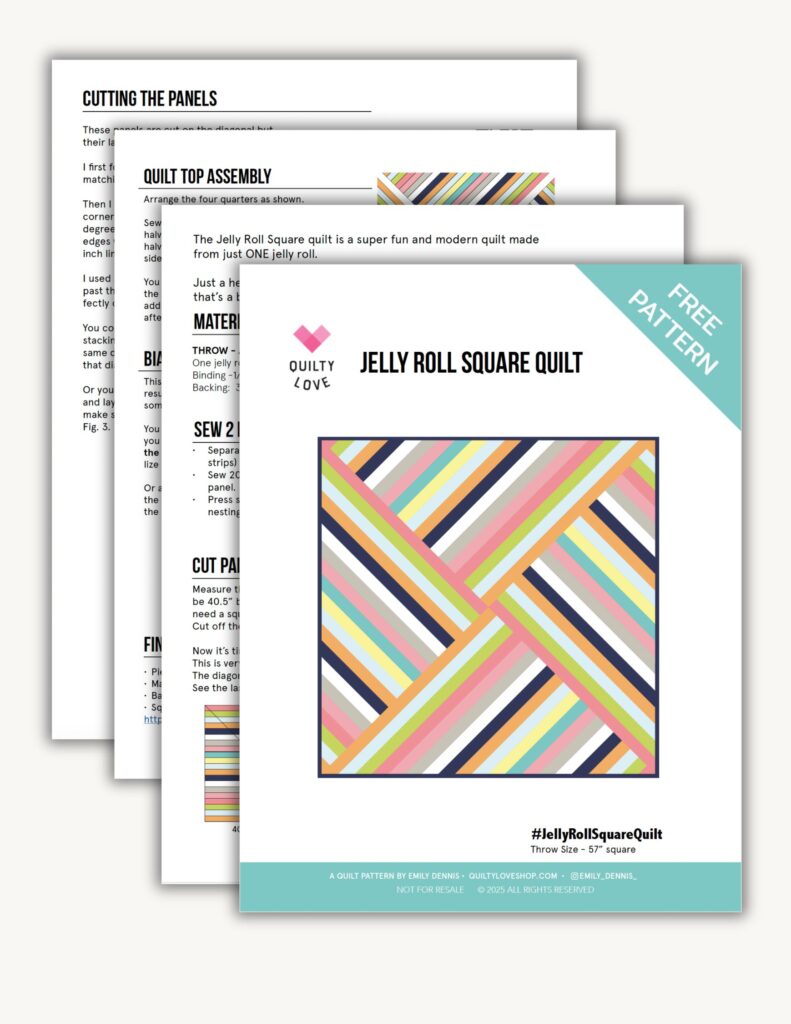
You can download the free Jelly Square PDF pattern here. Or check out this reel for the video construction.
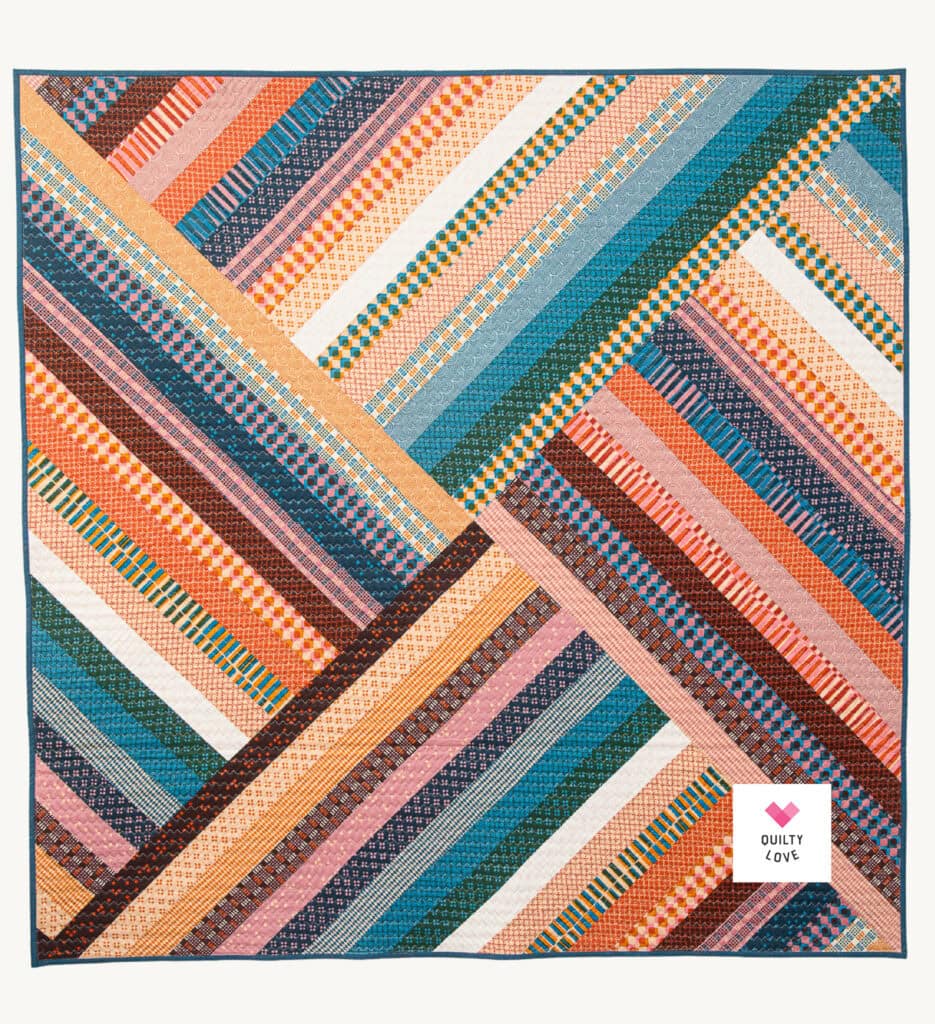
The Jelly Square Quilt
Just as the name implies – Jelly Square is a square throw quilt made using just one jelly roll. Jelly roll quilts are pretty popular quilts and when you can make a full quilt using only the jelly roll – well that’s pretty slick.
I was pumped that this quilt worked out the way it did. I had been playing around with a similar design and technique on a small quilt block scale and it got me wondering what happened as you scaled the block up. It was a lightbulb moment that it might actually work with a jelly roll. The funny thing is I had a digital sketch of it on my desktop for the longest time before I ever sewed it up. In theory it seemed like it would work but I couldn’t be sure until I started actually sewing and cutting.
When Moda’s National Sew a Jelly Roll Day rolled around last September it was good motivation to see if it actually worked. And I was thrilled that it not only worked – it was super fast and easy too.
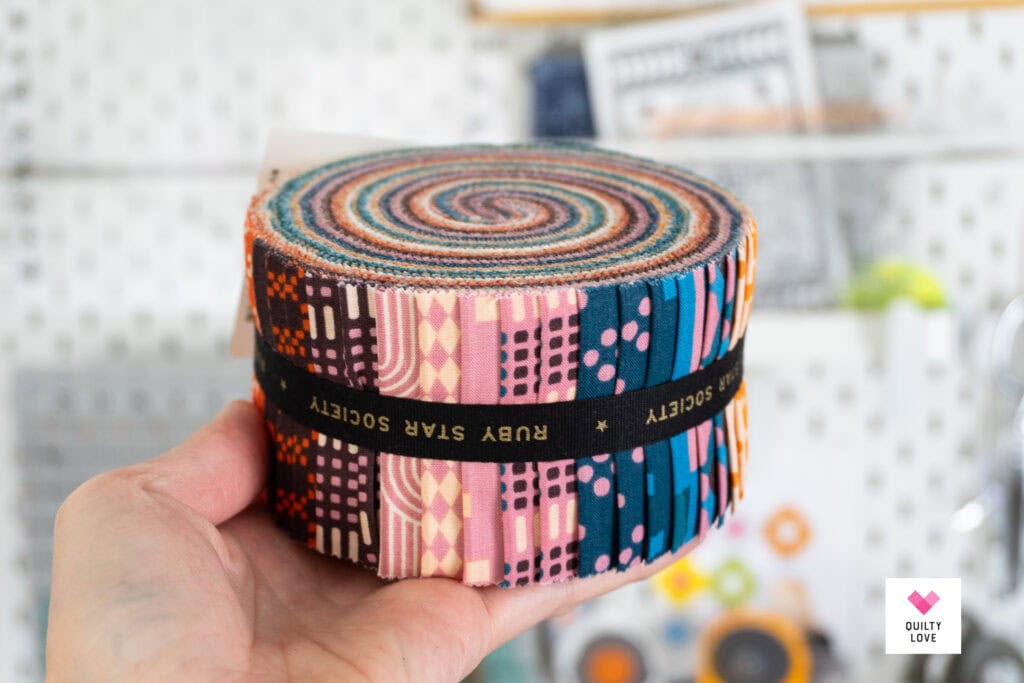
Ruby Star Society – Geometry Jelly Roll
I opened up this Geometry jelly roll to test this quilt out. I’m kind of obsessed with this fabric line. I love the colors and retro feel of it. So it was a little risky testing this quilt out with it but if it worked I knew it would be worth it.
The awesome thing about this quilt is that it doesn’t use any additional fabric so I’m guessing it is going to look good with any jelly roll you have.
Tips for the bias edges
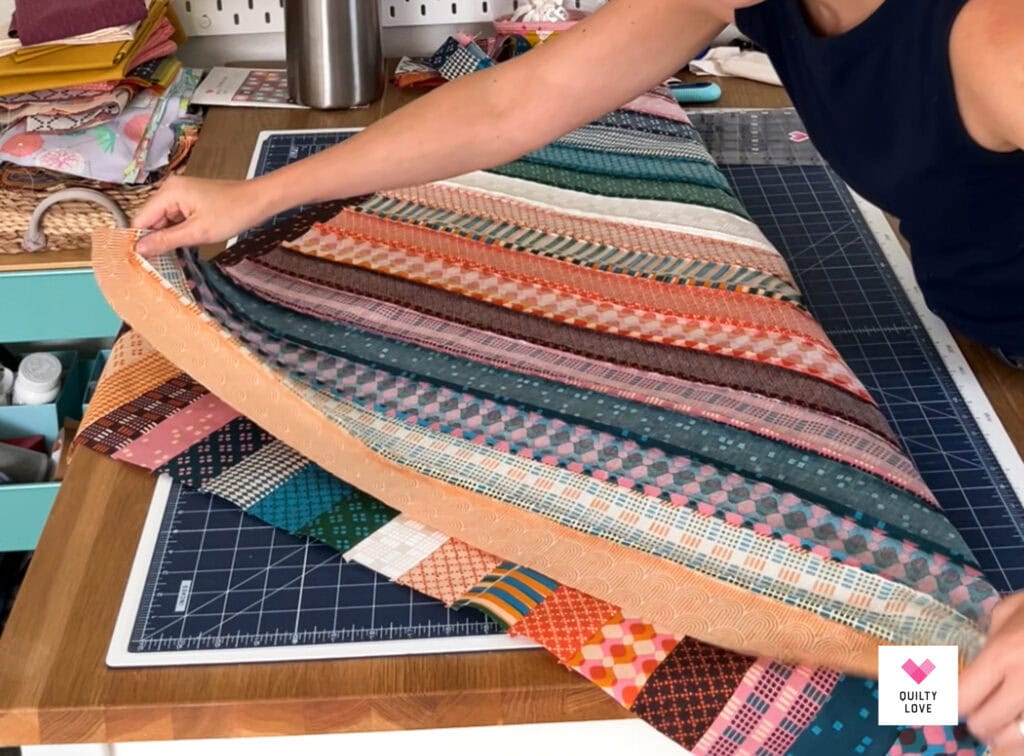
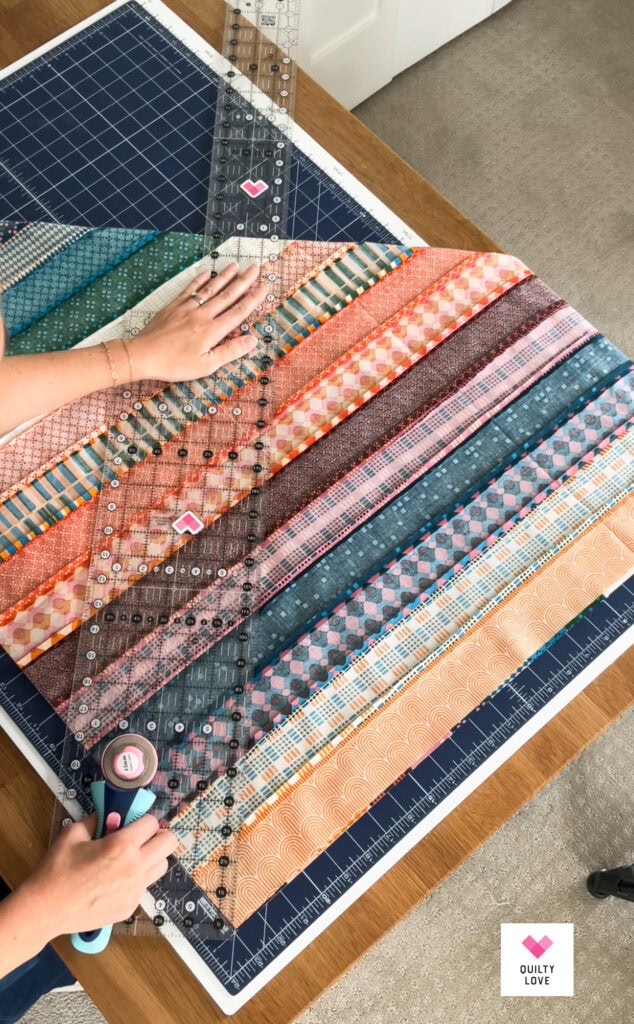
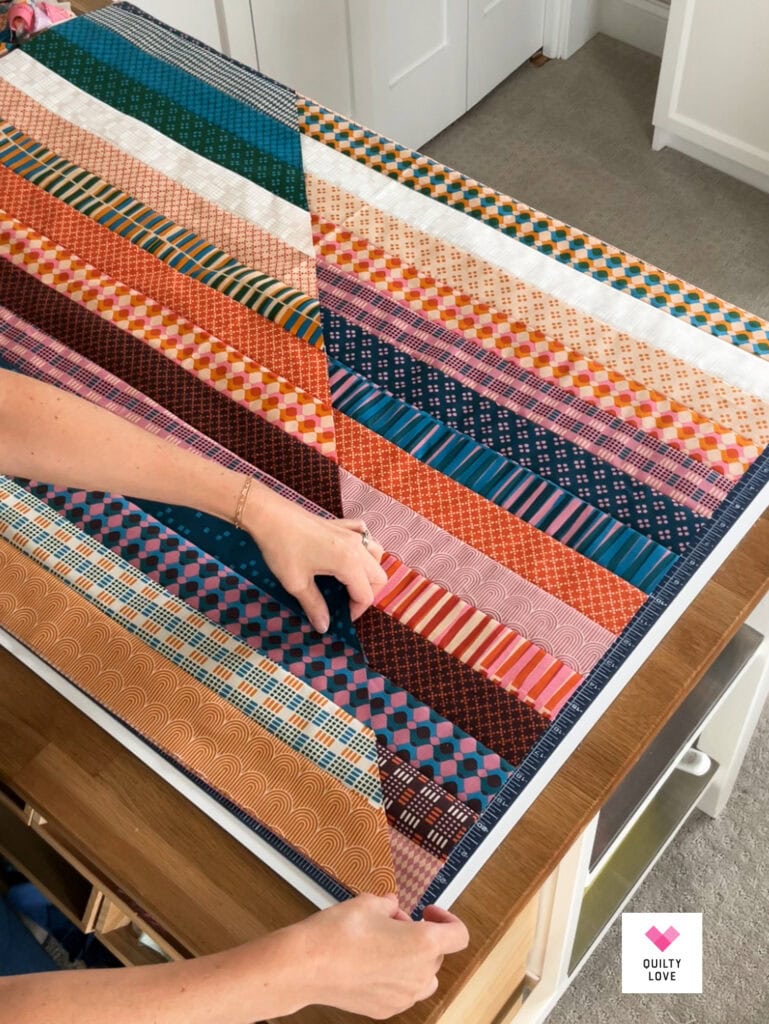
Jelly Roll Square is pretty simple to sew together. It involves making two panels and cutting those into triangles. The only downside of this technique is that it does leave bias edges.
Bias edges are not exactly ideal but definitely not a deal breaker in my book. I would just handle them with care as not to stretch them.
Do sew a final stitch 1/8 inch around the perimeter. This stitch will help keep it a little more square.
Or you can always add borders to stabilize those edges.
Those bias edges are the tradeoff of getting a decent size throw from just one jelly roll.
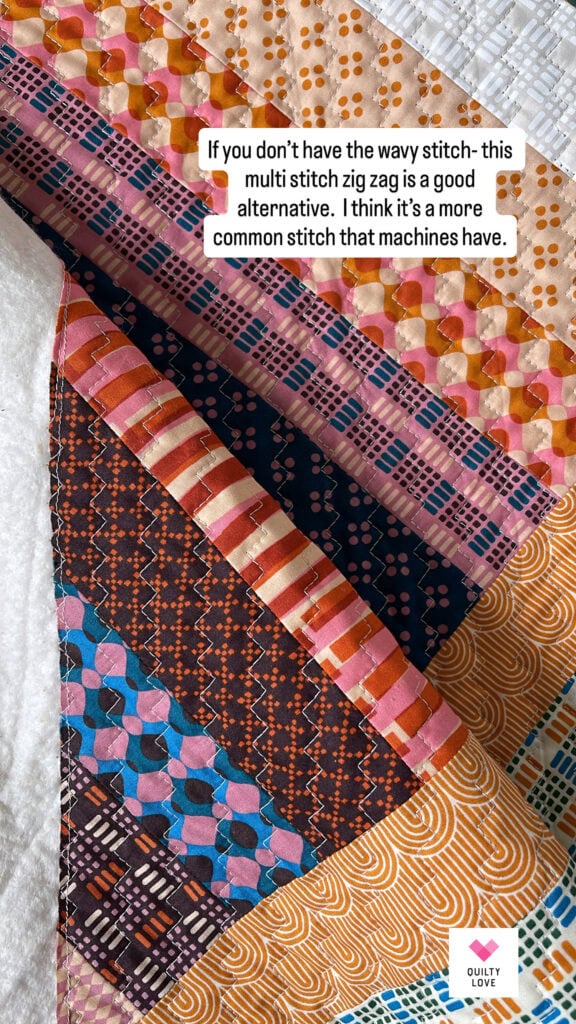
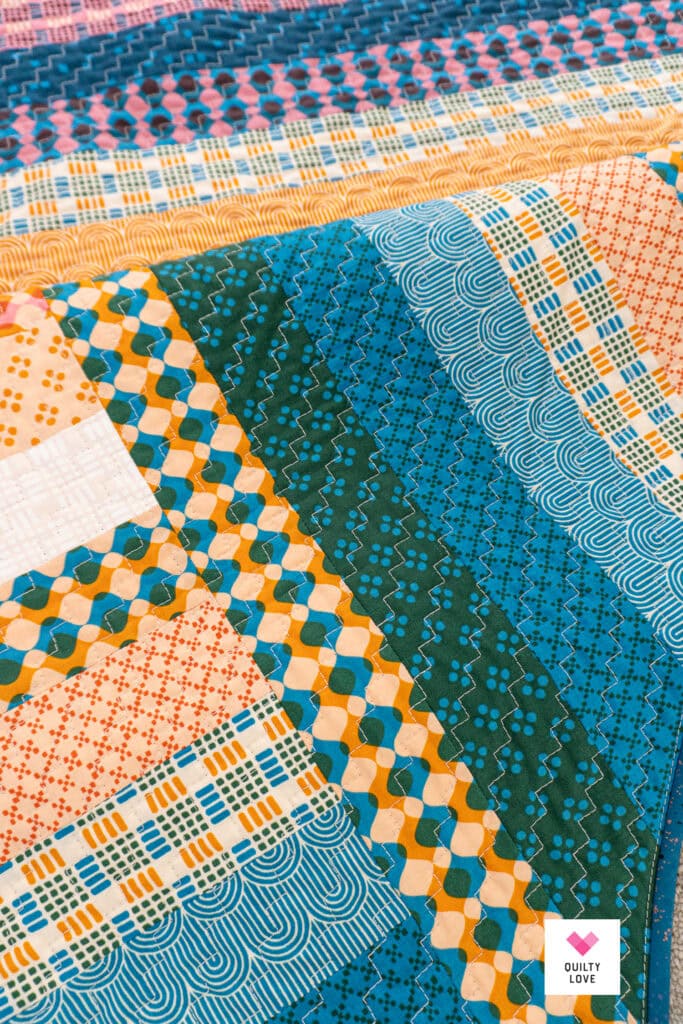
Zig Zag Quilting on a Domestic Machine
I finished off this Geometry Jelly Square quilt with some multi stitch zig zag quilting on my Janome MC6700p.
Here are the settings I used on my Janome. This is stitch 6 on my machine.
Stitch Length – 2.5
Width – 7.0
Line Spacing – 3/4″
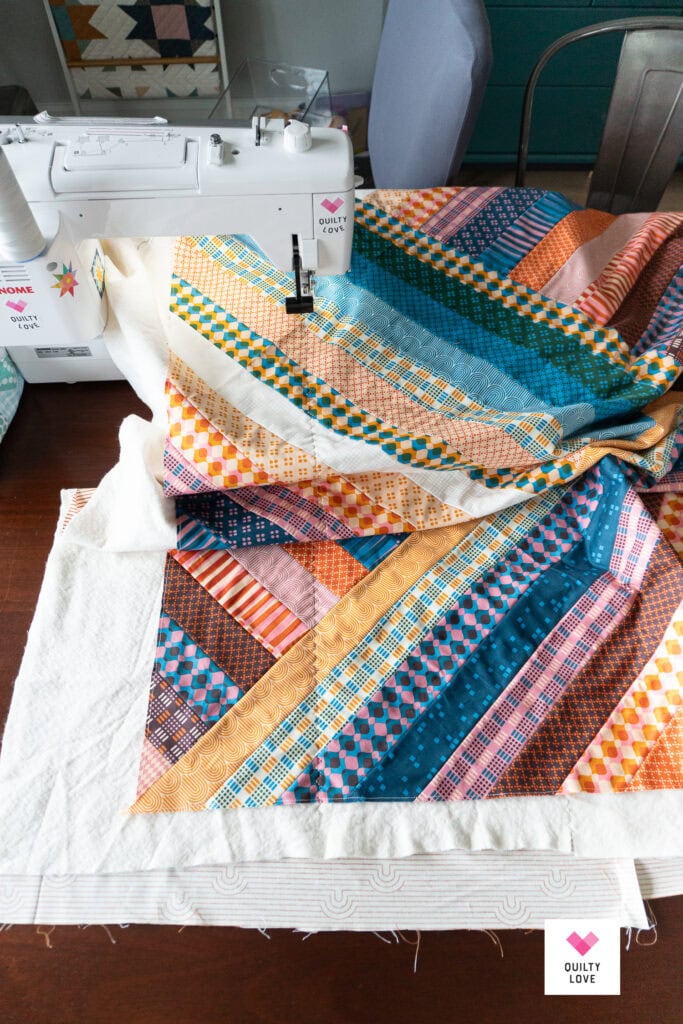
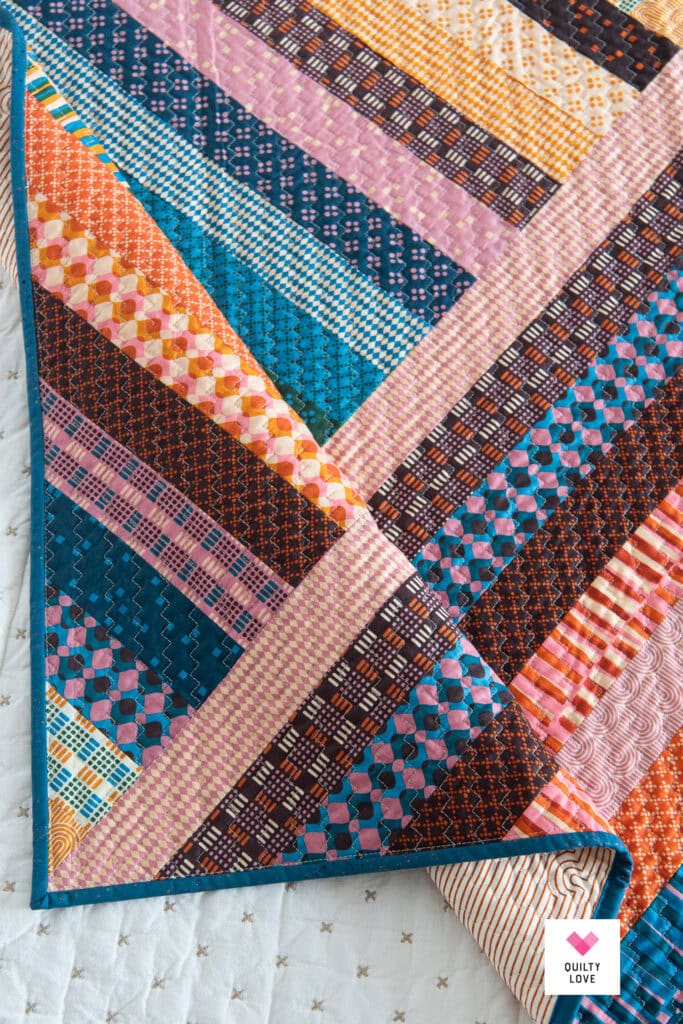
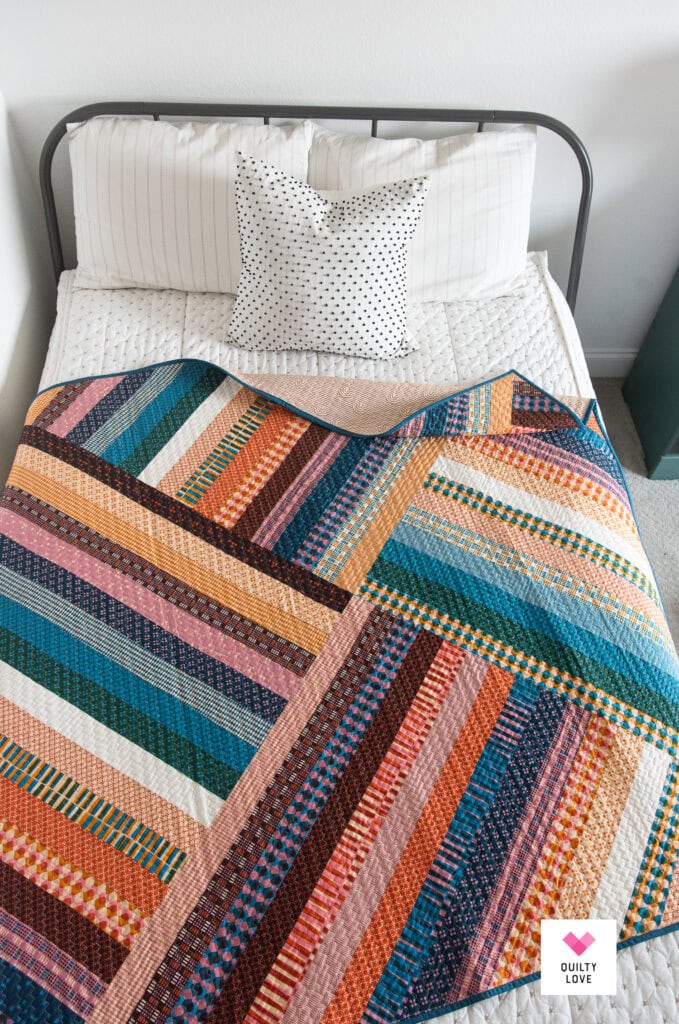
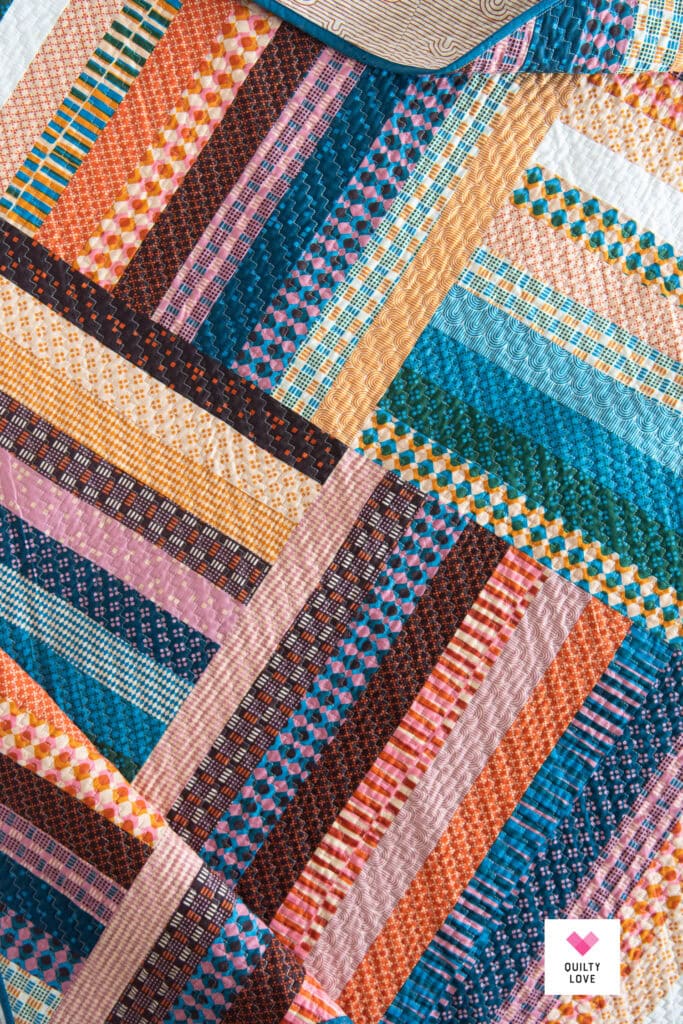
There you have it – one throw size quilting using just one jelly roll.
You can sign up for my newsletter and get the free Jelly Square PDF pattern here.
Materials Used
Pattern – Jelly Square Quilt by Quilty Love
Fabrics – Geometry by Ruby Star Society
Backing – Linear by Ruby Star Society
Binding – Speckled by Ruby Star Society
Pieced on my Juki 2010q
Quilted on my Janome MC6700p
 Hello, I'm Emily