
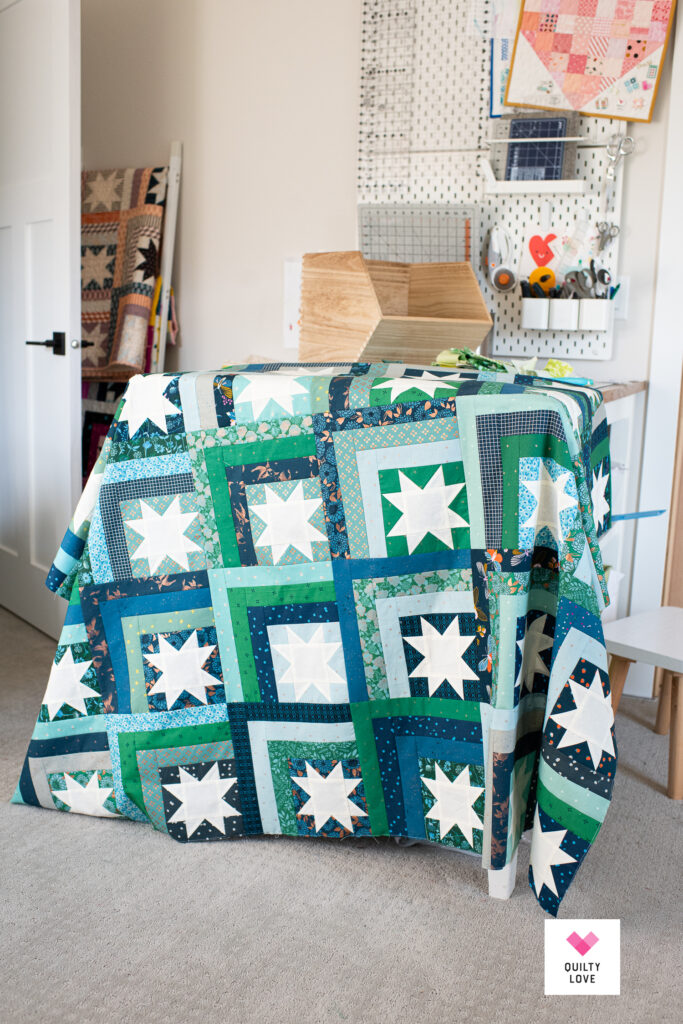
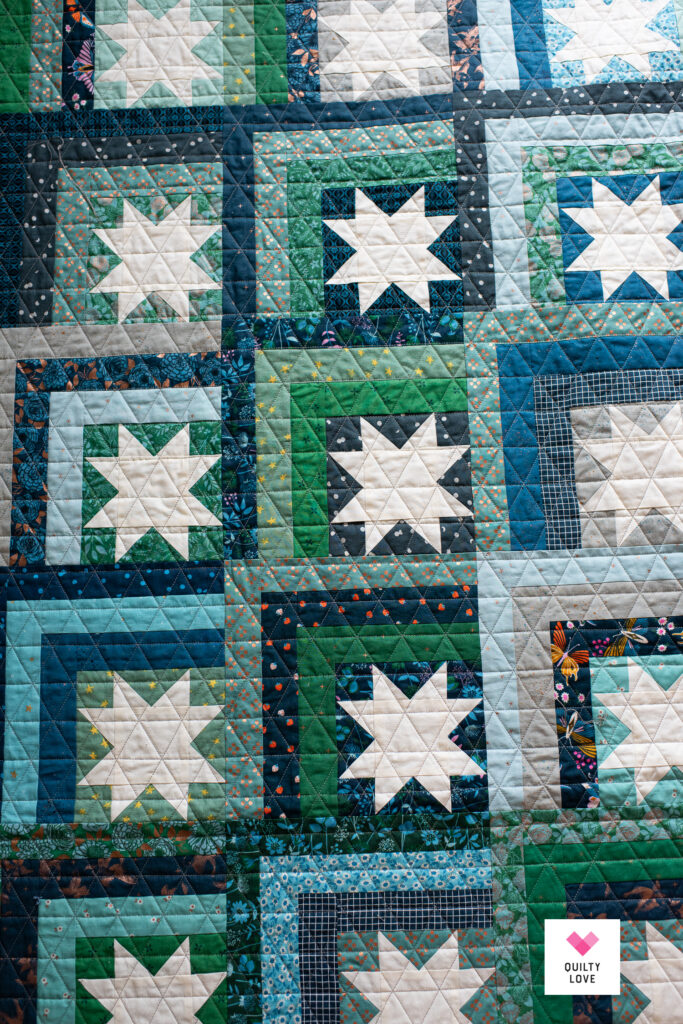
Scrappy Log Cabin Stars quilt
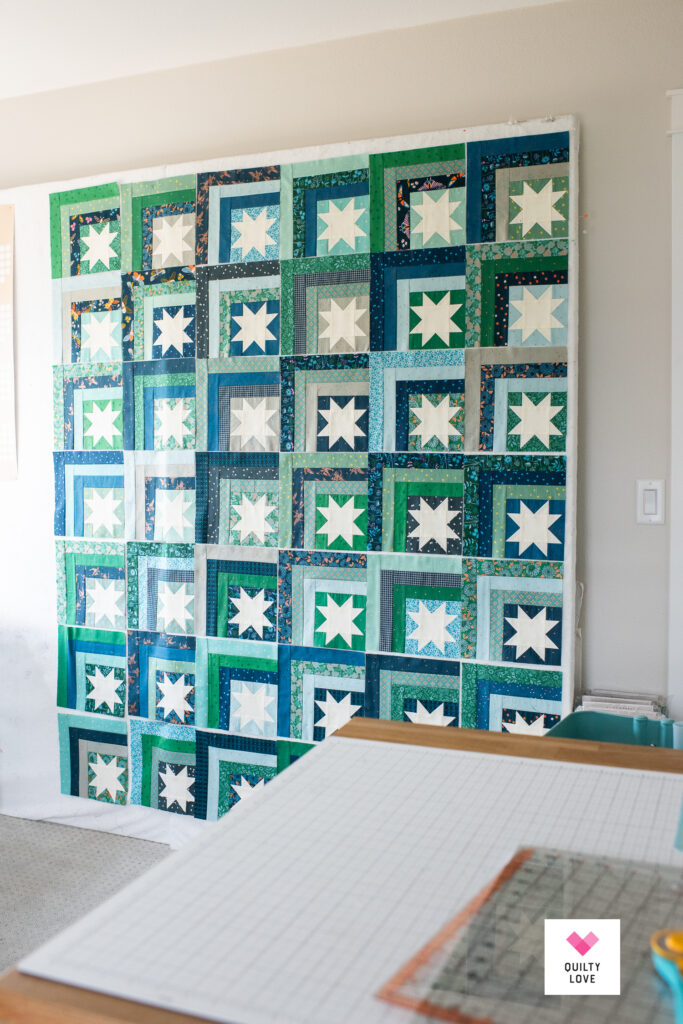
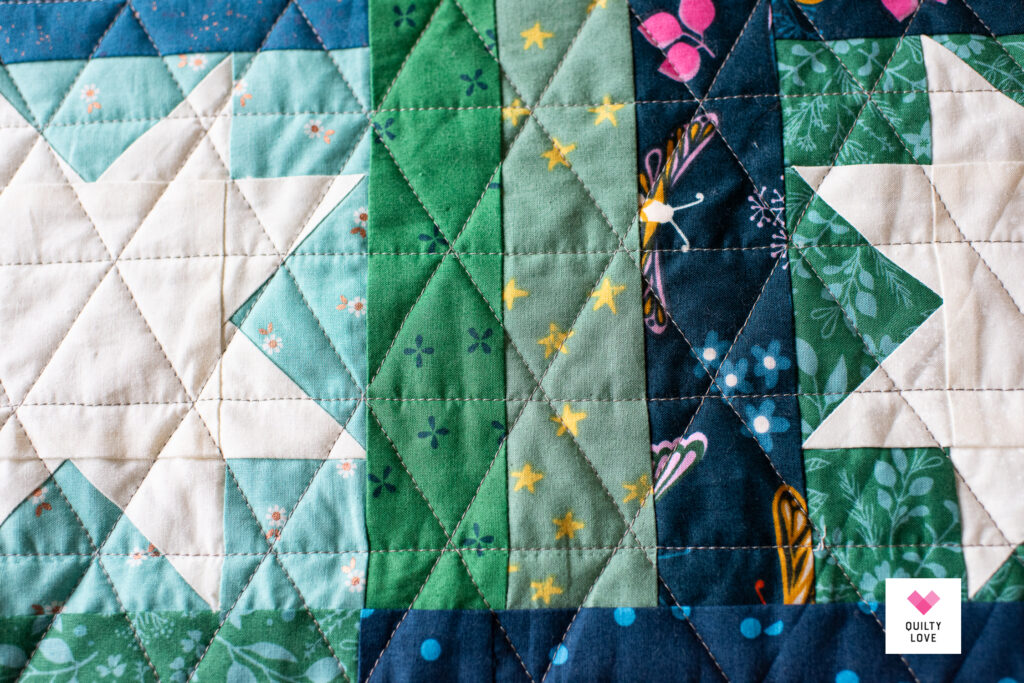
Today I’m sharing a Scrappy Log Cabin Stars quilt that hasn’t made it up on the blog yet. This is the last Log Cabin Stars quilt that I made and it’s a nice stash quilt! I pulled some blues and greens from my stash for this one. These are mostly Ruby Star Society fabrics.
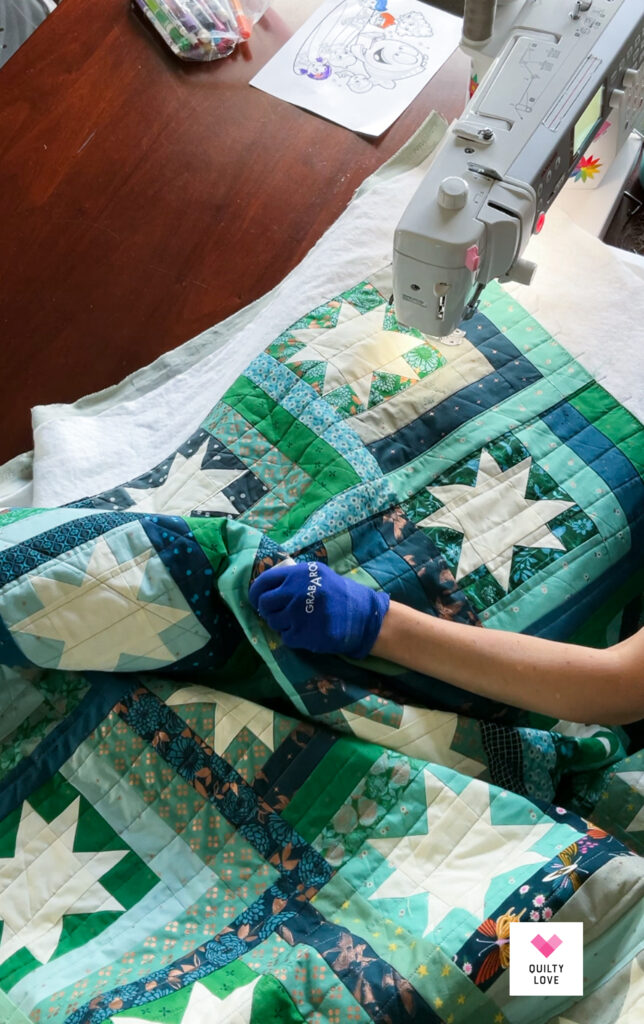
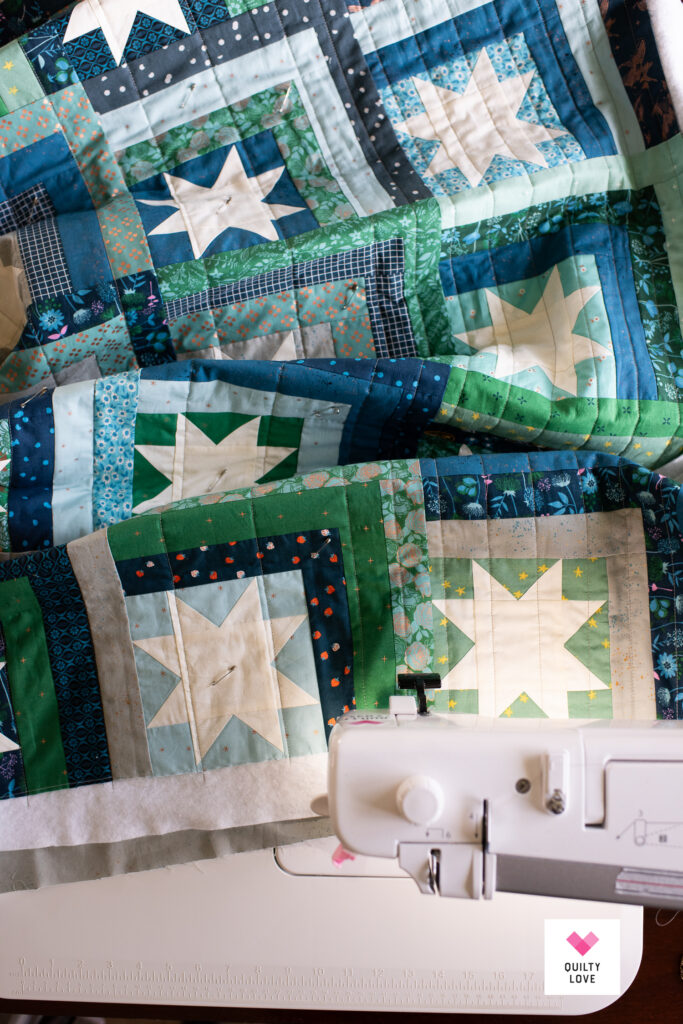
I quilted up this Scrappy Log Cabin Stars quilt myself using a simple triangle grid pattern. See more of that below.
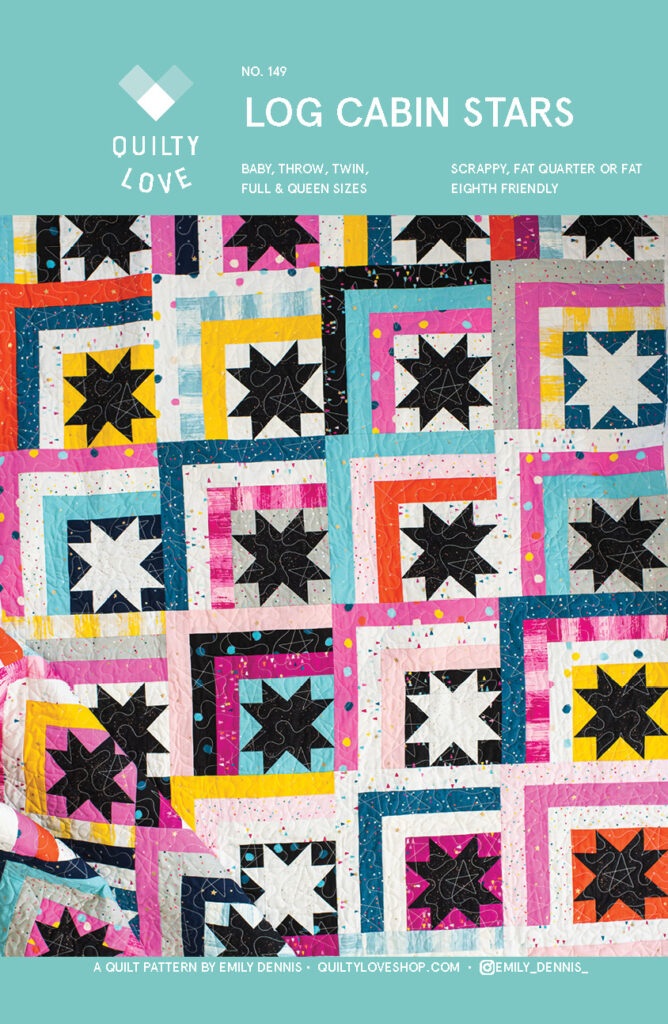
The Log Cabin Stars quilt pattern is in the Quilty Love pattern shop.


Log Cabin Stars quilt pattern
Log Cabin Stars is one of the newer Quilty Love quilt patterns that came out last year. It’s a play on the log cabin quilt block and of course stars. My goal with this one was to keep it nice and stash friendly.
For most of my quilt patterns I try to keep your stash in mind. I really want you to be able to pull something from your stash and start sewing with most of my quilt patterns.
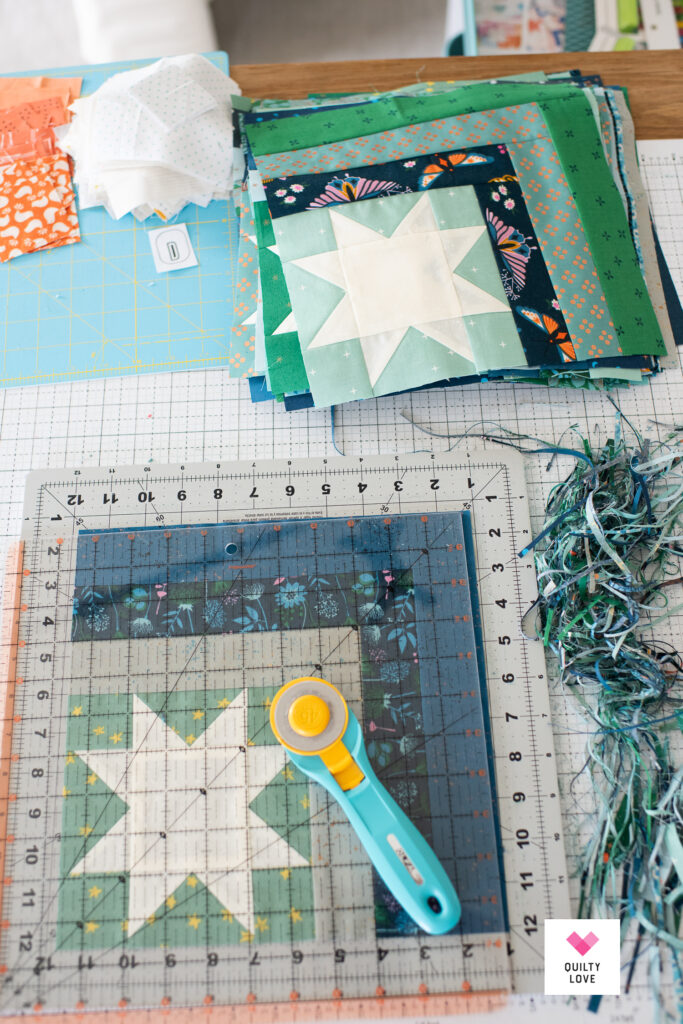
Log Cabin Stars is a fairly simple quilt. I would call it an ambitious beginner. The challenges will be getting that little star block sized out nicely. But you can trim your blocks down in the end so that can help with any less than perfect sewing.
The Log Cabin Stars quilt pattern includes instructions for lots of quilt sizes:
- Baby size quilt
- Small throw size quilt
- Large throw size quilt
- Twin size bed quilt
- Full size bed quilt
- Queen size bed quilt
This blue/ green scrappy version is the large throw size.
Fat eighth and fat quarter friendly quilt pattern
You can use fat eighths or fat quarters for Log Cabin Stars.

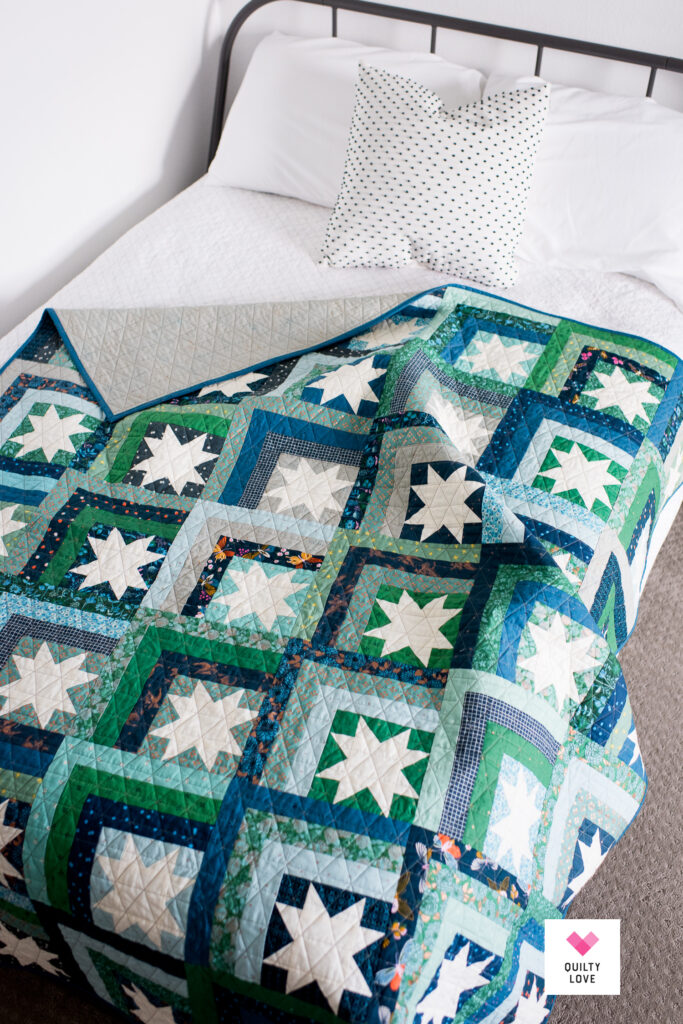
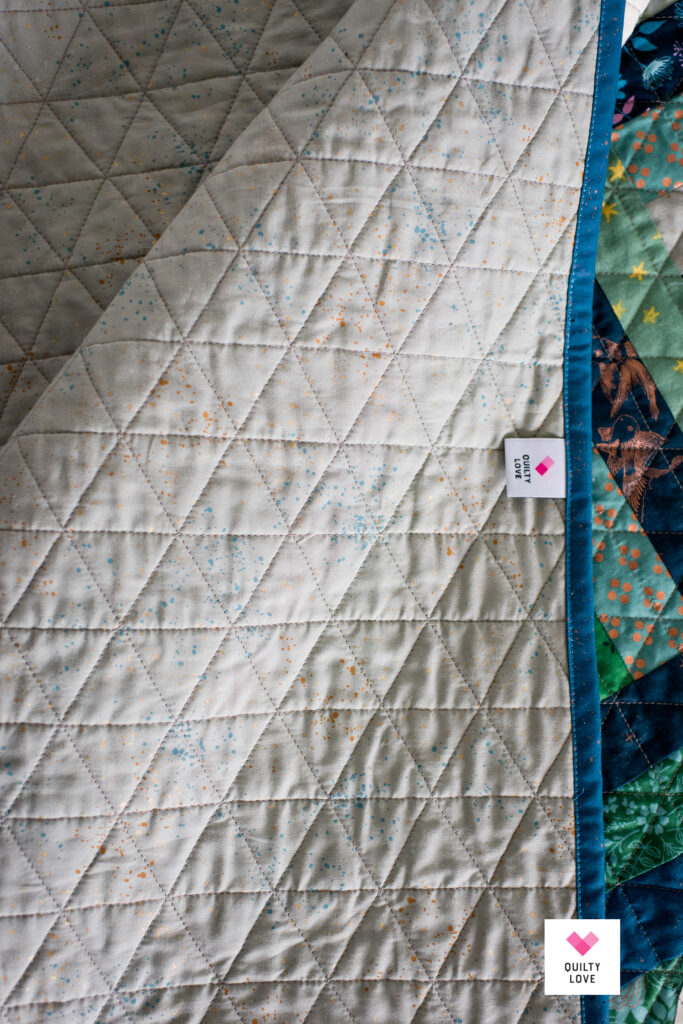
Triangle Grid quilting design
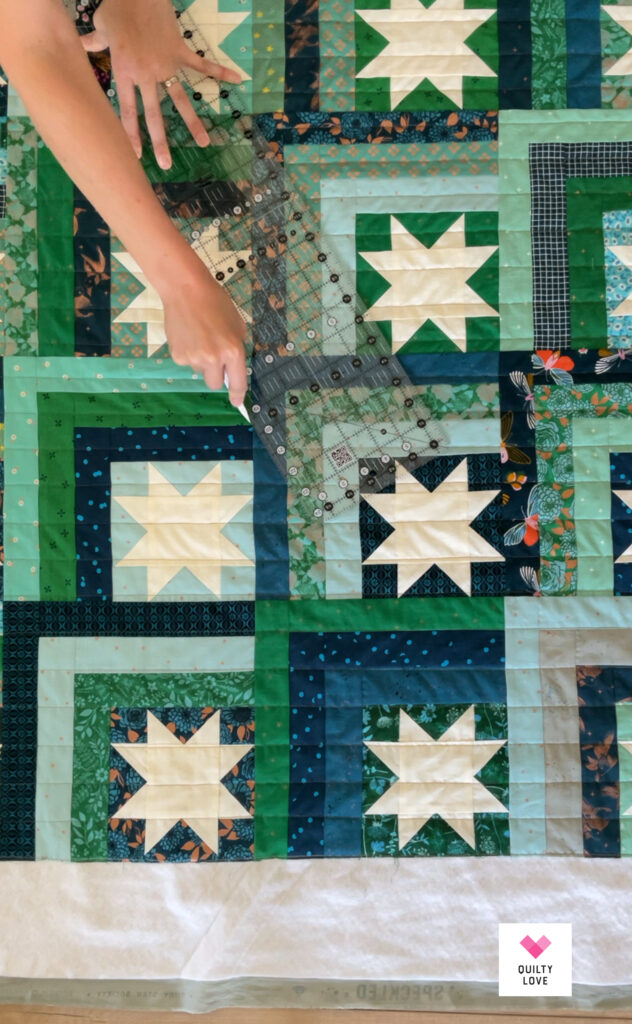
I wanted to try something other than wavy lines on this Scrappy Log Cabin Stars quilt so I decided to try this triangle grid quilting pattern.
It’s a fairly simple pattern that you can quilt yourself on your machine using a walking foot.
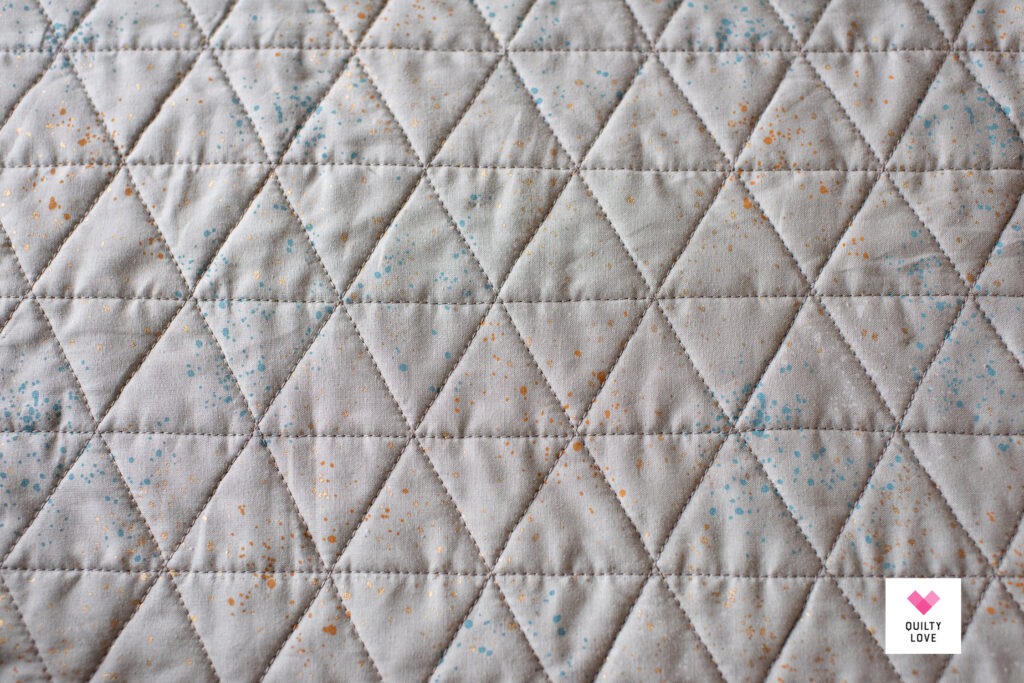
- Start by quilting 1.5 inch spaced horizontal lines. You want to keep your lines nice and straight and evenly spaced. I highly recommend marking them with a ruler and hera marker to accomplish this. You can try to use the guide with your walking foot but I find that no matter how hard I try, the lines can start to warp.
- So instead, mark every 6 inches with a hera marker and ruler and quilt those lines. Then mark every 3 inches and quilt those lines. Finally fill in and quilt the 1.5 inch spaced lines.
You can download this printable triangle grid to help keep those lines at the right angle. First quilt the 1.5 inch horizontal lines and then lay the printable on top of the quilt aligning the horizontal lines. Now line your ruler up on the 60 degree line. Carefully slide the printable out from under the ruler without moving the ruler and mark the line. Adjust ruler and repeat.

- Now mark and quilt 60 degree angled lines using the same spacing. 1.5 inch here in my case. Mark and quilt all in one direction before starting the opposite and final lines. Use the same method above.
- Now you are ready for your final lines in the opposite direction. Use the existing quilted lines as a guide because you want this final line to go through the intersection of the first two lines. I tried to do this final line without marking but found it got a little sloppy. It’s definitely worth taking the time to mark each line.
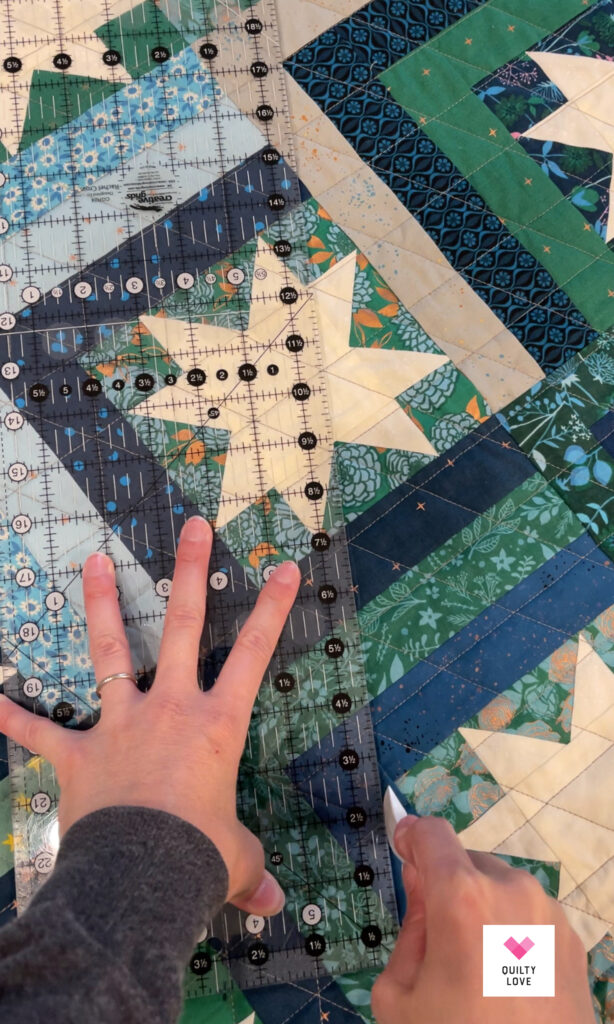
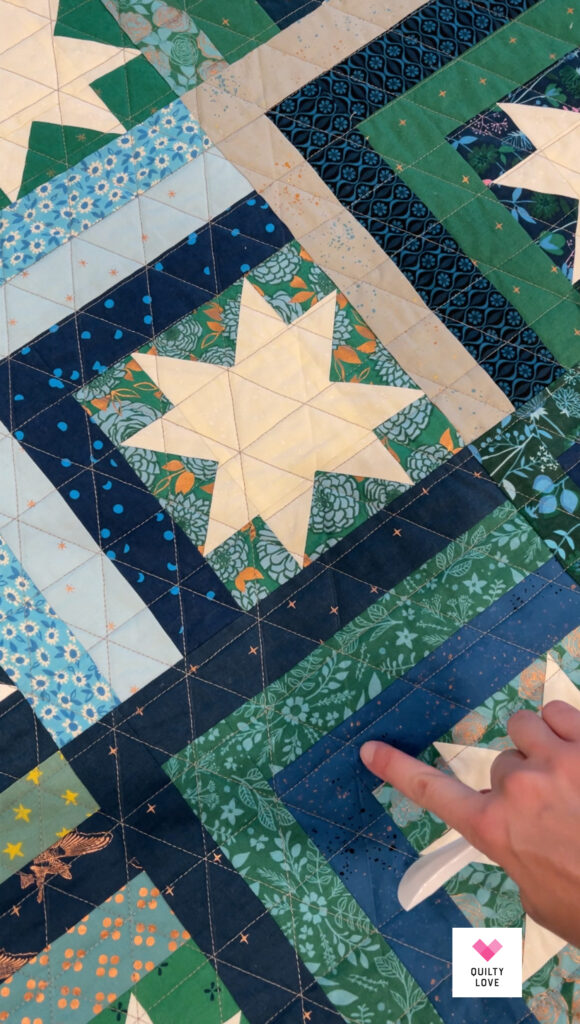
Here it is in action below.

Scrappy Log Cabin Stars quilt materials
Quilt Pattern – Log Cabin Stars quilt pattern by Quilty Love
Fabrics – Assorted Ruby Star Society fabrics from my stash
Stars – Speckled in Sweet Cream by Ruby Star Society
Backing – Specked Wide Back by Ruby Star Society
Pieced on my Juki 2010q
Quilted on my Janome MC6700p
Hera Marker
Ruler
