
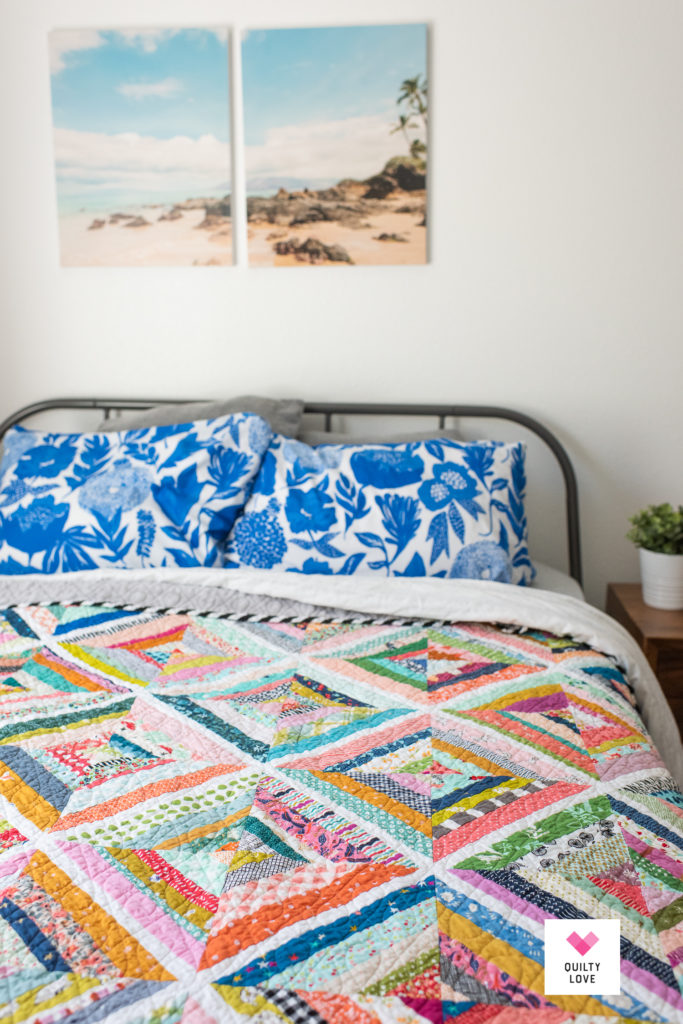
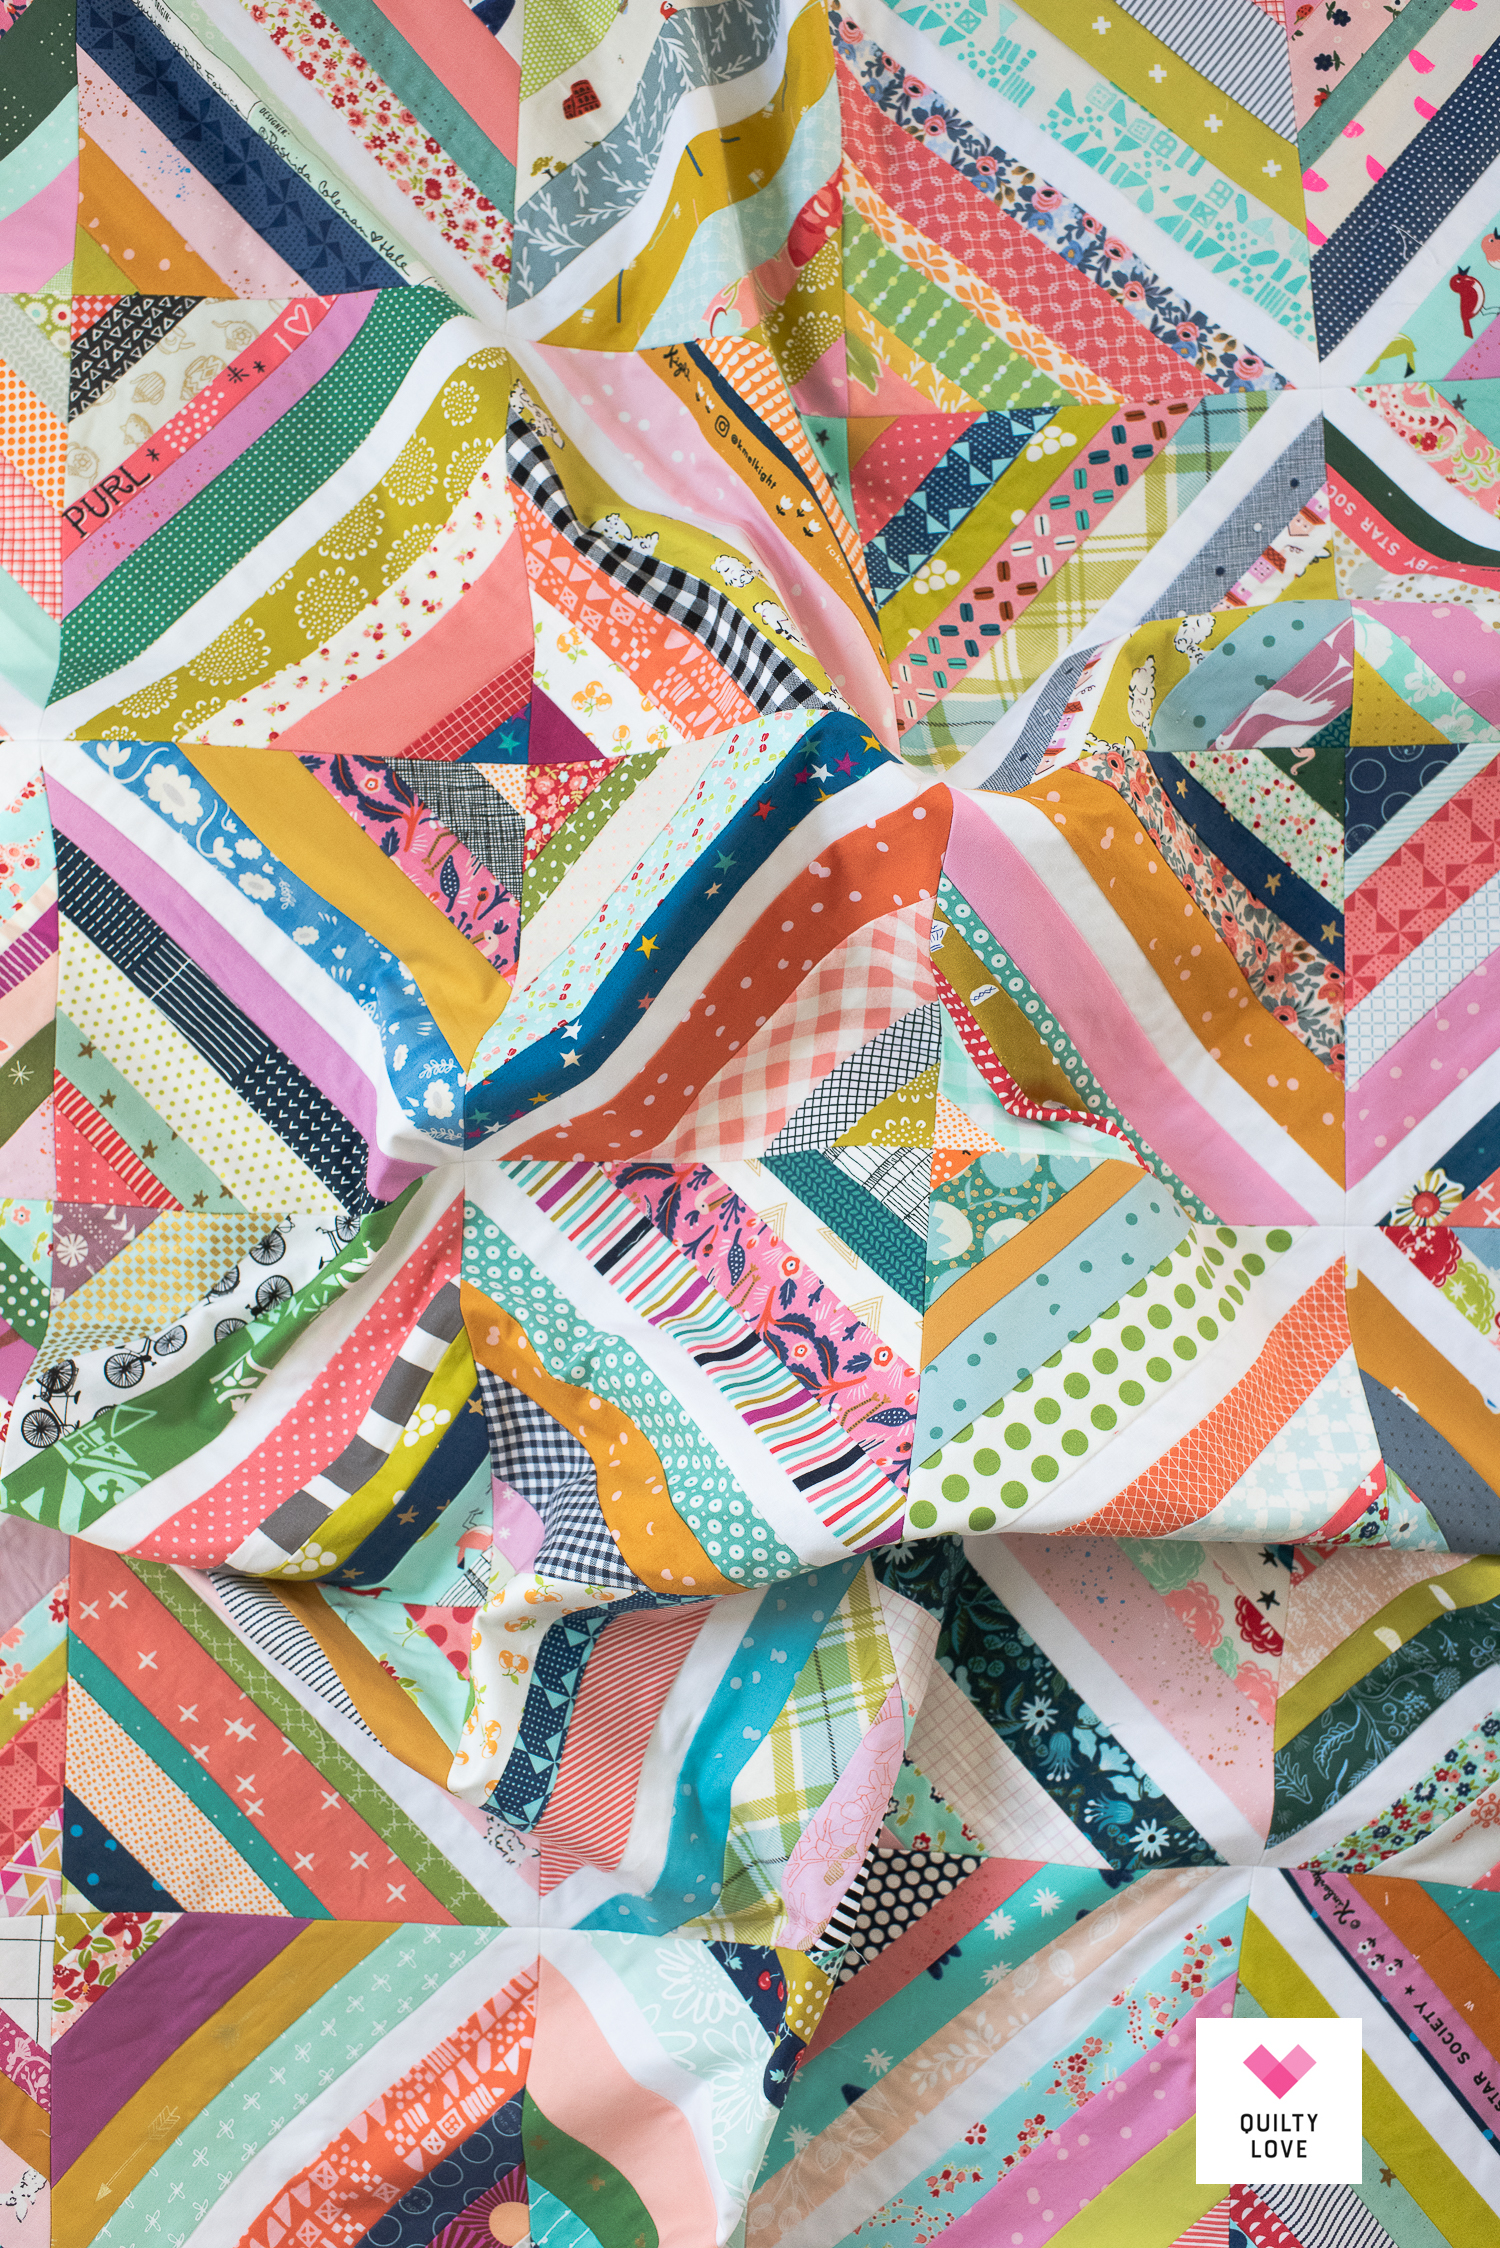
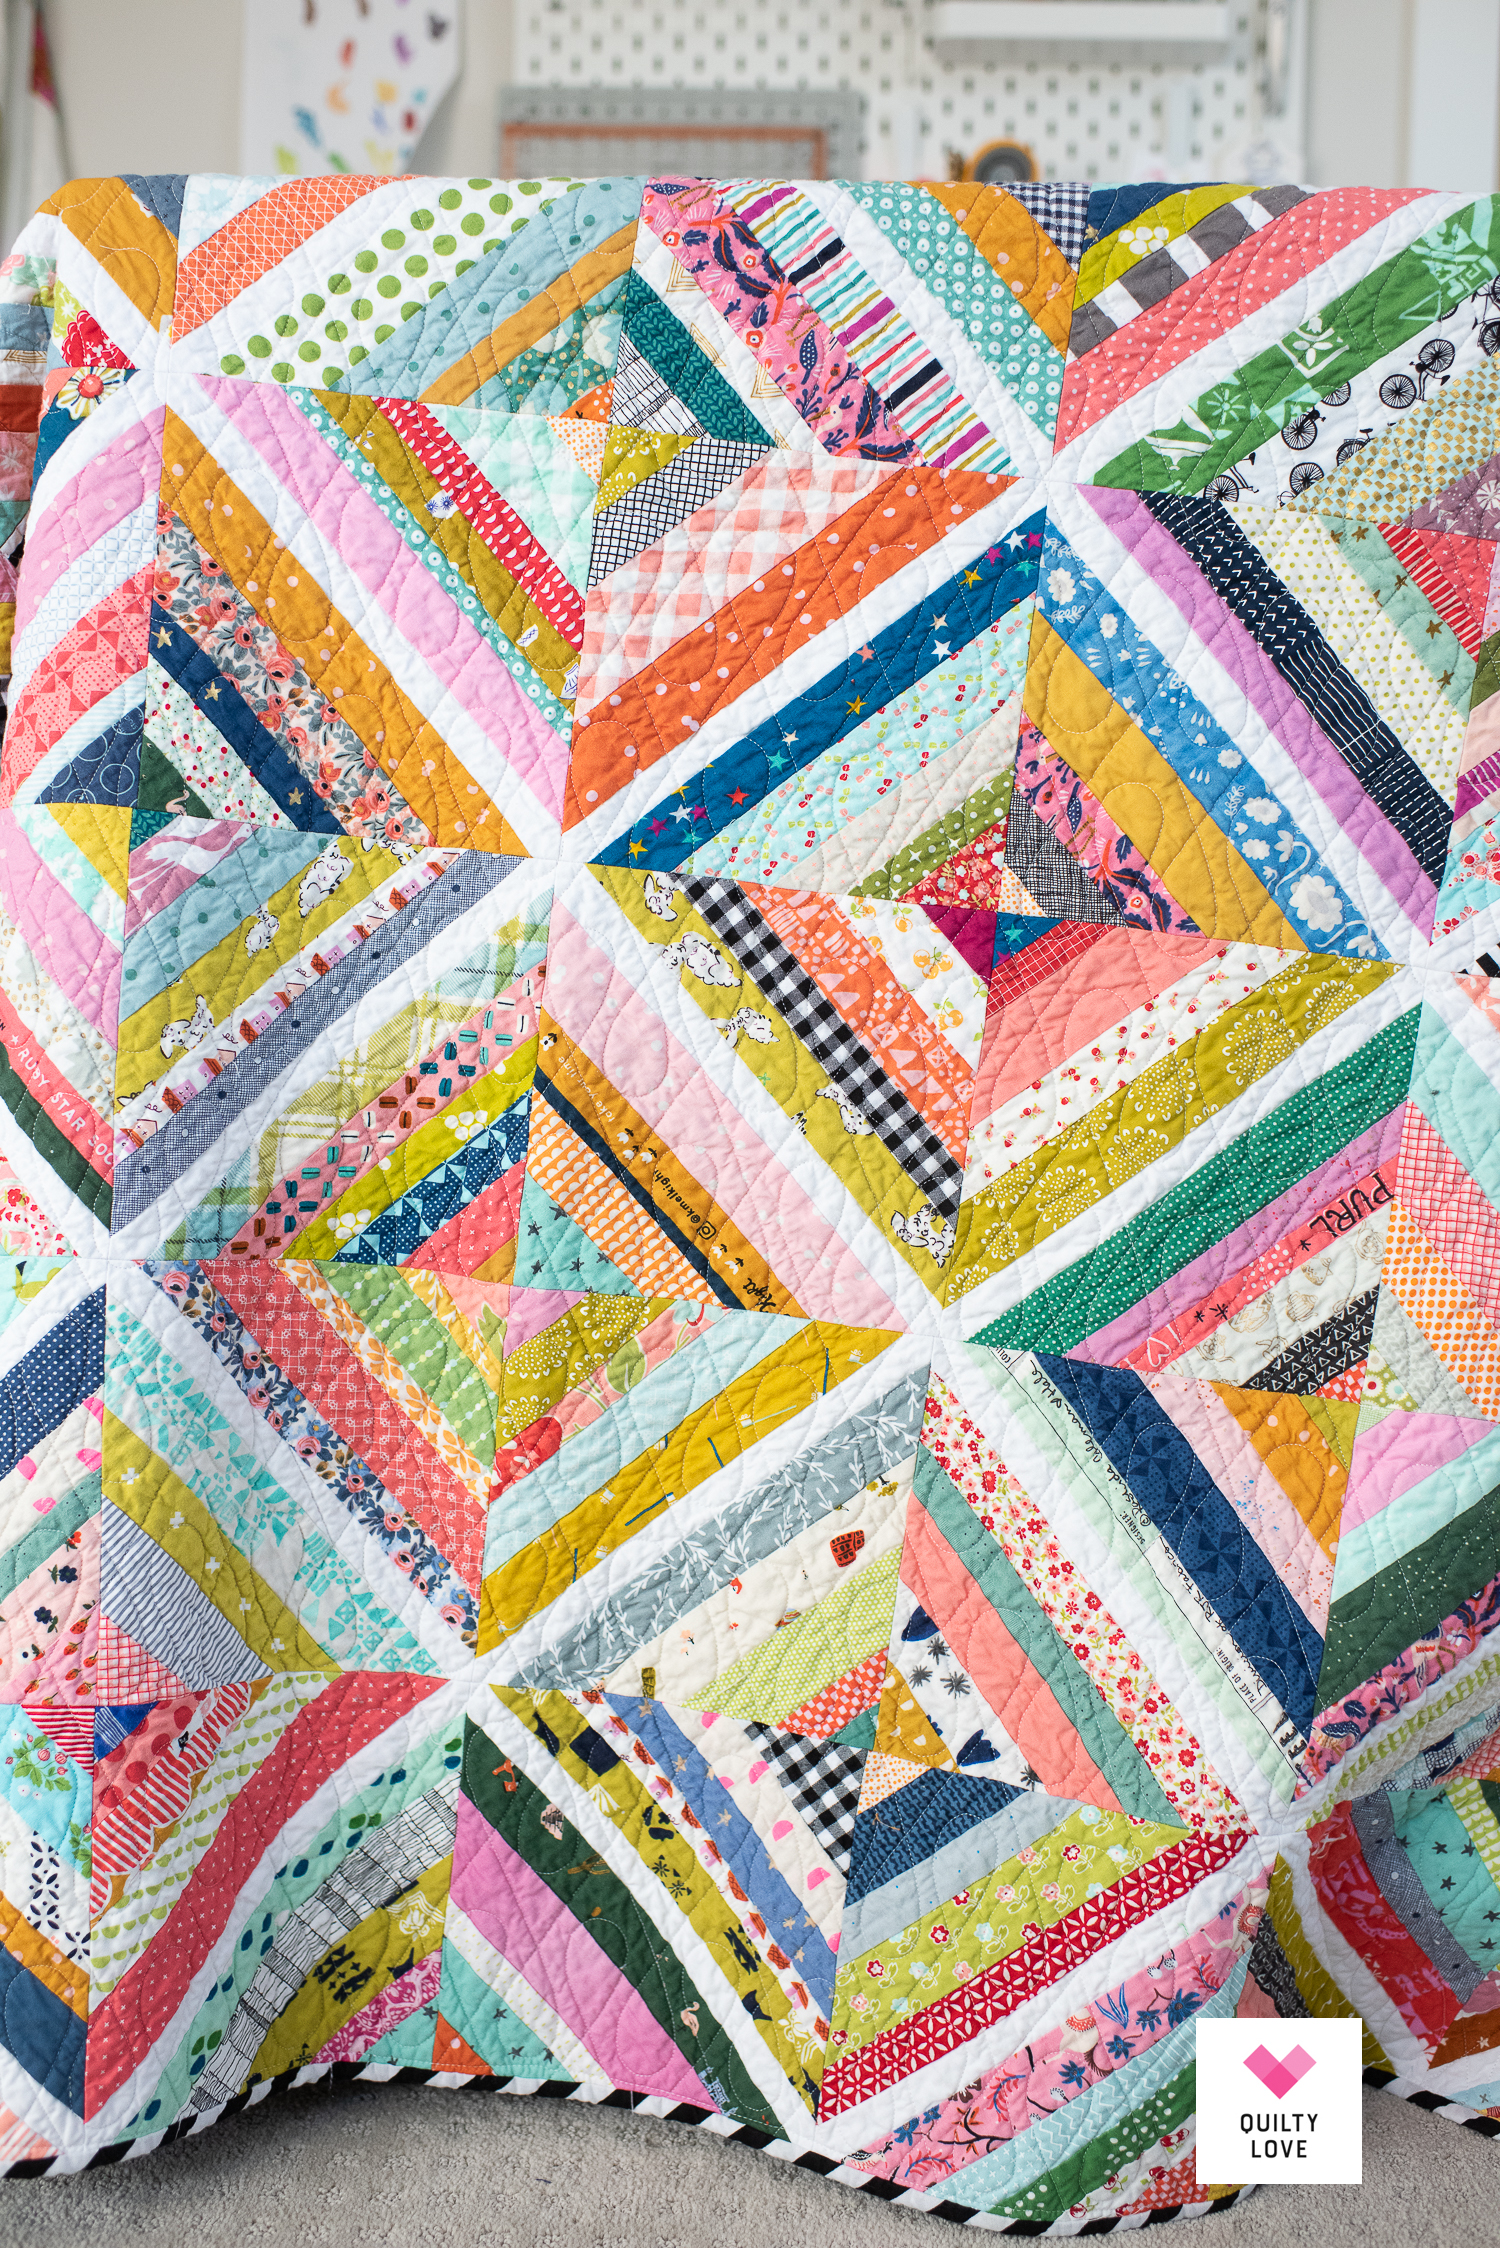
Today I’m excited to be sharing my finished String Quilt! This scrappy quilt turned out so fun and cheery and it was a blast to sew up. I haven’t had this much fun making a quilt in a while. String quilt blocks are super addicting (at least to me!) to sew up and I just couldn’t stop making them.
Lately I have found scrap quilts to be some of the most fun and most satisfying types of quilts to sew up. I loved working on this string quilt and I love how it turned out so I’m already thinking of other variations I can make.

What is a string quilt?
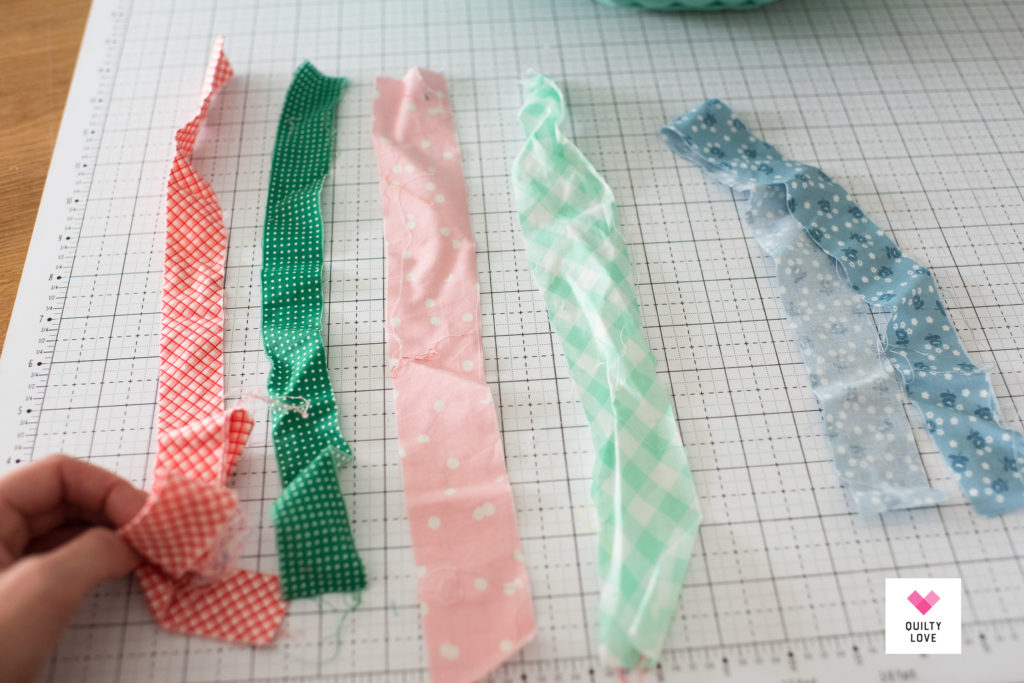
A string quilt is a scrappy quilt made with “string” scraps. What is a string scrap? Most quilters consider a string scrap a long and narrow strip of fabric. These might be that little leftover strip after you cut up a fat quarter. Or they might be leftover binding pieces.
I started separating out my long and narrow scraps a few years back to make a string quilt. For me, a string scrap is any scrap that is narrower than 2.5″. Normally I don’t keep scraps less than 2.5″ but I will add them to my string scrap stash if they are less than 2.5″ wide and a little longer.
A string quilt uses all of these long narrow scraps to make the quilt top. There are so many different variations you can make and so many different ways to make one!
If you want to make a string quilt then I would recommend googling “string quilt” and tons of different tutorials will come up. Read a few tutorials and determine which method you want to use to make your own scrappy string quilt.
I’ll share my process in this blog post but know there are tons of different ways to make a string quilt.
How to make a string quilt
- First decide on the technique
- Will you use a fabric foundation square?
- Most quilters recommend using muslin as the foundation
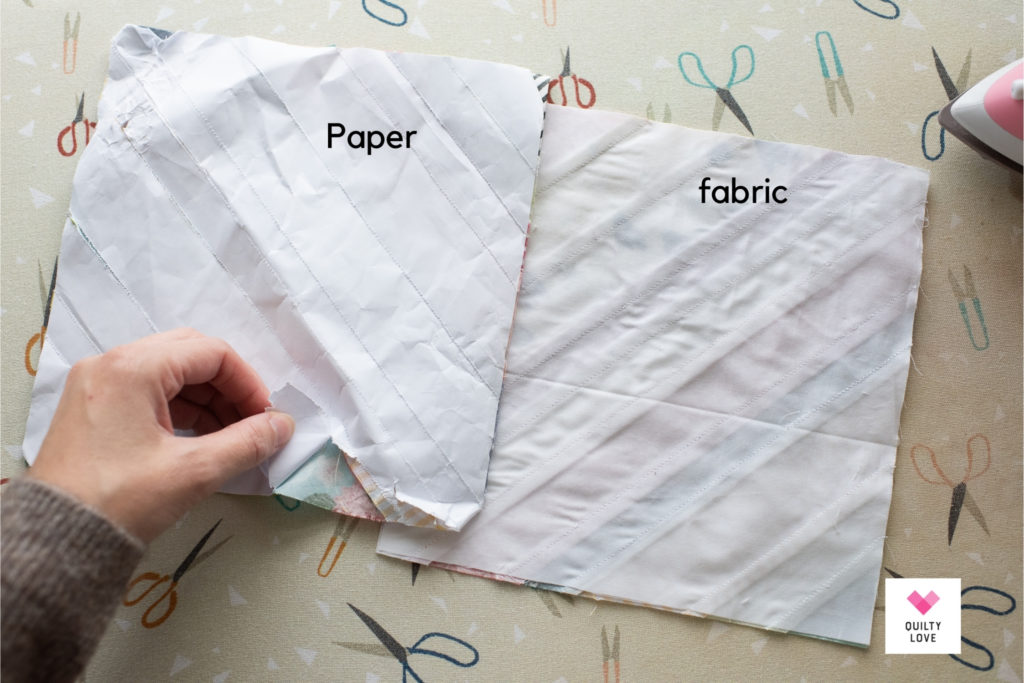
- Will you use a paper foundation square that gets removed?
- Phone book pages work well for this. So do deli papers. Search “deli papers” on Amazon and tons of sizes will come up.
- Will you skip the foundation piece all together and just sew strips together?
- Will you use a fabric foundation square?
- Next choose a block size and shape
- You can make a square block or a rectangle block.
- What size? This could depend on the size of your string scraps. If you don’t have a lot of longer strips then you might stick with a smaller block size like 6 inches.
- My blocks here are 8 inch finished.
- Pick a design
- Will you just make a variety of scrappy string blocks?
- Or maybe you want to add a design element to the quilt like I added the white strip in each block.
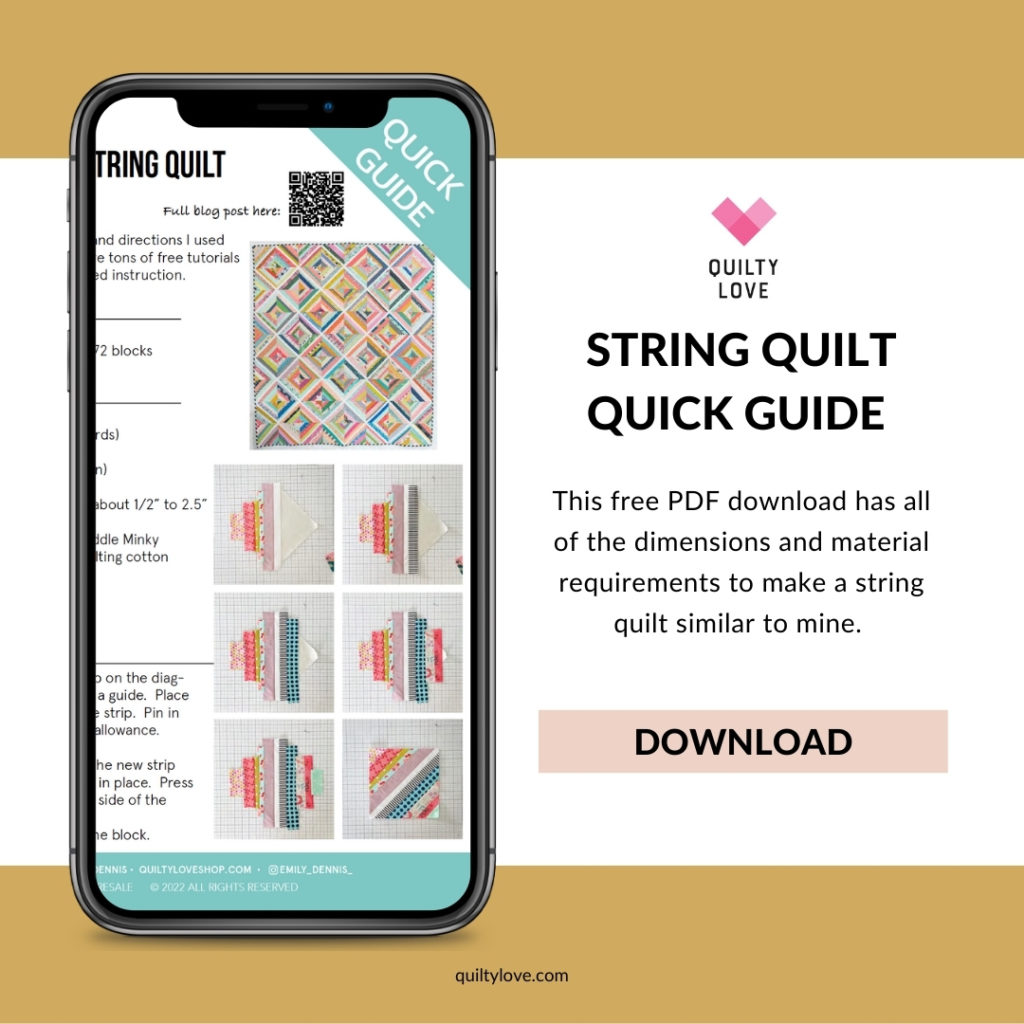
My String Quilt Dimensions and Info
Block size: 8.5″ foundation square – 8″ finished block
Quilt size: 64″ x 72″
Blocks: 8×9 layout for a total of 72 blocks. ( I do wish I had added another row making it 8×10 and 80 blocks total)
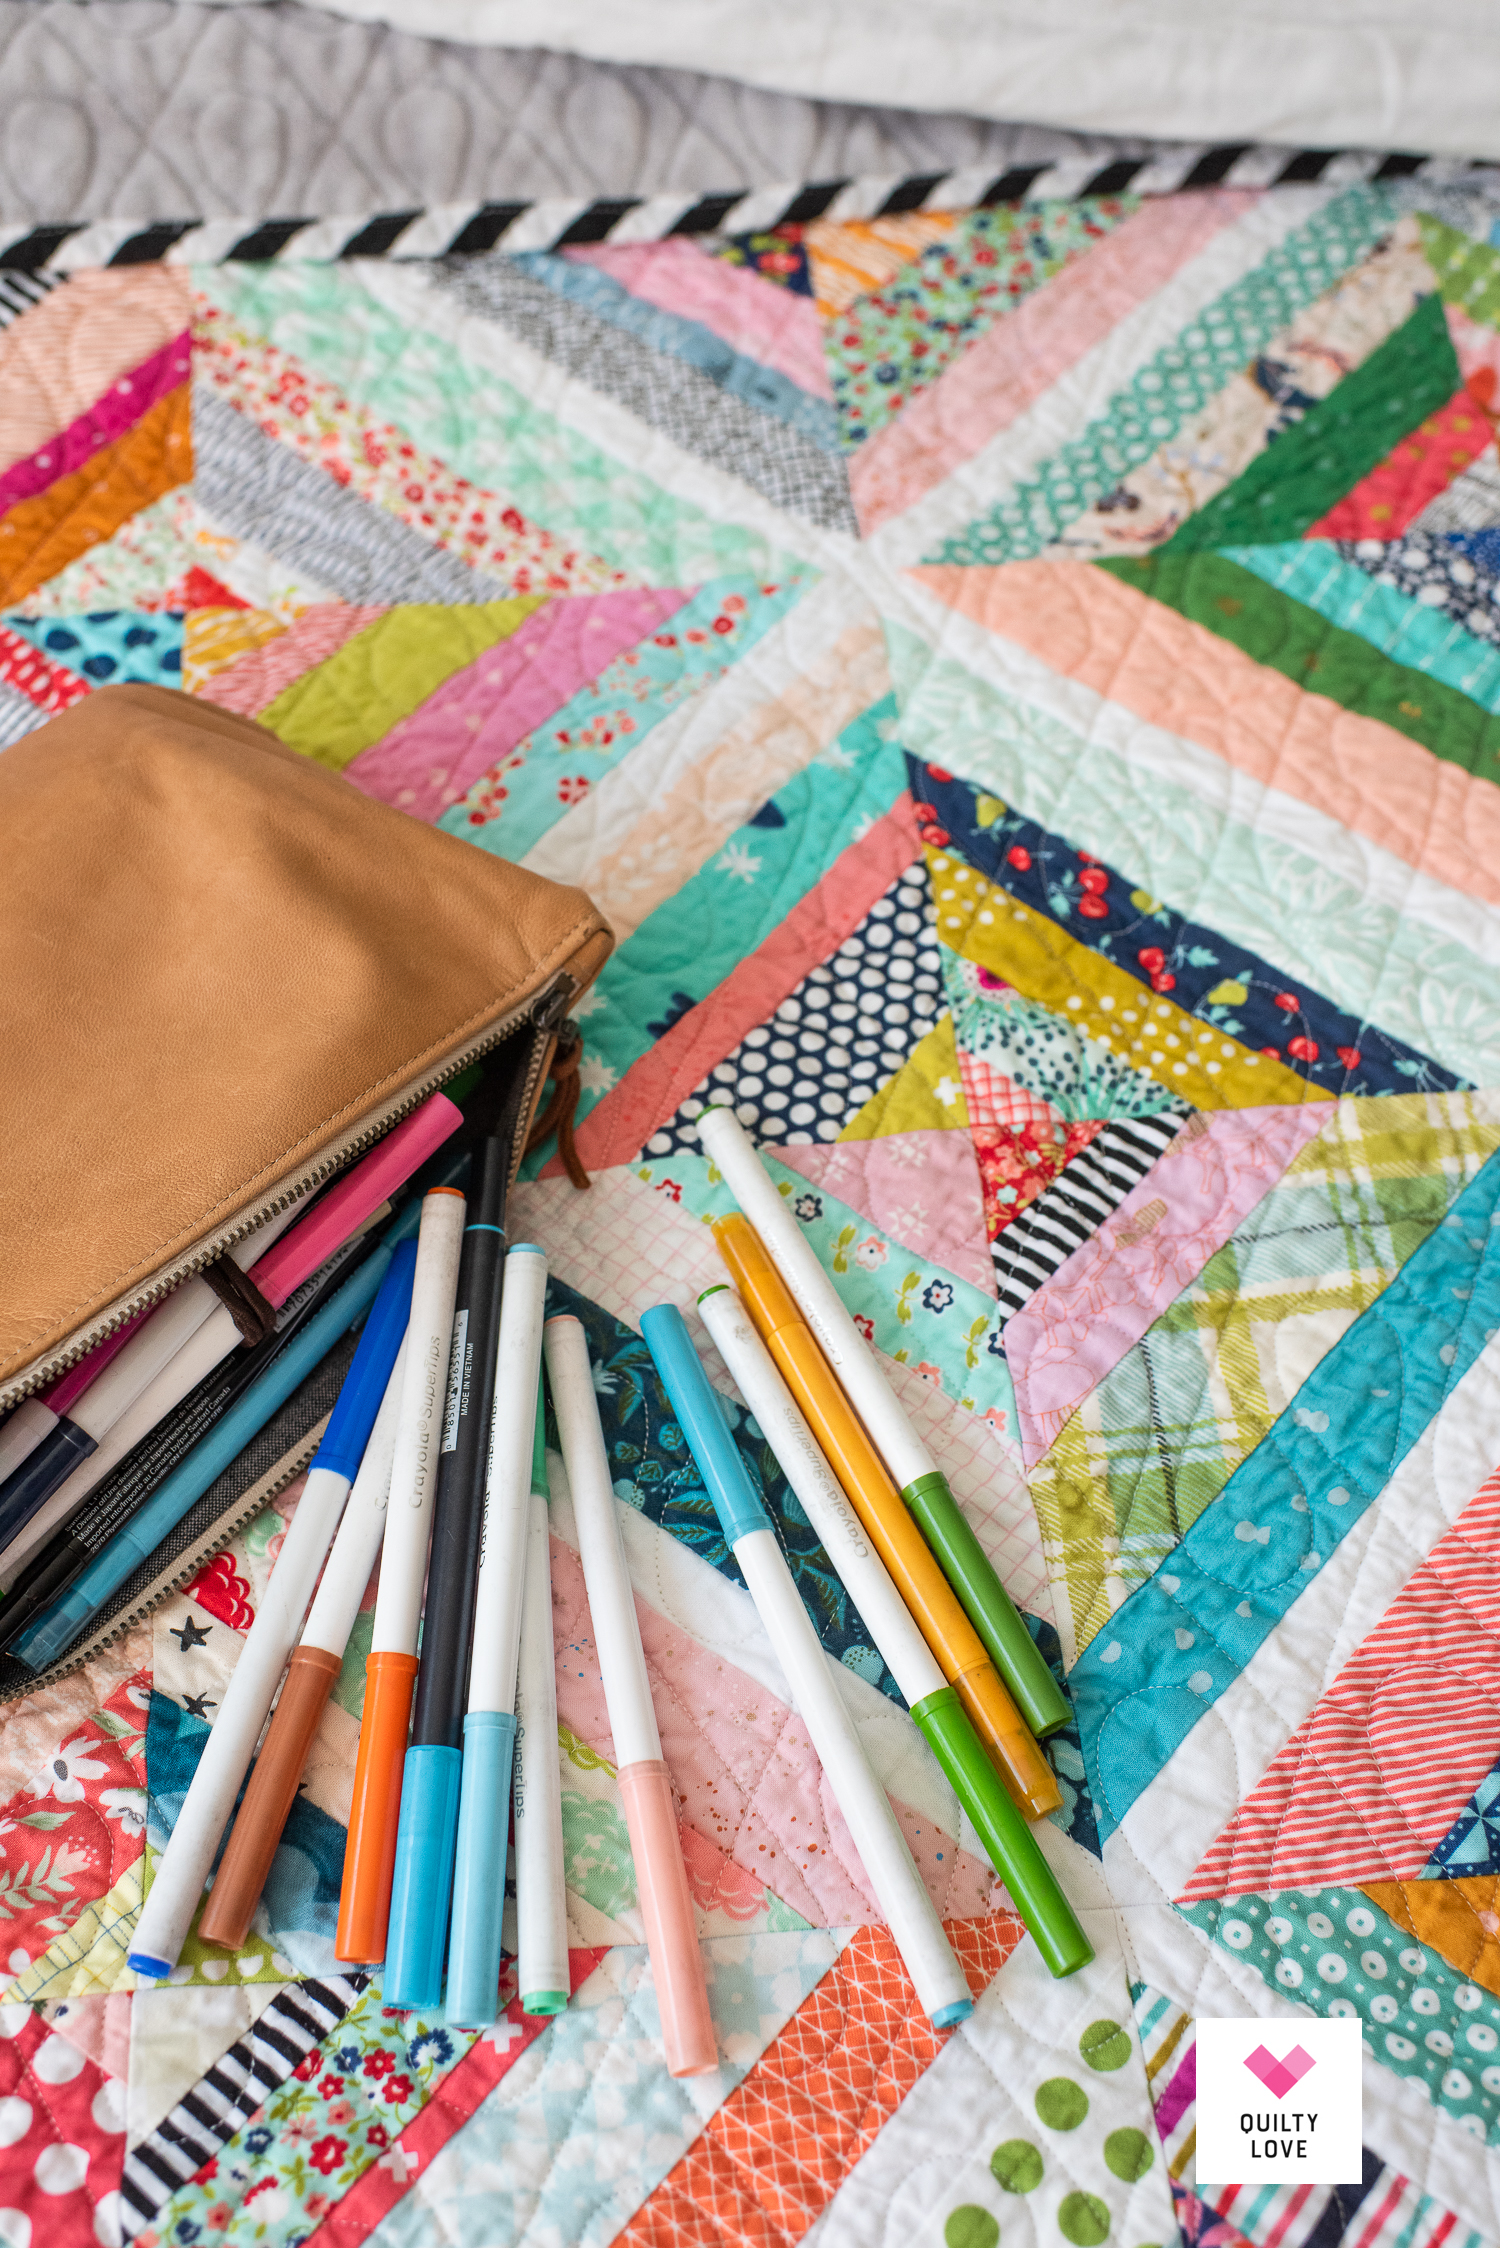
Strip sizes: White strip: 1.25″ x 12.5″ (white strip finished at 3/4″)
All other strips varied in width from about 1/2″ – 2″ finished
I shared the entire process of making this quilt over on Instagram. You can view all of the stories and reels here.

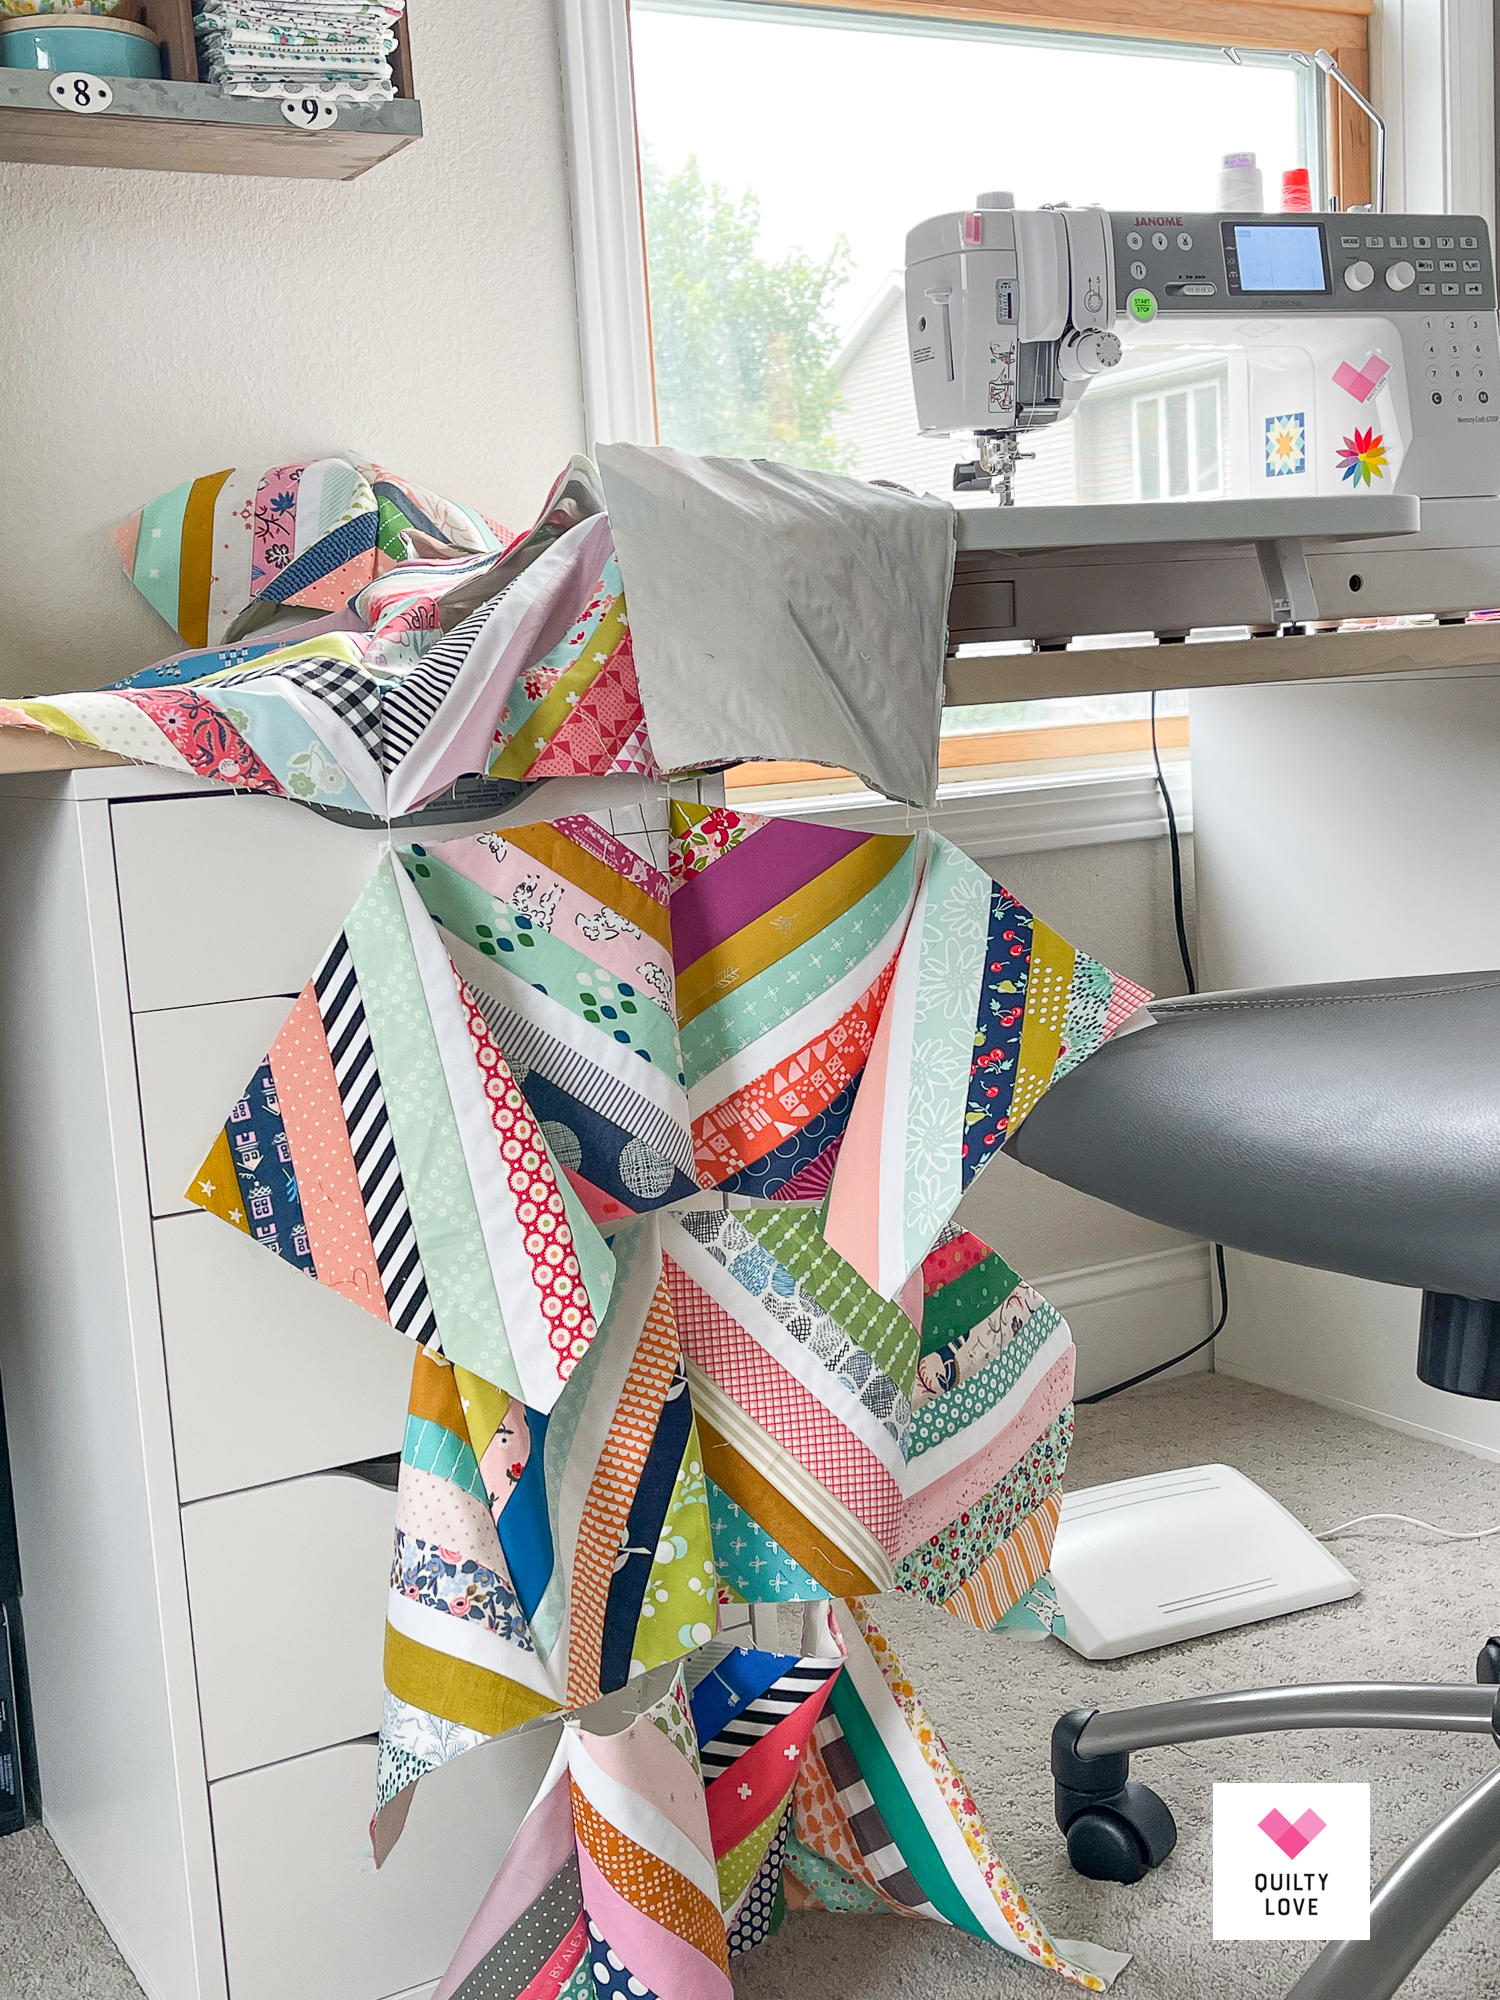
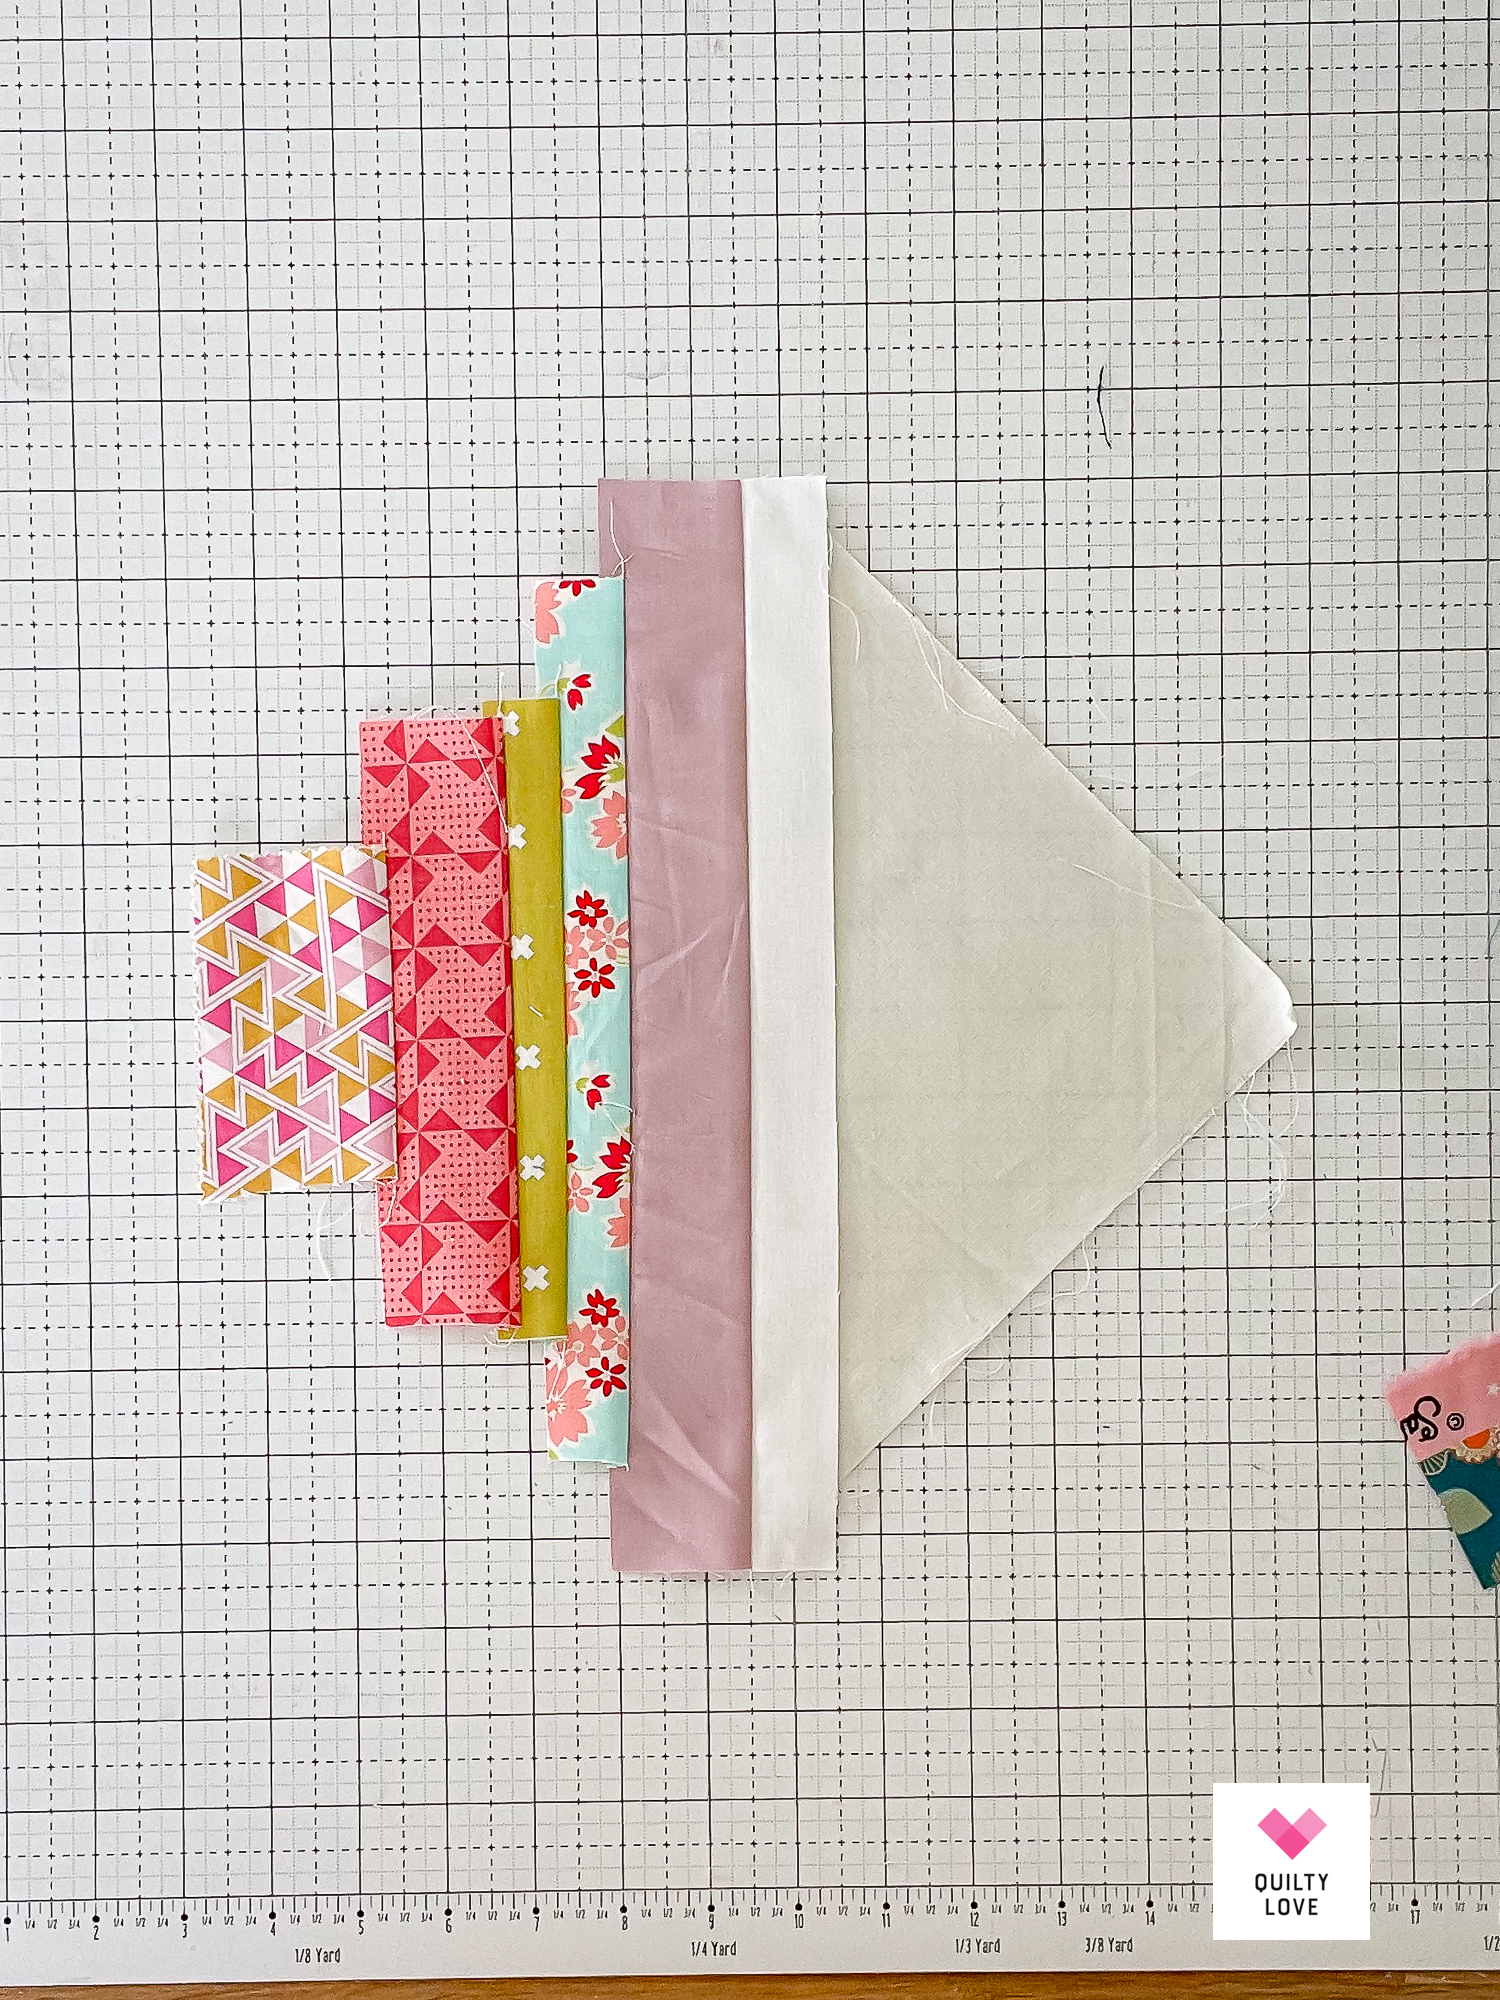
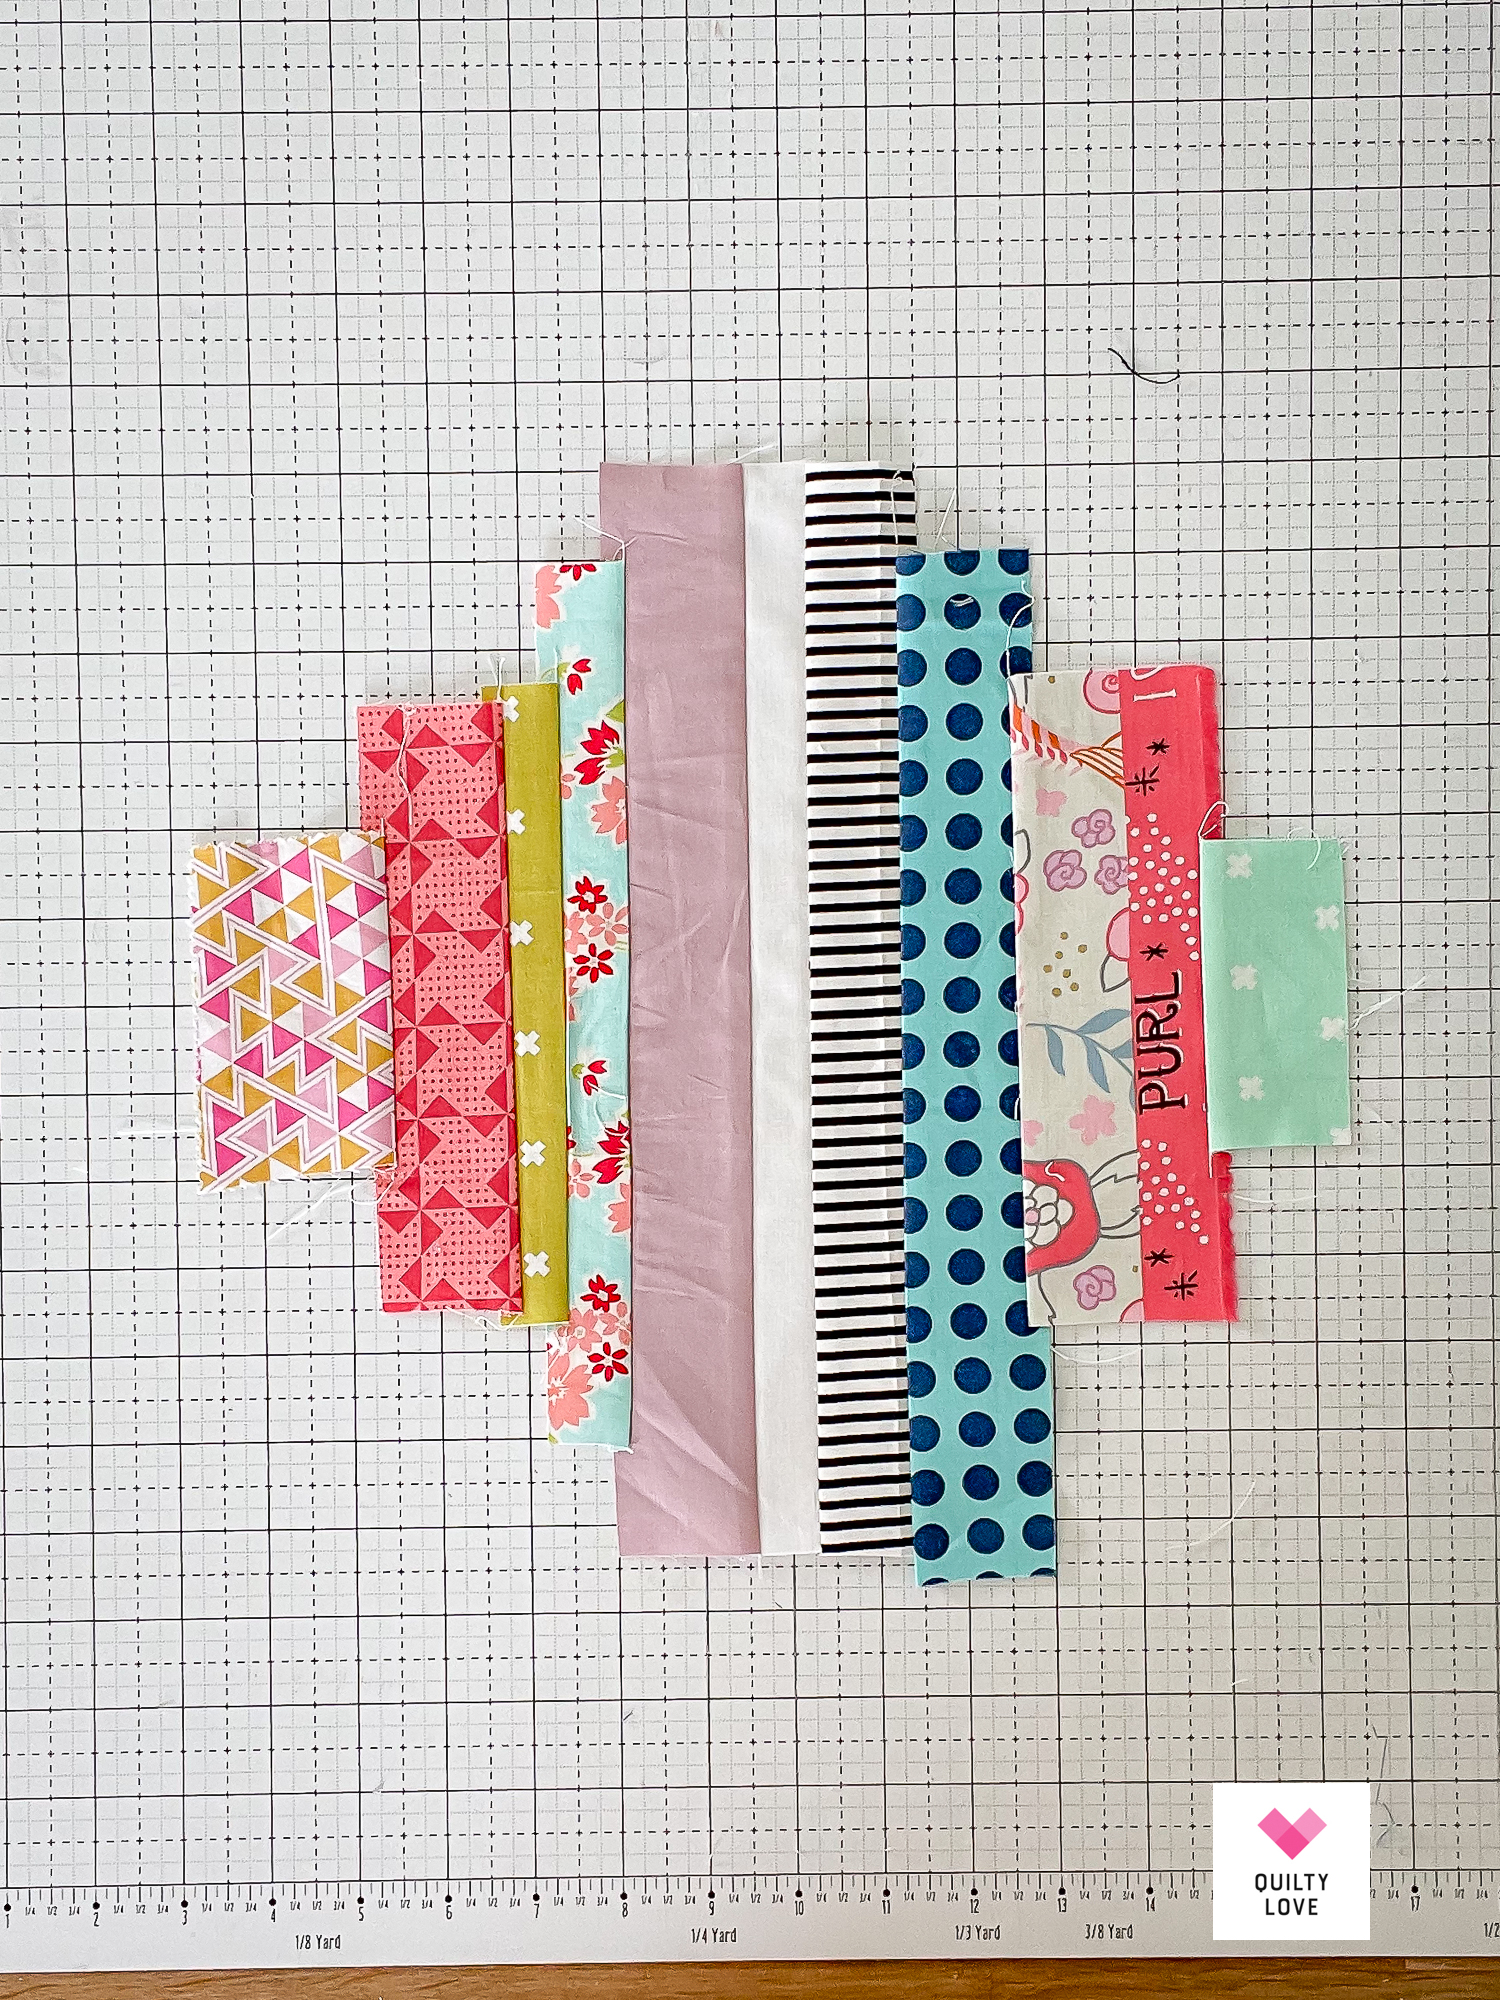
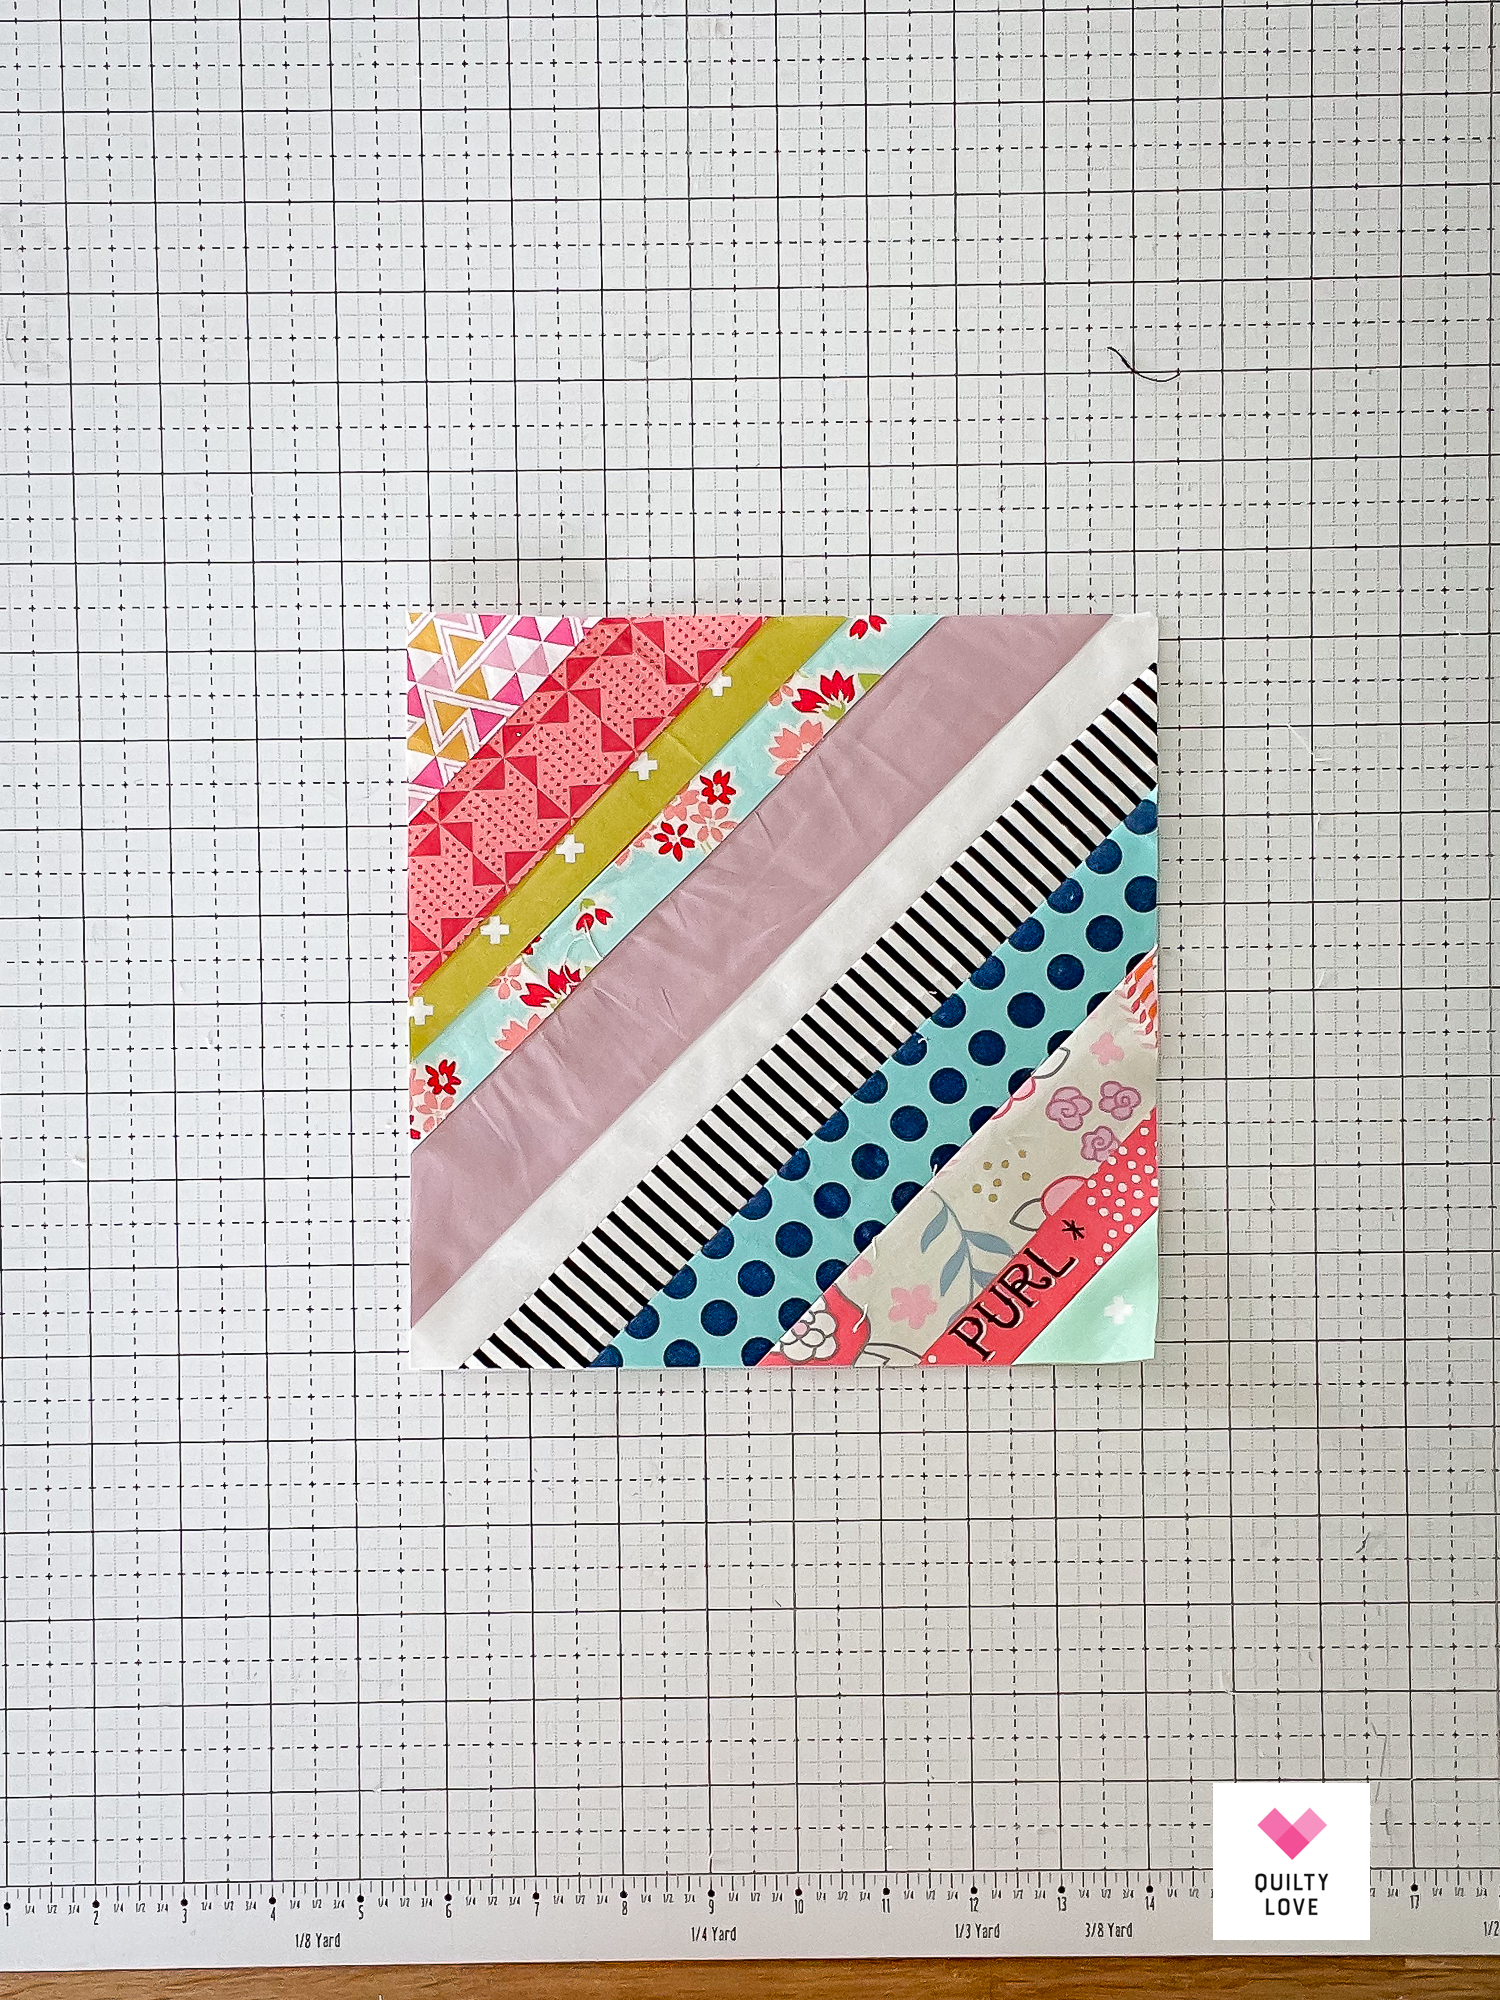
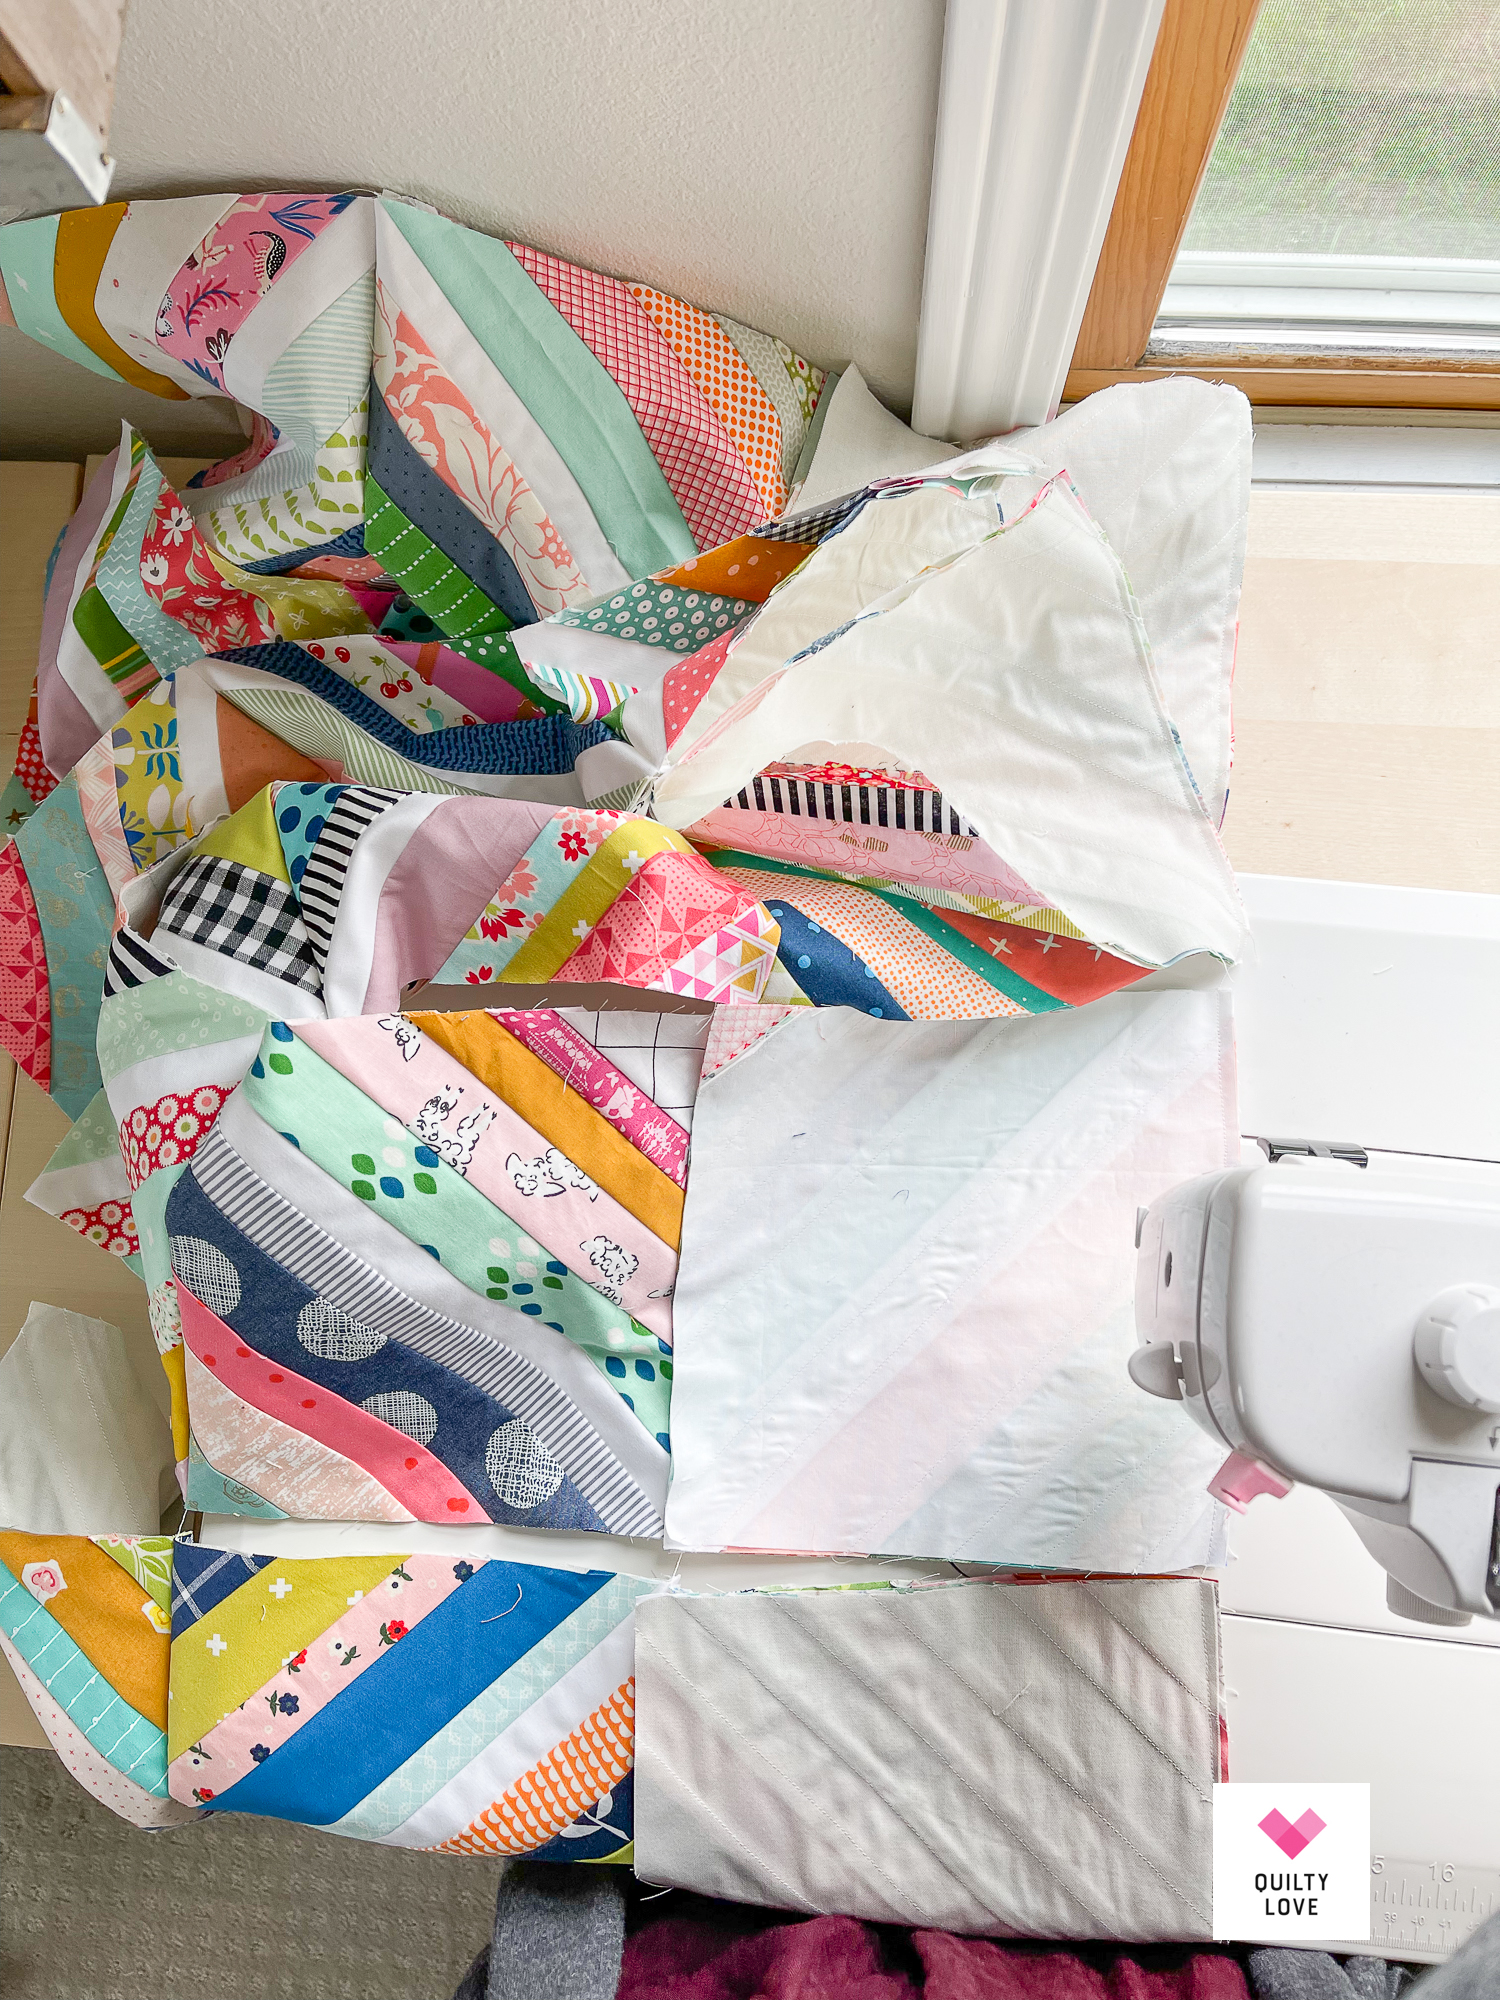
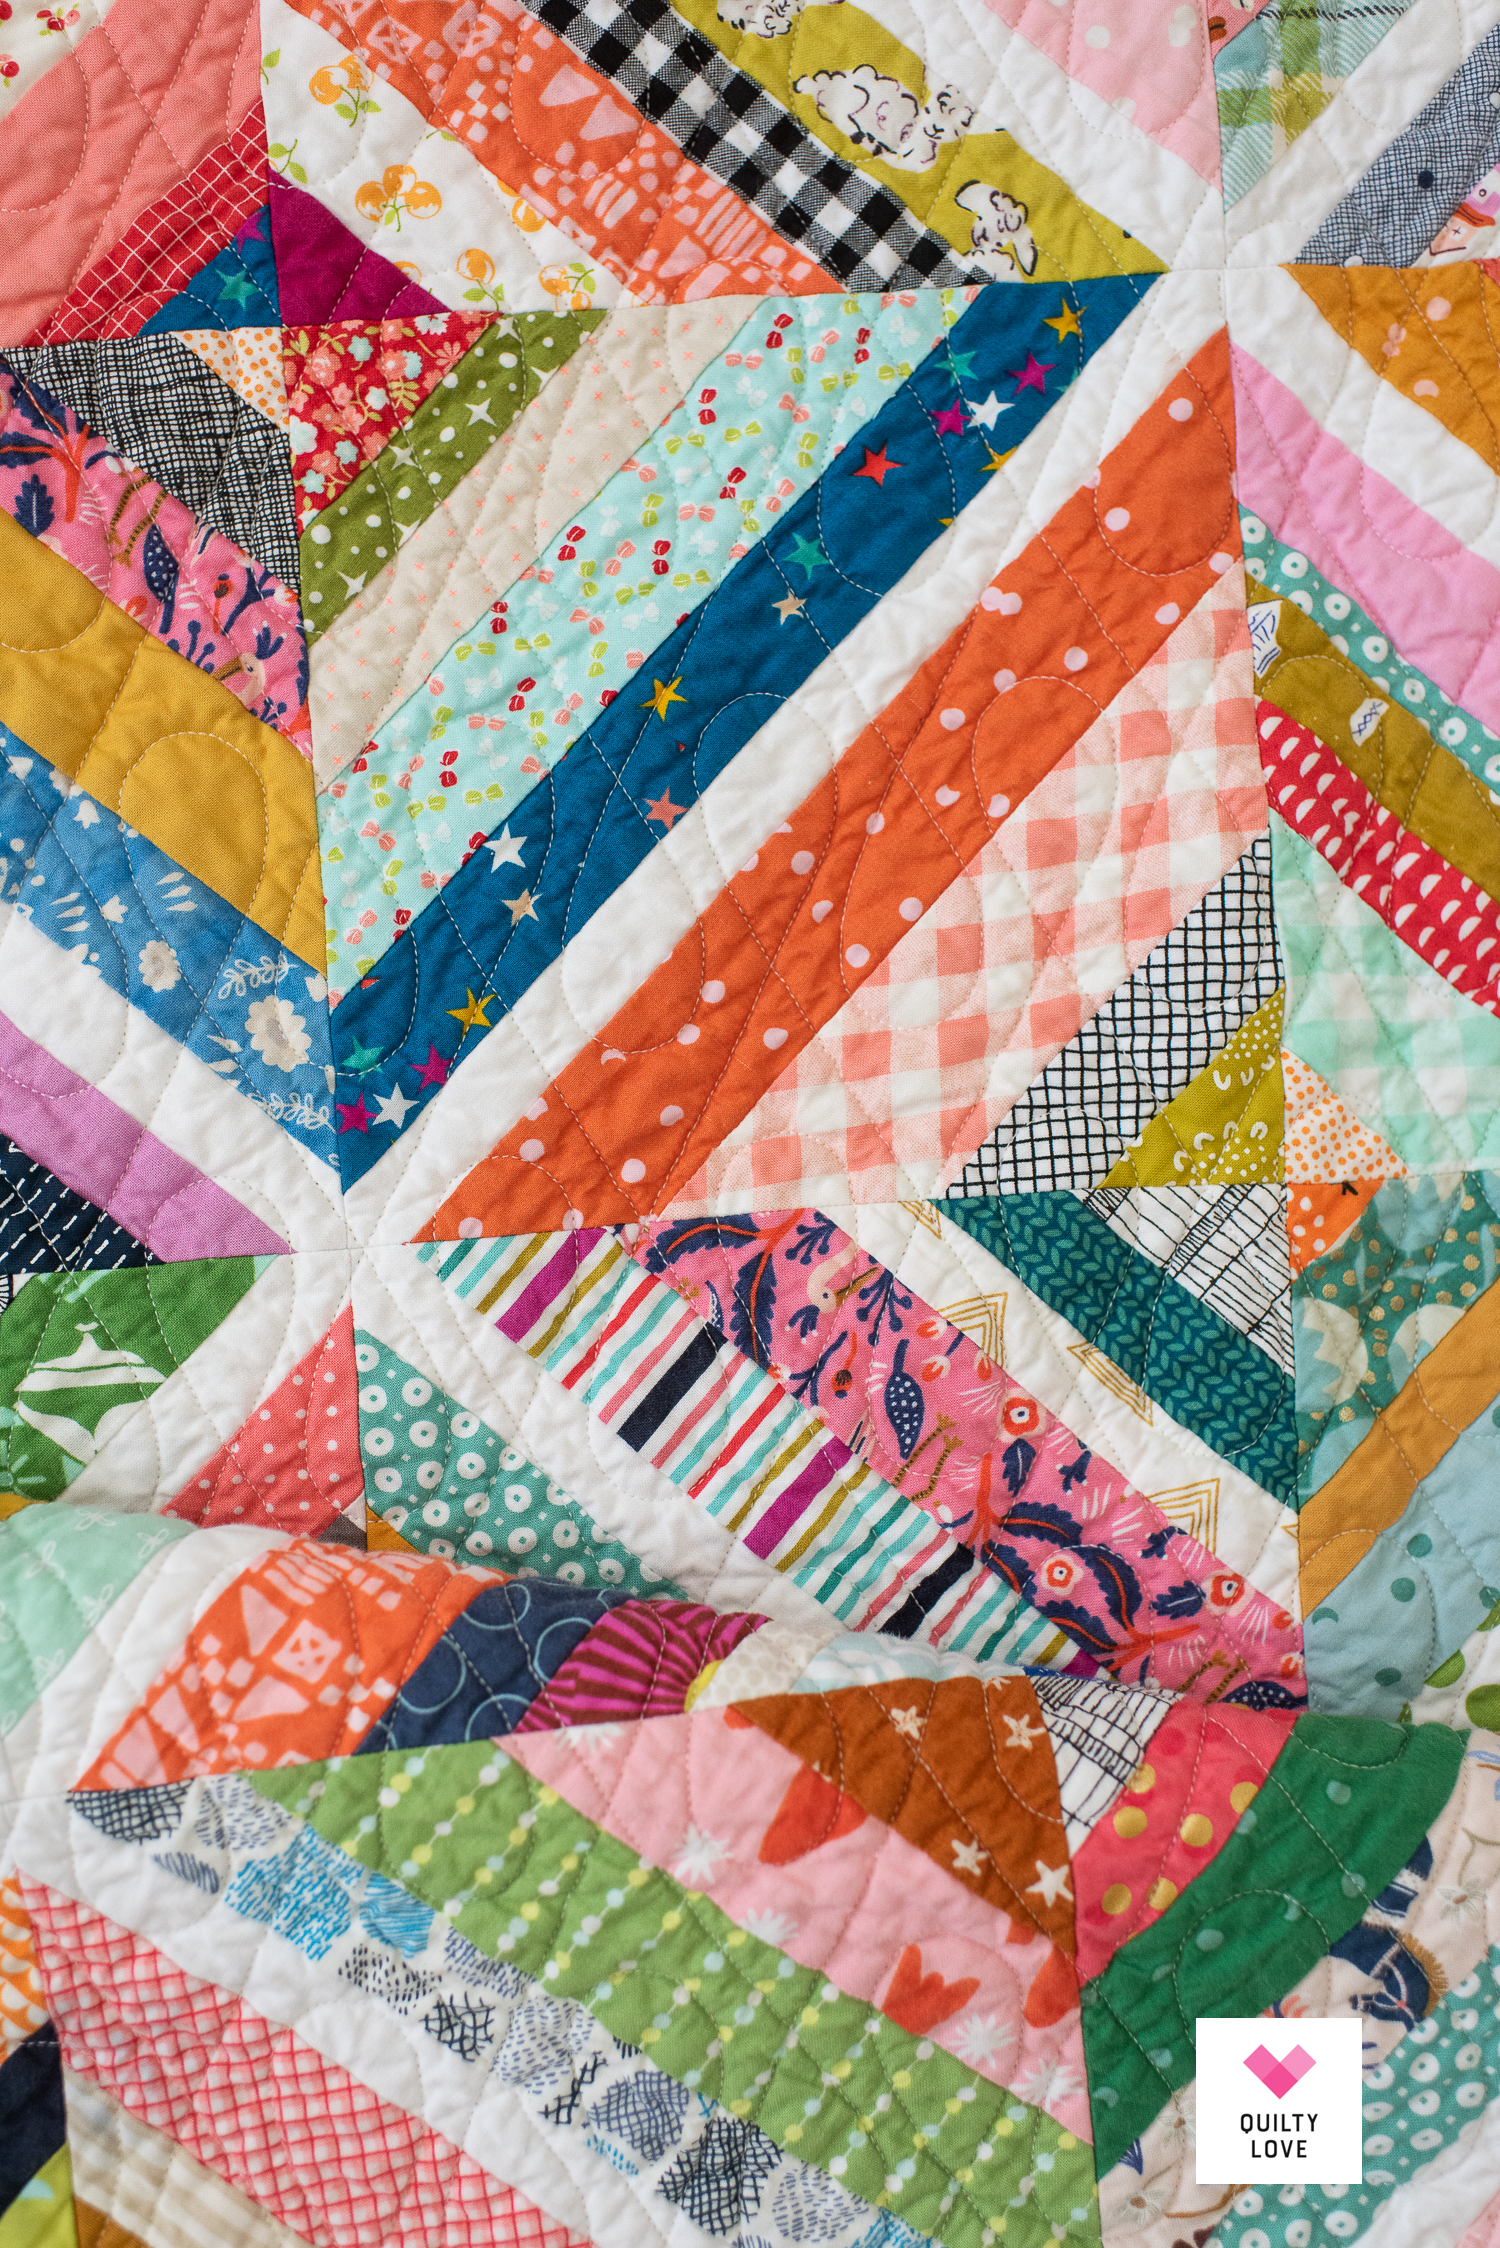
I started by centering the white strip on the diagonal of a foundation square. Then I sewed each strip one at a time on one side. So add a strip, press open. Add another strip, press open…etc… Then do the same for the other side.
The final step is to trim the block 8.5″ square.
String blocks using a fabric foundation
One common way to make string blocks is to use a foundation square. Some quilters use paper that gets removed and some quilters use fabric that becomes part of the quilt.
I used some leftover shot cotton that was in my stash but most quilters recommend using something nice and thin like muslin. I do agree that the thinner the better because this quilt will end up a little thicker and heavier with that extra layer of fabric.
I started this quilt a few years ago by making a few blocks. The first couple of blocks used a paper foundation but I quickly realized I did not want to bother removing all of that paper so I quickly switched to fabric.
Why use this foundation square?
The foundation square provides both stability for the block and acts as a guide so you know where to place the fabric.
The most common question I received on Instagram is why use a foundation square at all. Honestly, I’m not sure why not! You certainly could skip the foundation all together and many quilters reported that they did just that.
This quilt ends up with a lot of seams and when the strips are on the vertical like this it might be more prone to shifting and stretching. I personally liked the foundation square for the stability and my blocks were trimmed nice and crisp and stayed that way.
White Sashing Strip
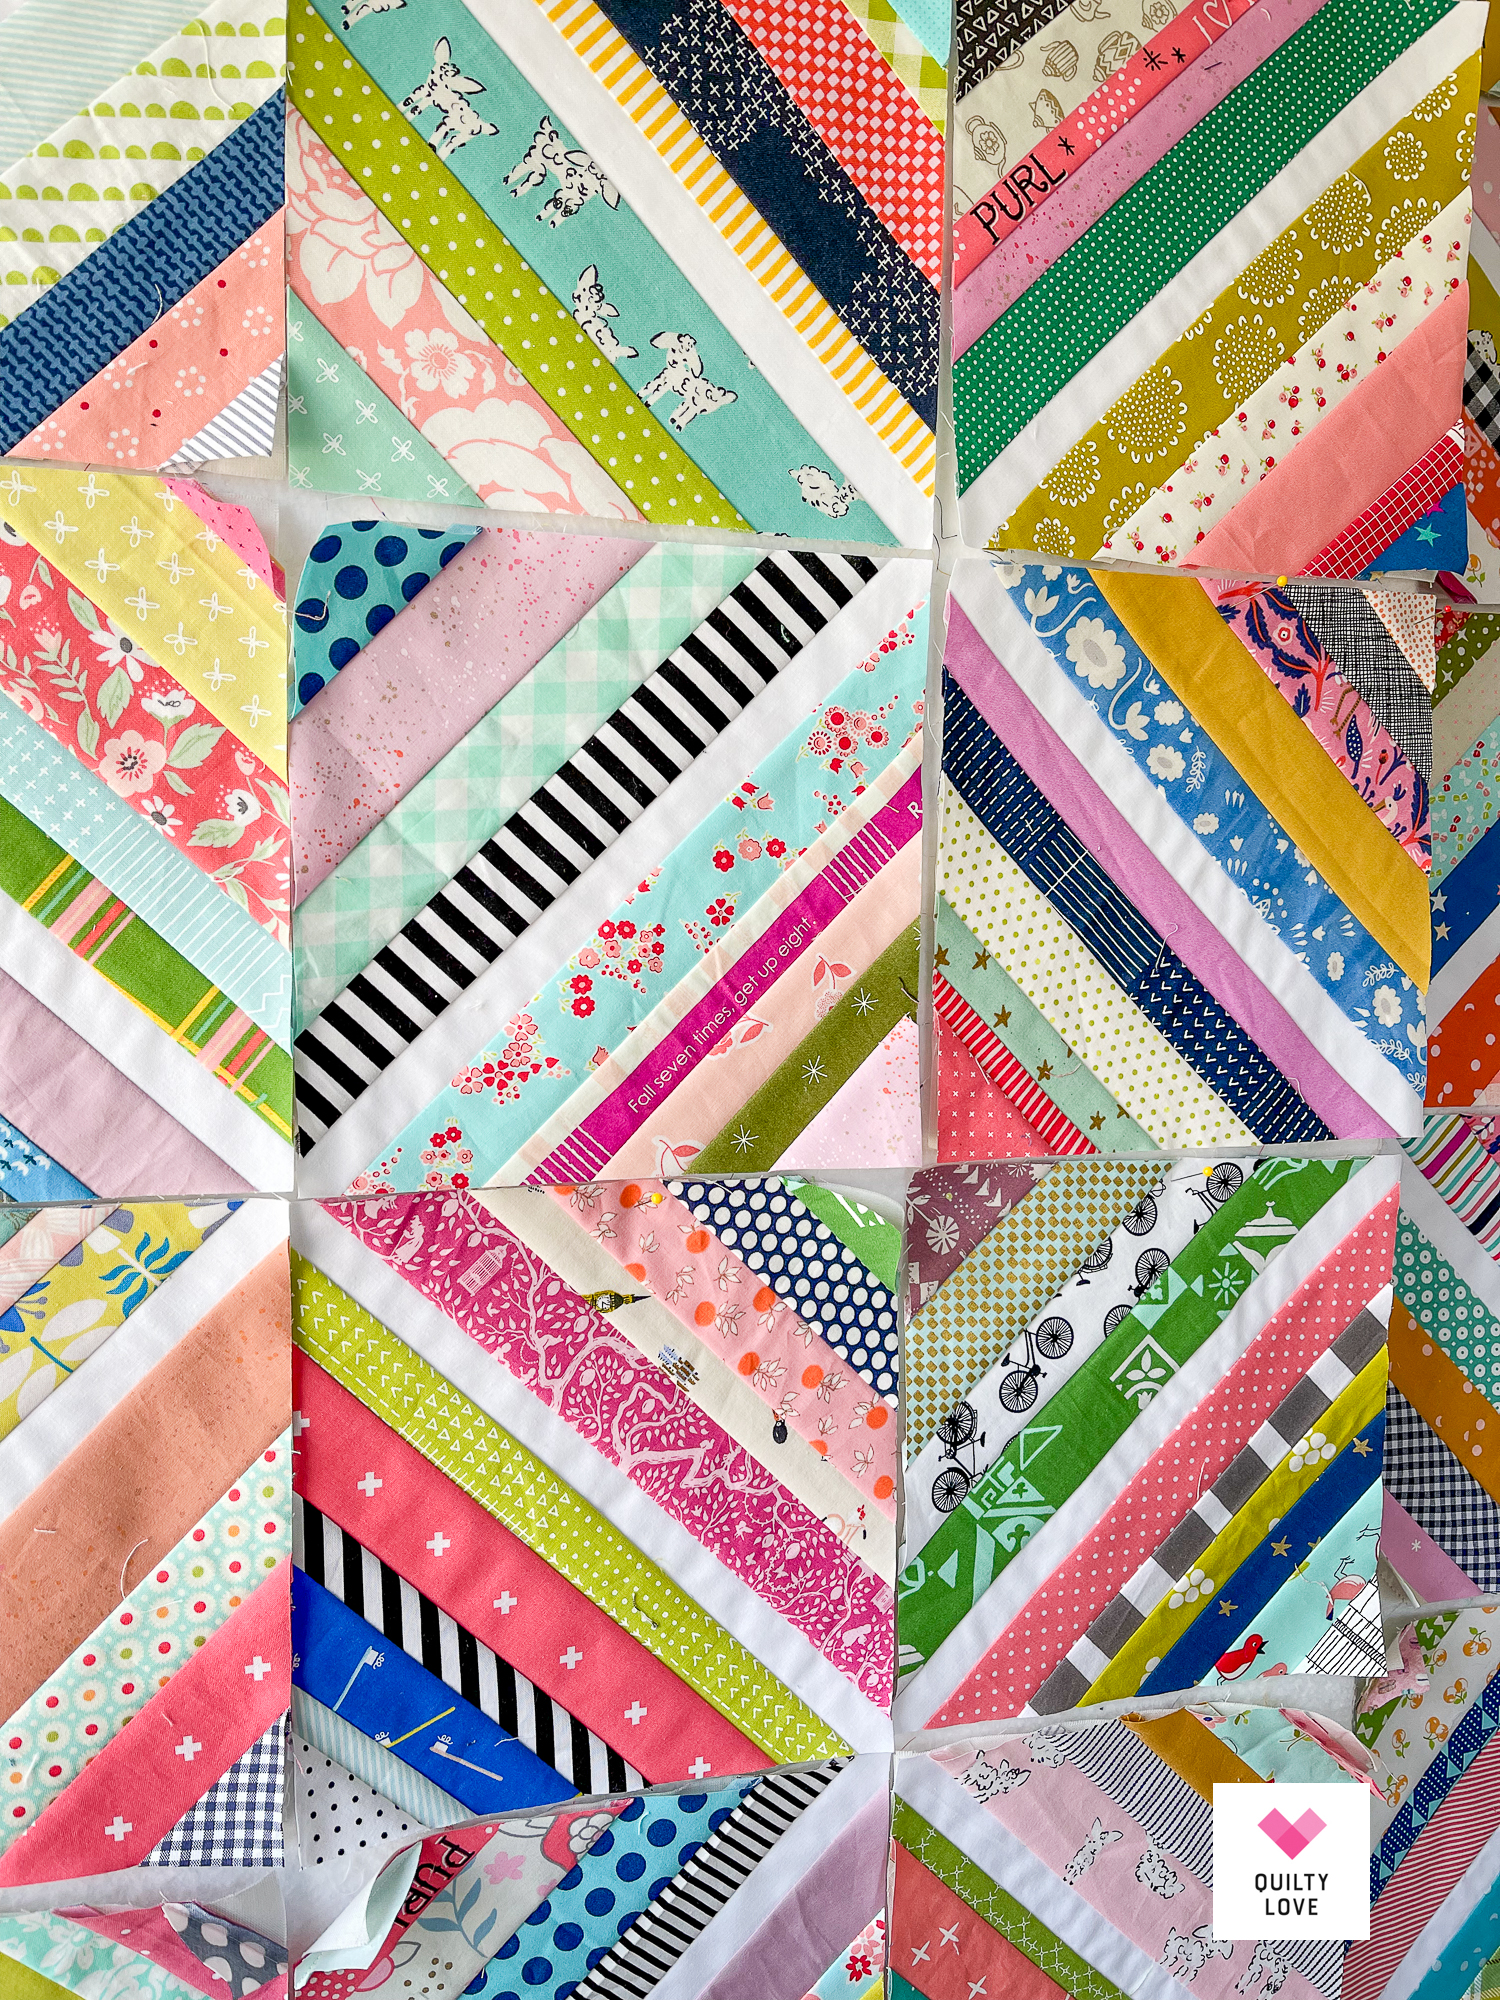
I decided to add a white sashing strip down the center of each block to give the eye a place to rest on this busy busy quilt. I’ve seen many quilters make full on scrappy blocks and then just add a sashing at the end. I incorporated this “sashing” strip into the block.
To do this each block started with a white strip down the very center. Then I built the blocks out from each side of the white strip. I tried to perfectly center the white strip as best I could but in the end I decided it didn’t matter if they all lined up perfectly or not.
String scraps
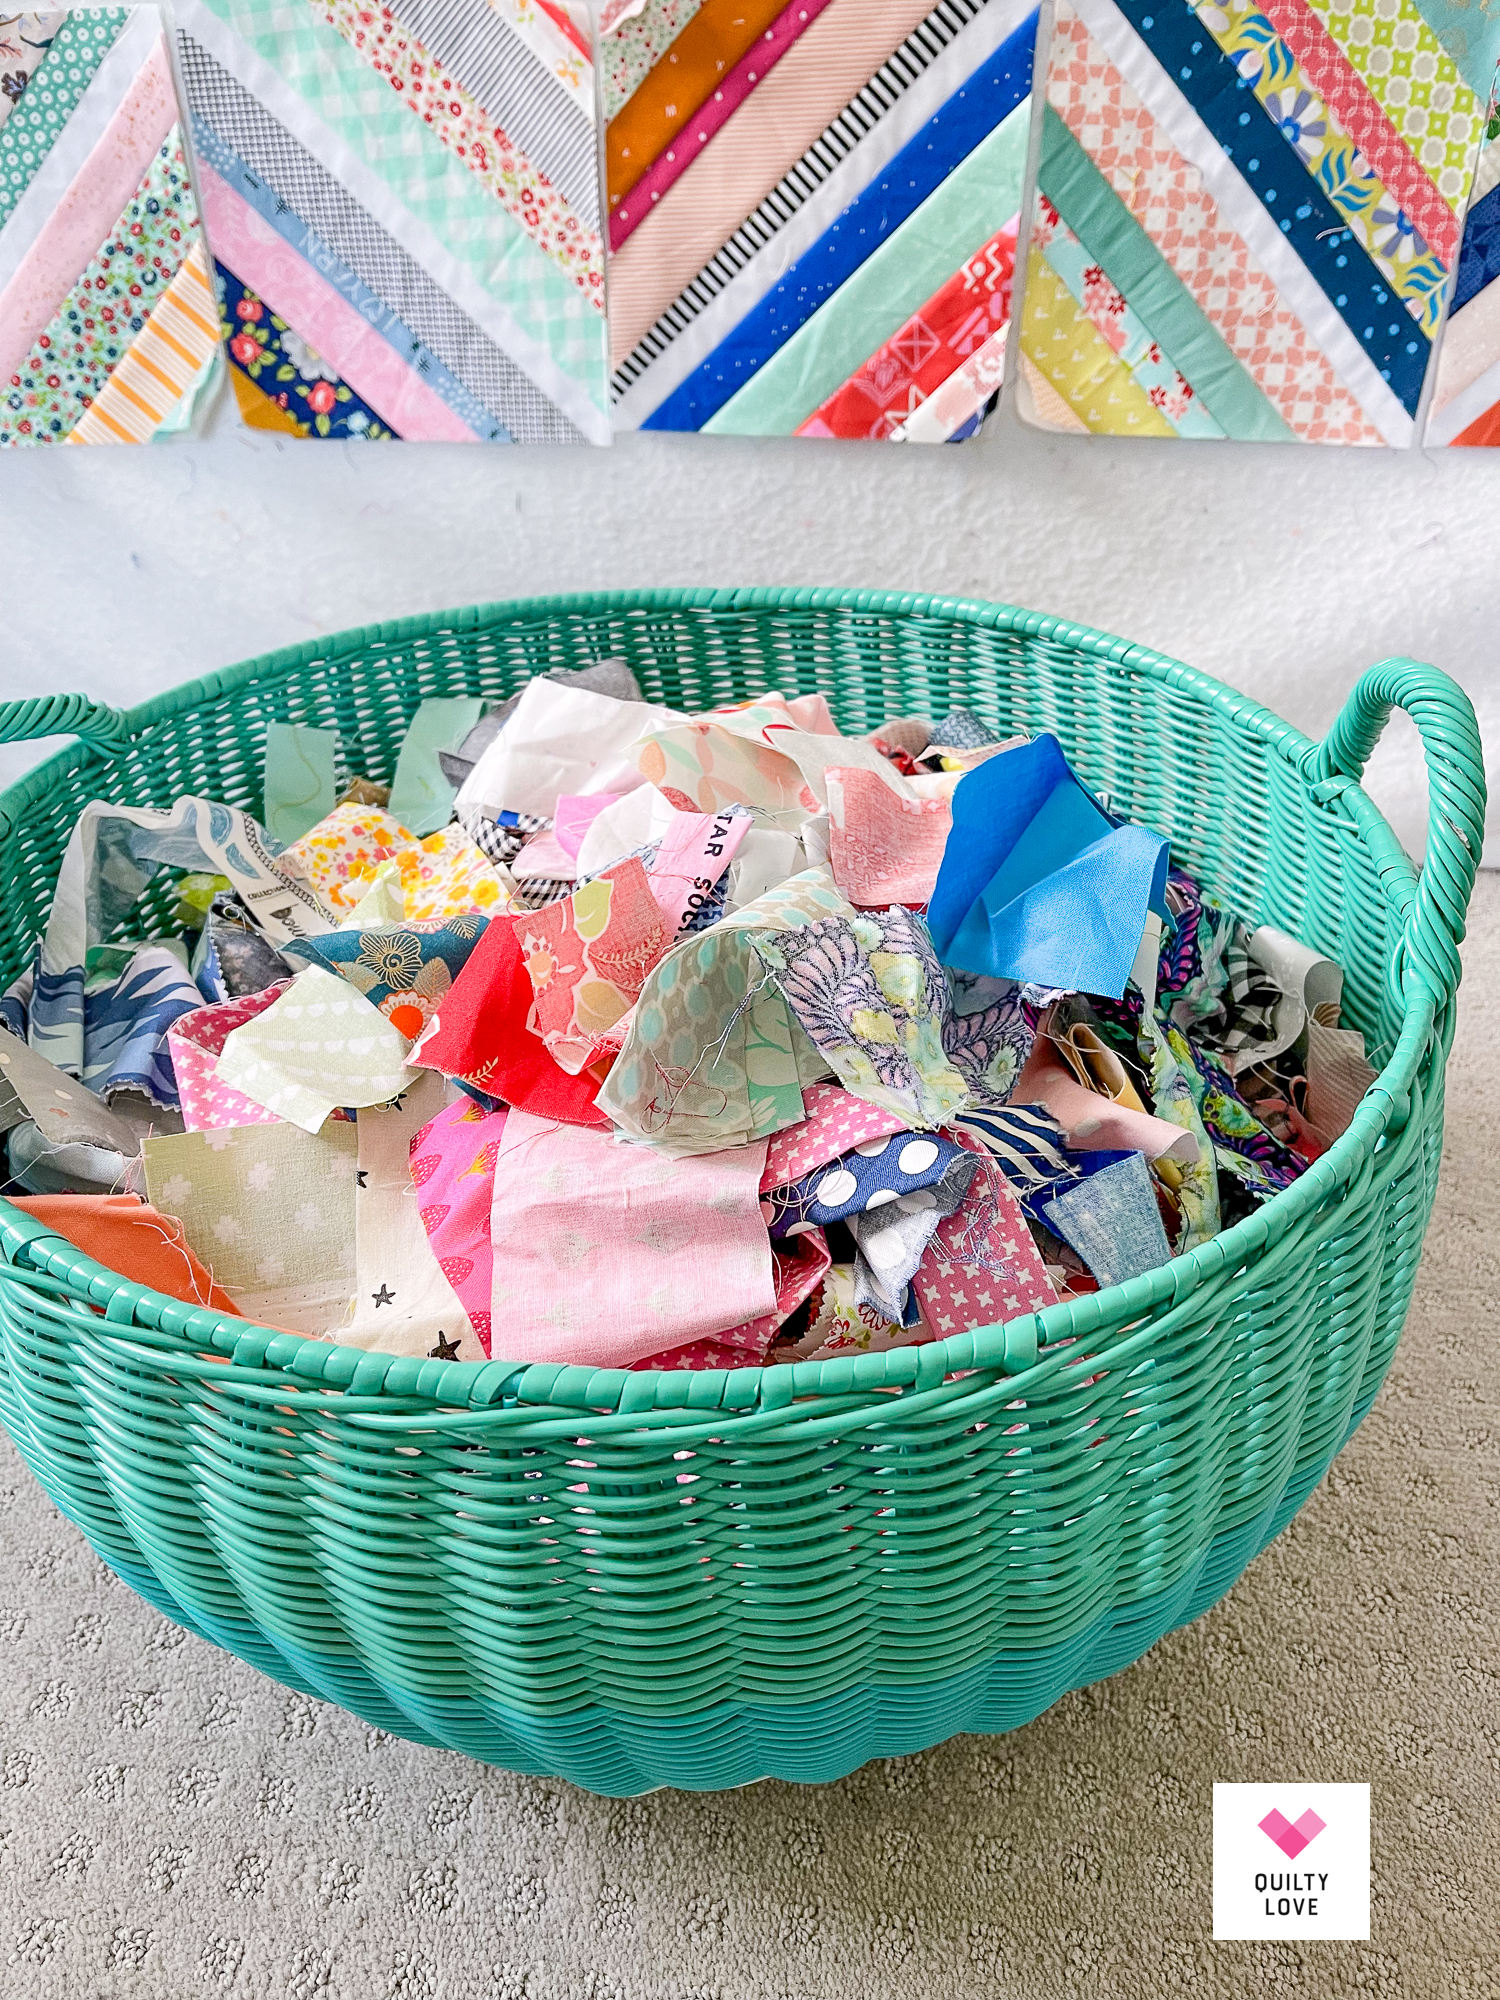
I started keeping string scraps several years ago to make a string quilt. I separate them out from my regular scrap bins and store them all together in this large basket. Everything gets mixed by color and whenever I have new strings I add them to the basket.
As I mentioned already I started this quilt years ago but just wasn’t feeling it. I only made a few blocks and then stored them away. Over the years I’ve been tempted to get rid of this basket of scraps and almost did a few times.
But boy am I glad I didn’t!
Because in my recent sewing room organization project I came across the blocks and for whatever reason wanted to make these blocks again. And once I started… I couldn’t stop!
This became my summer scrap project and it sure was fun! It was the most enjoyable quilt I have made in a while.
It’s a good project for those who also have a little more self control than me. You can make a few blocks here and there. It’s easy to store and pick right back up.
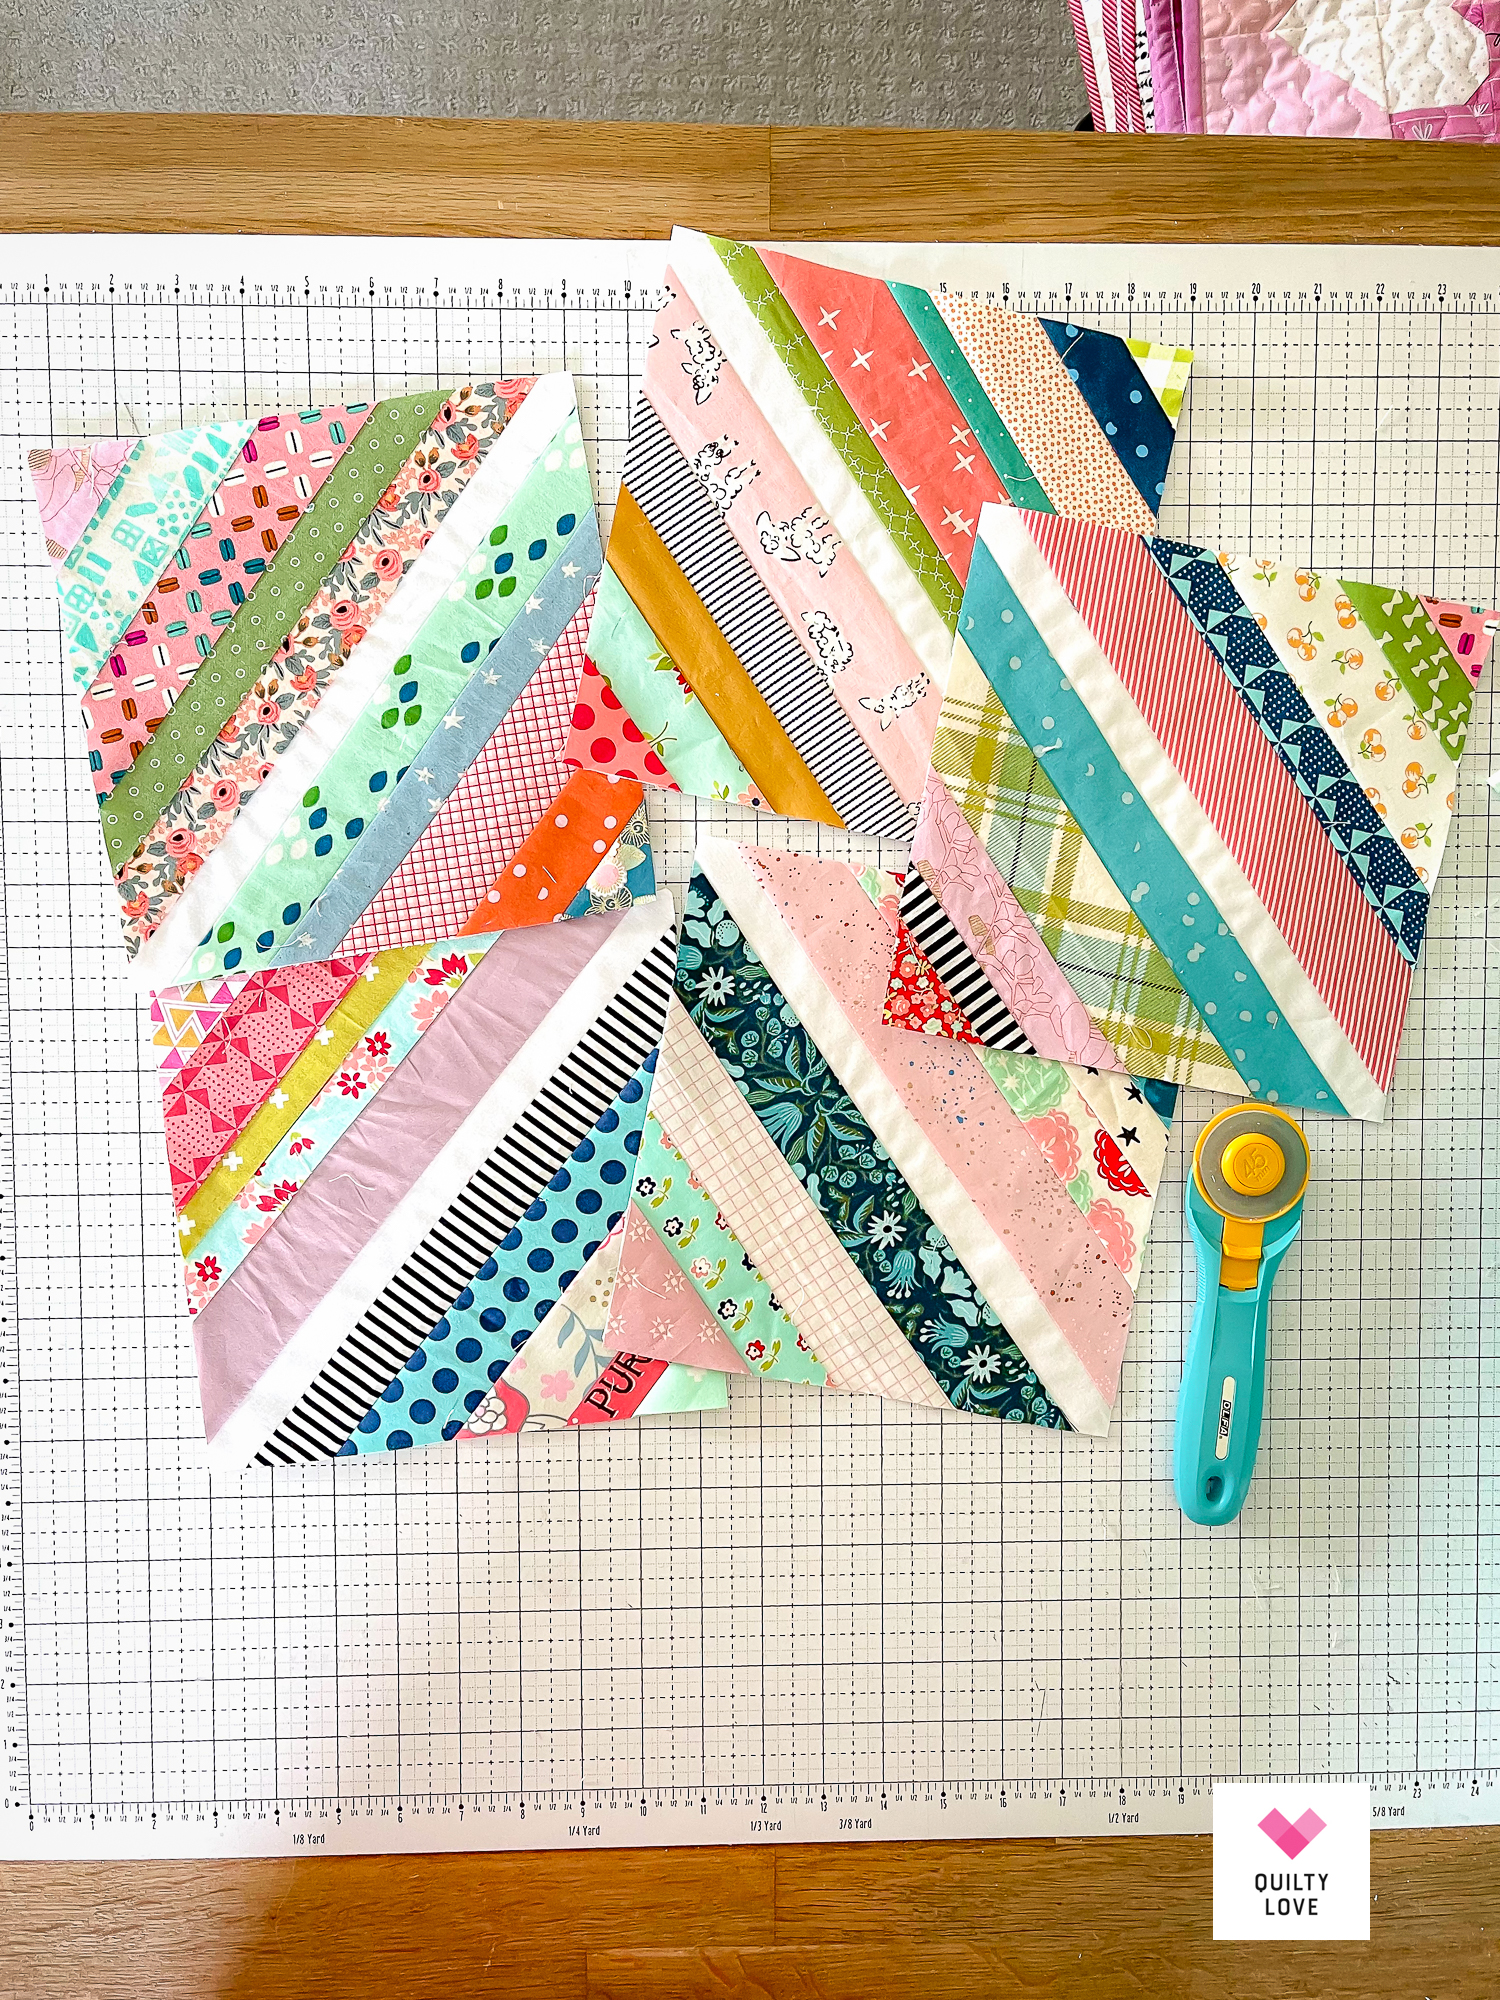
Once I started making these blocks again it only took a few weeks to finish this quilt. I found that I liked working on them 5 at a time. They go a little faster when you make more than one at a time.
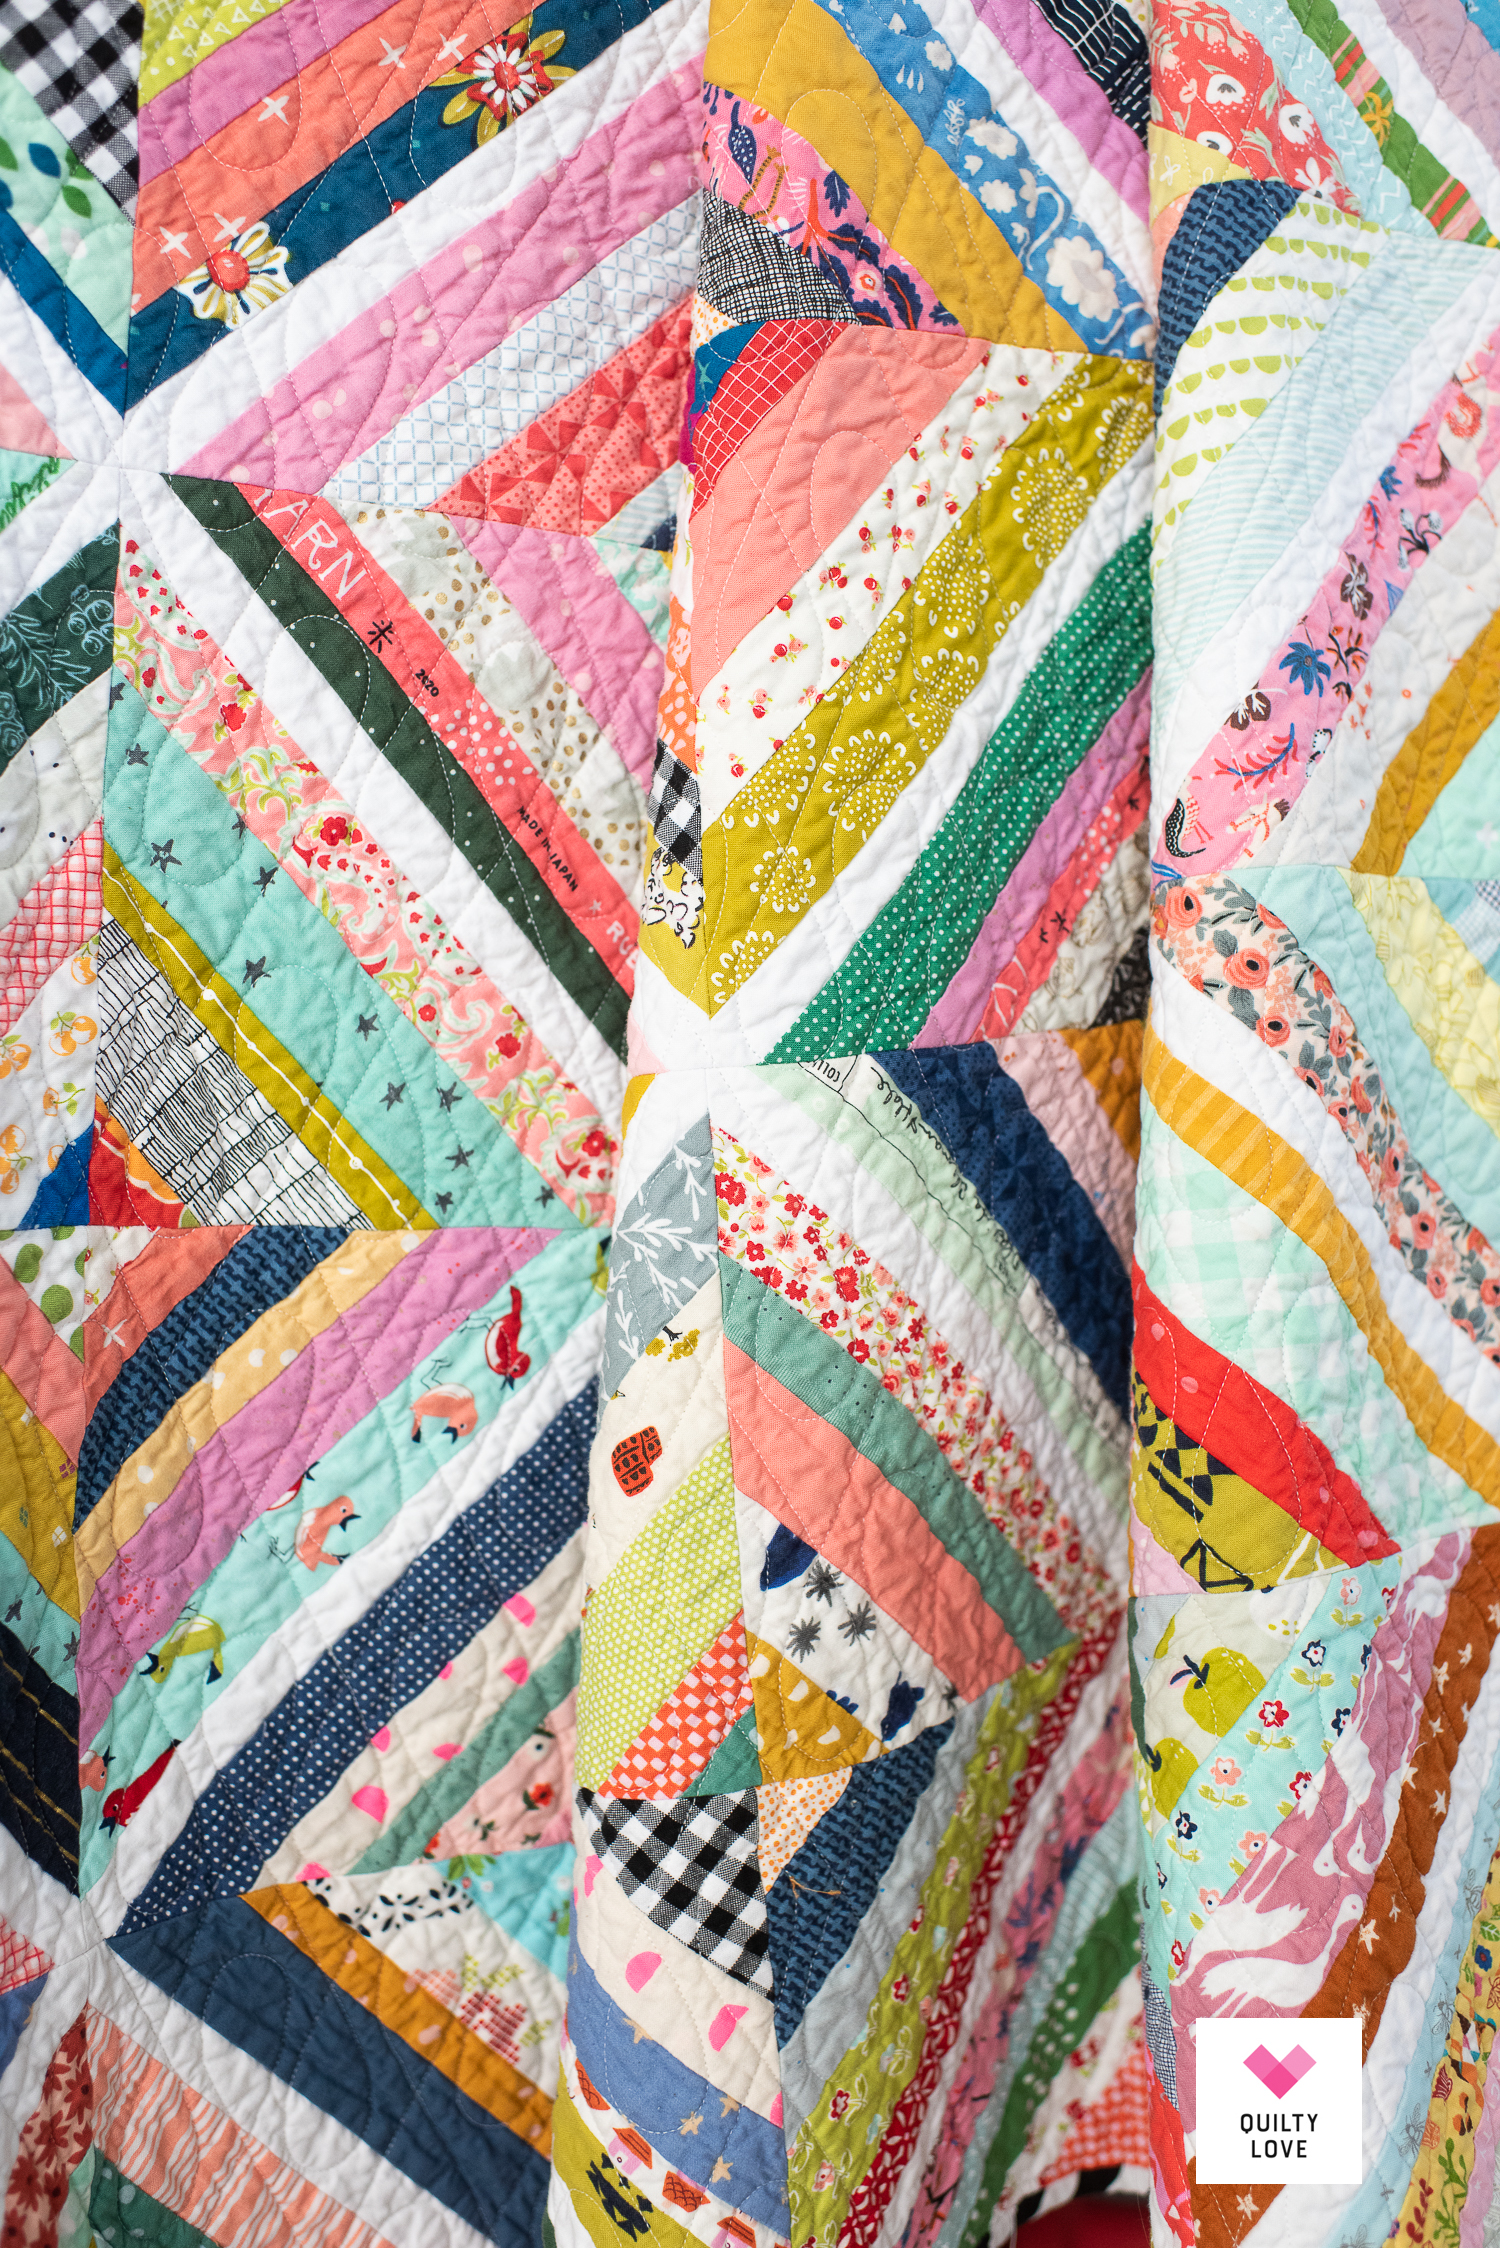
Seam Bulk on the String quilt
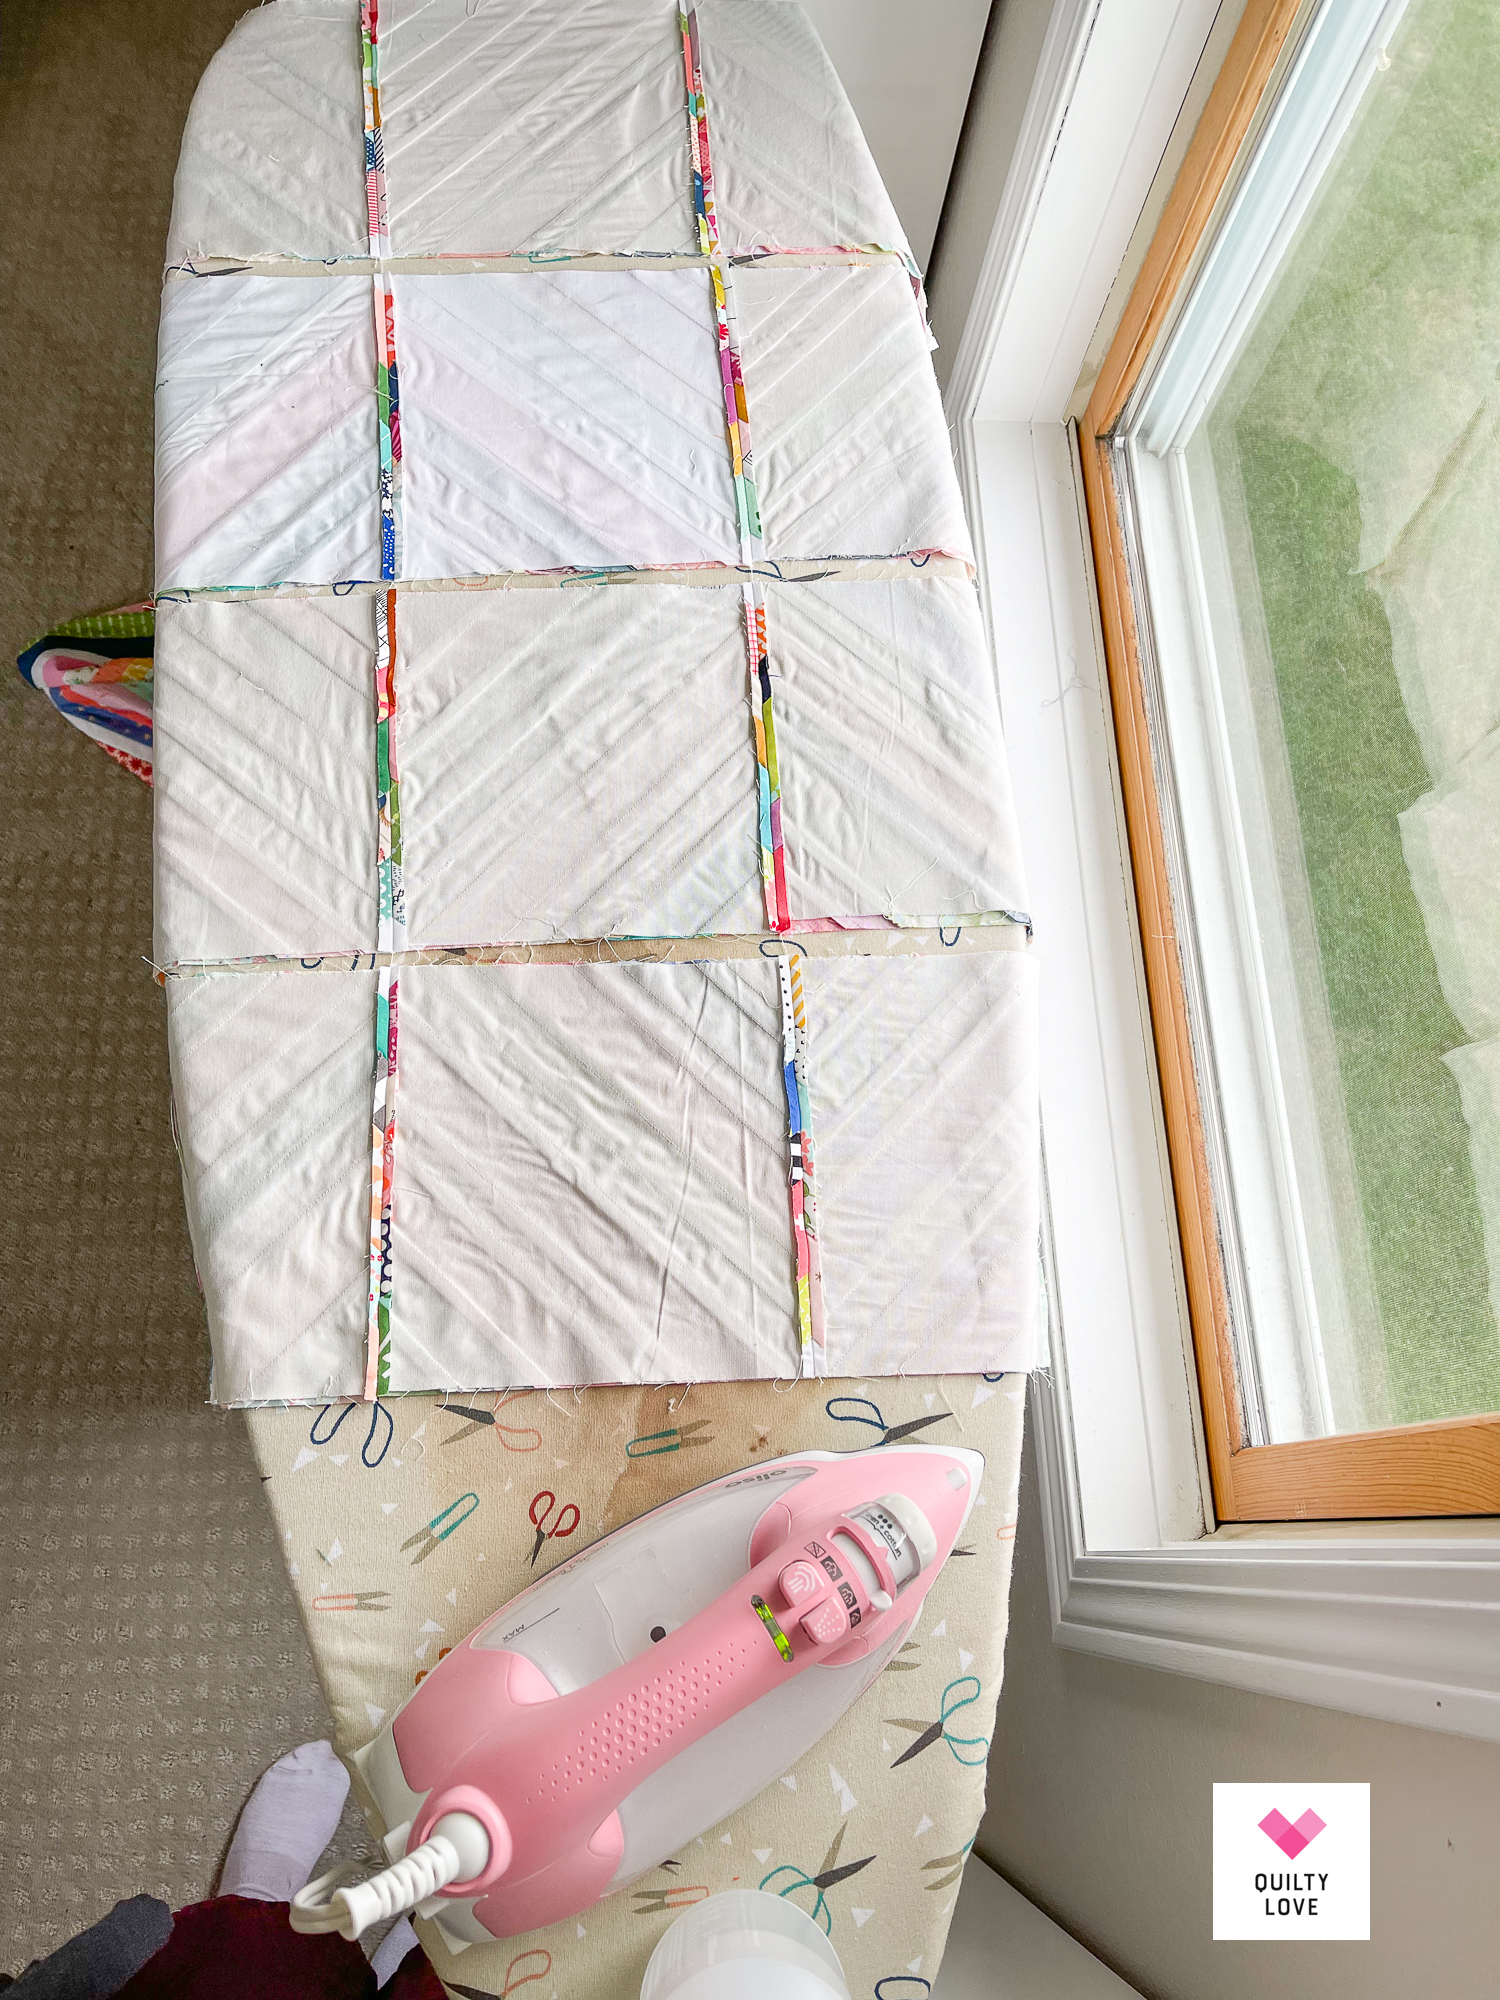
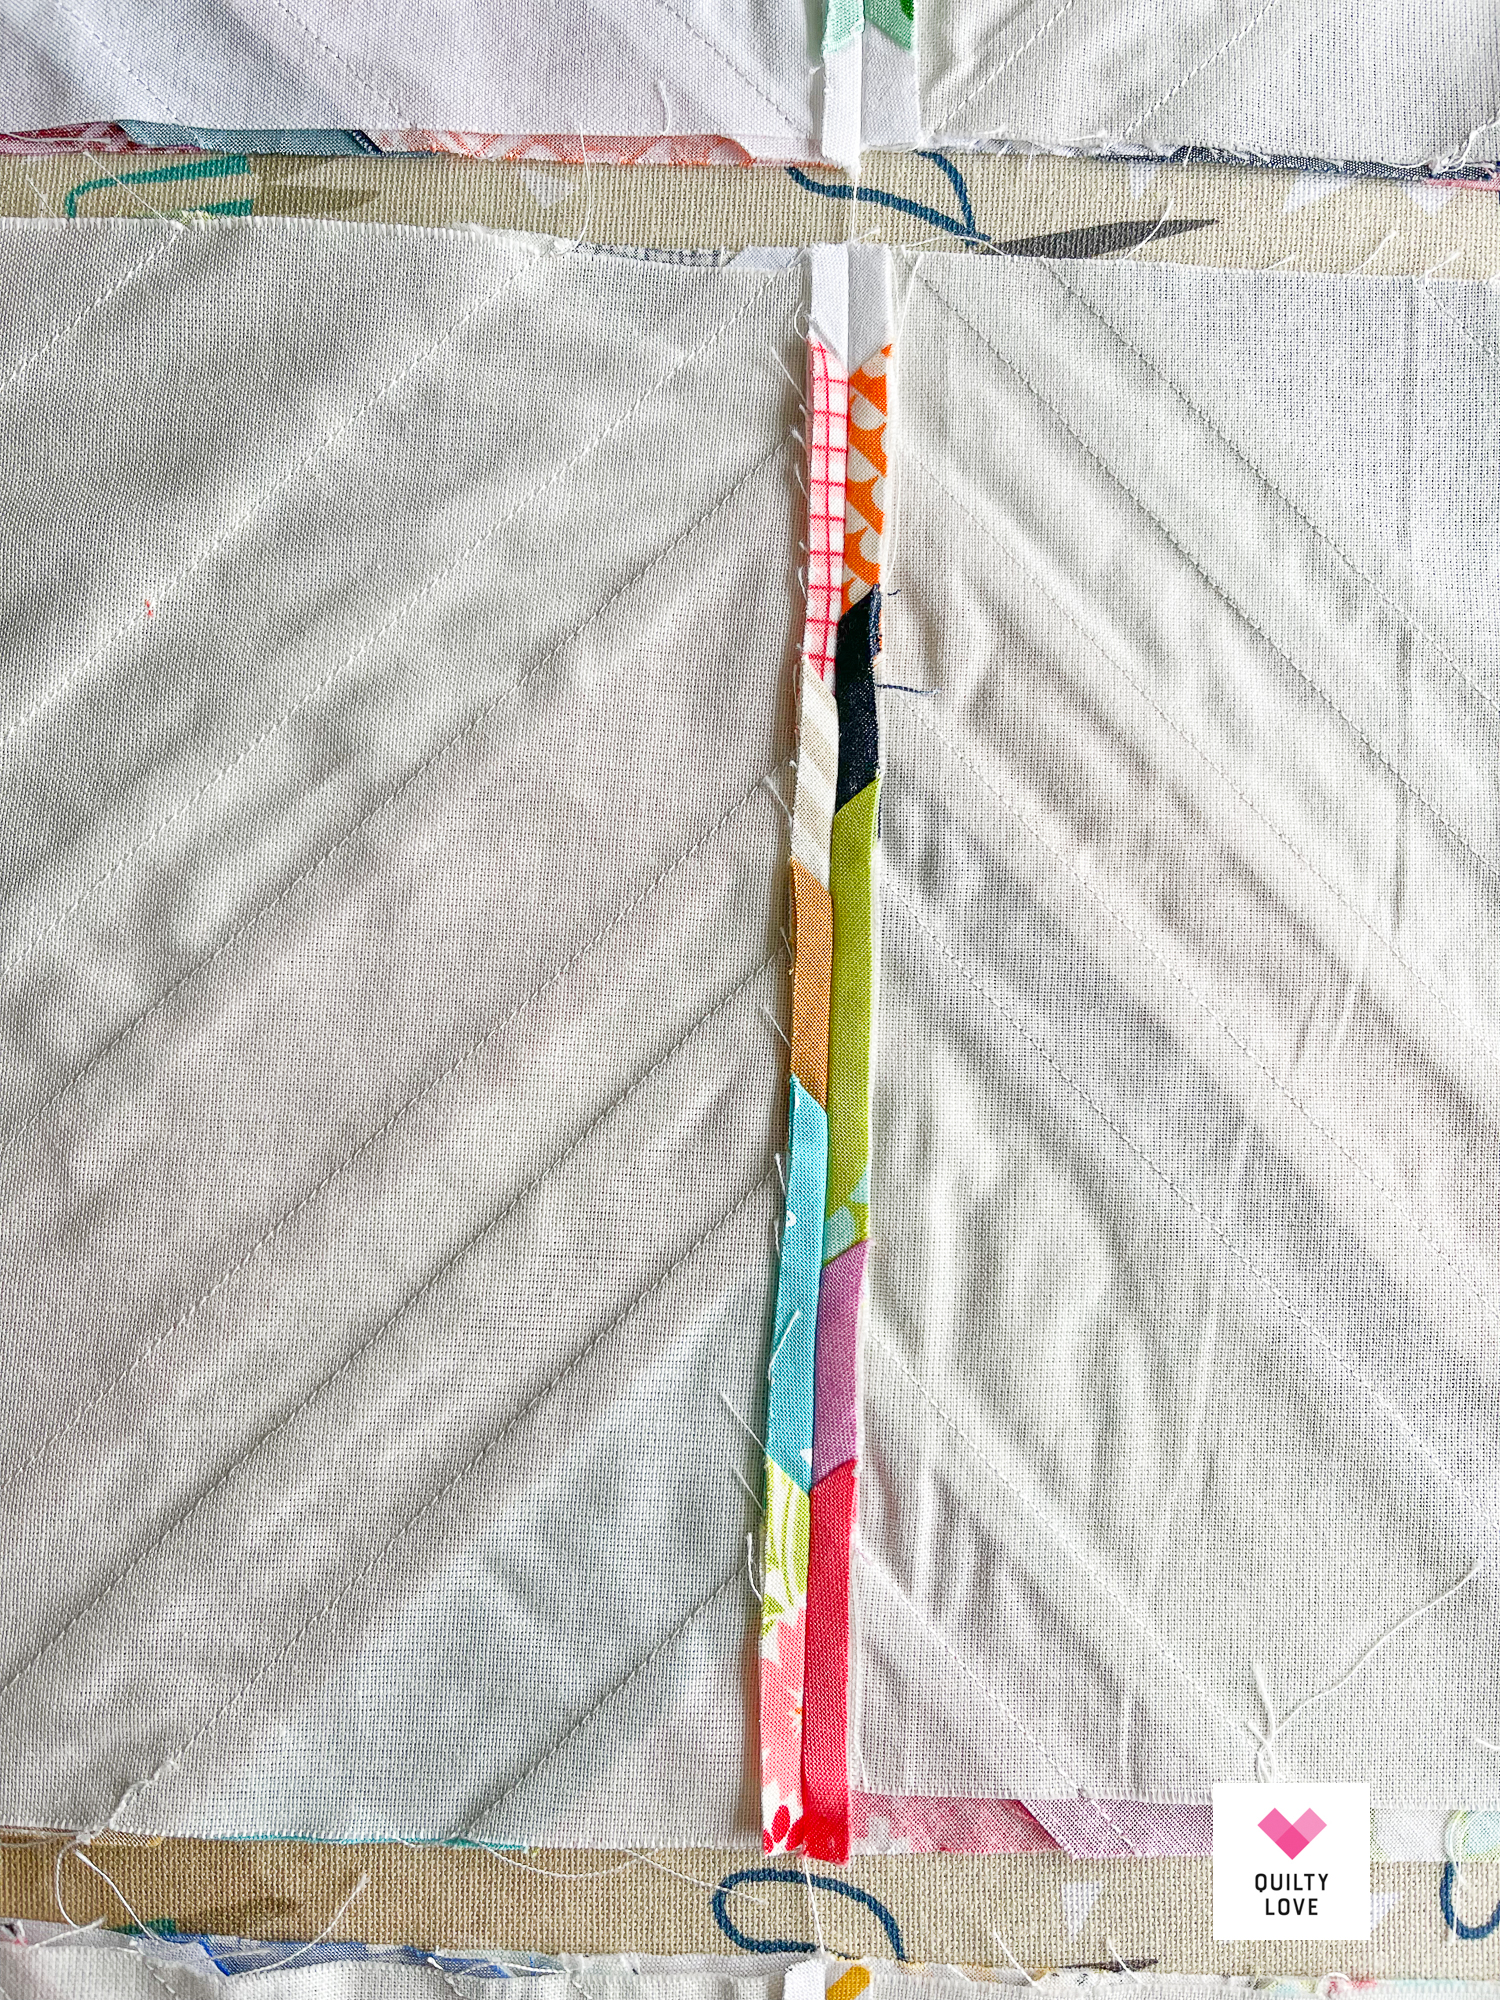
I was a little worried about the seams getting too bulky on this super scrappy double layered quilt top. They really didn’t end up being an issue though with a good press!
I pressed all of my seams open as I sewed the quilt top together. That really helped distribute the bulk in the seams. I really love my Oliso iron for heavy duty projects like this.


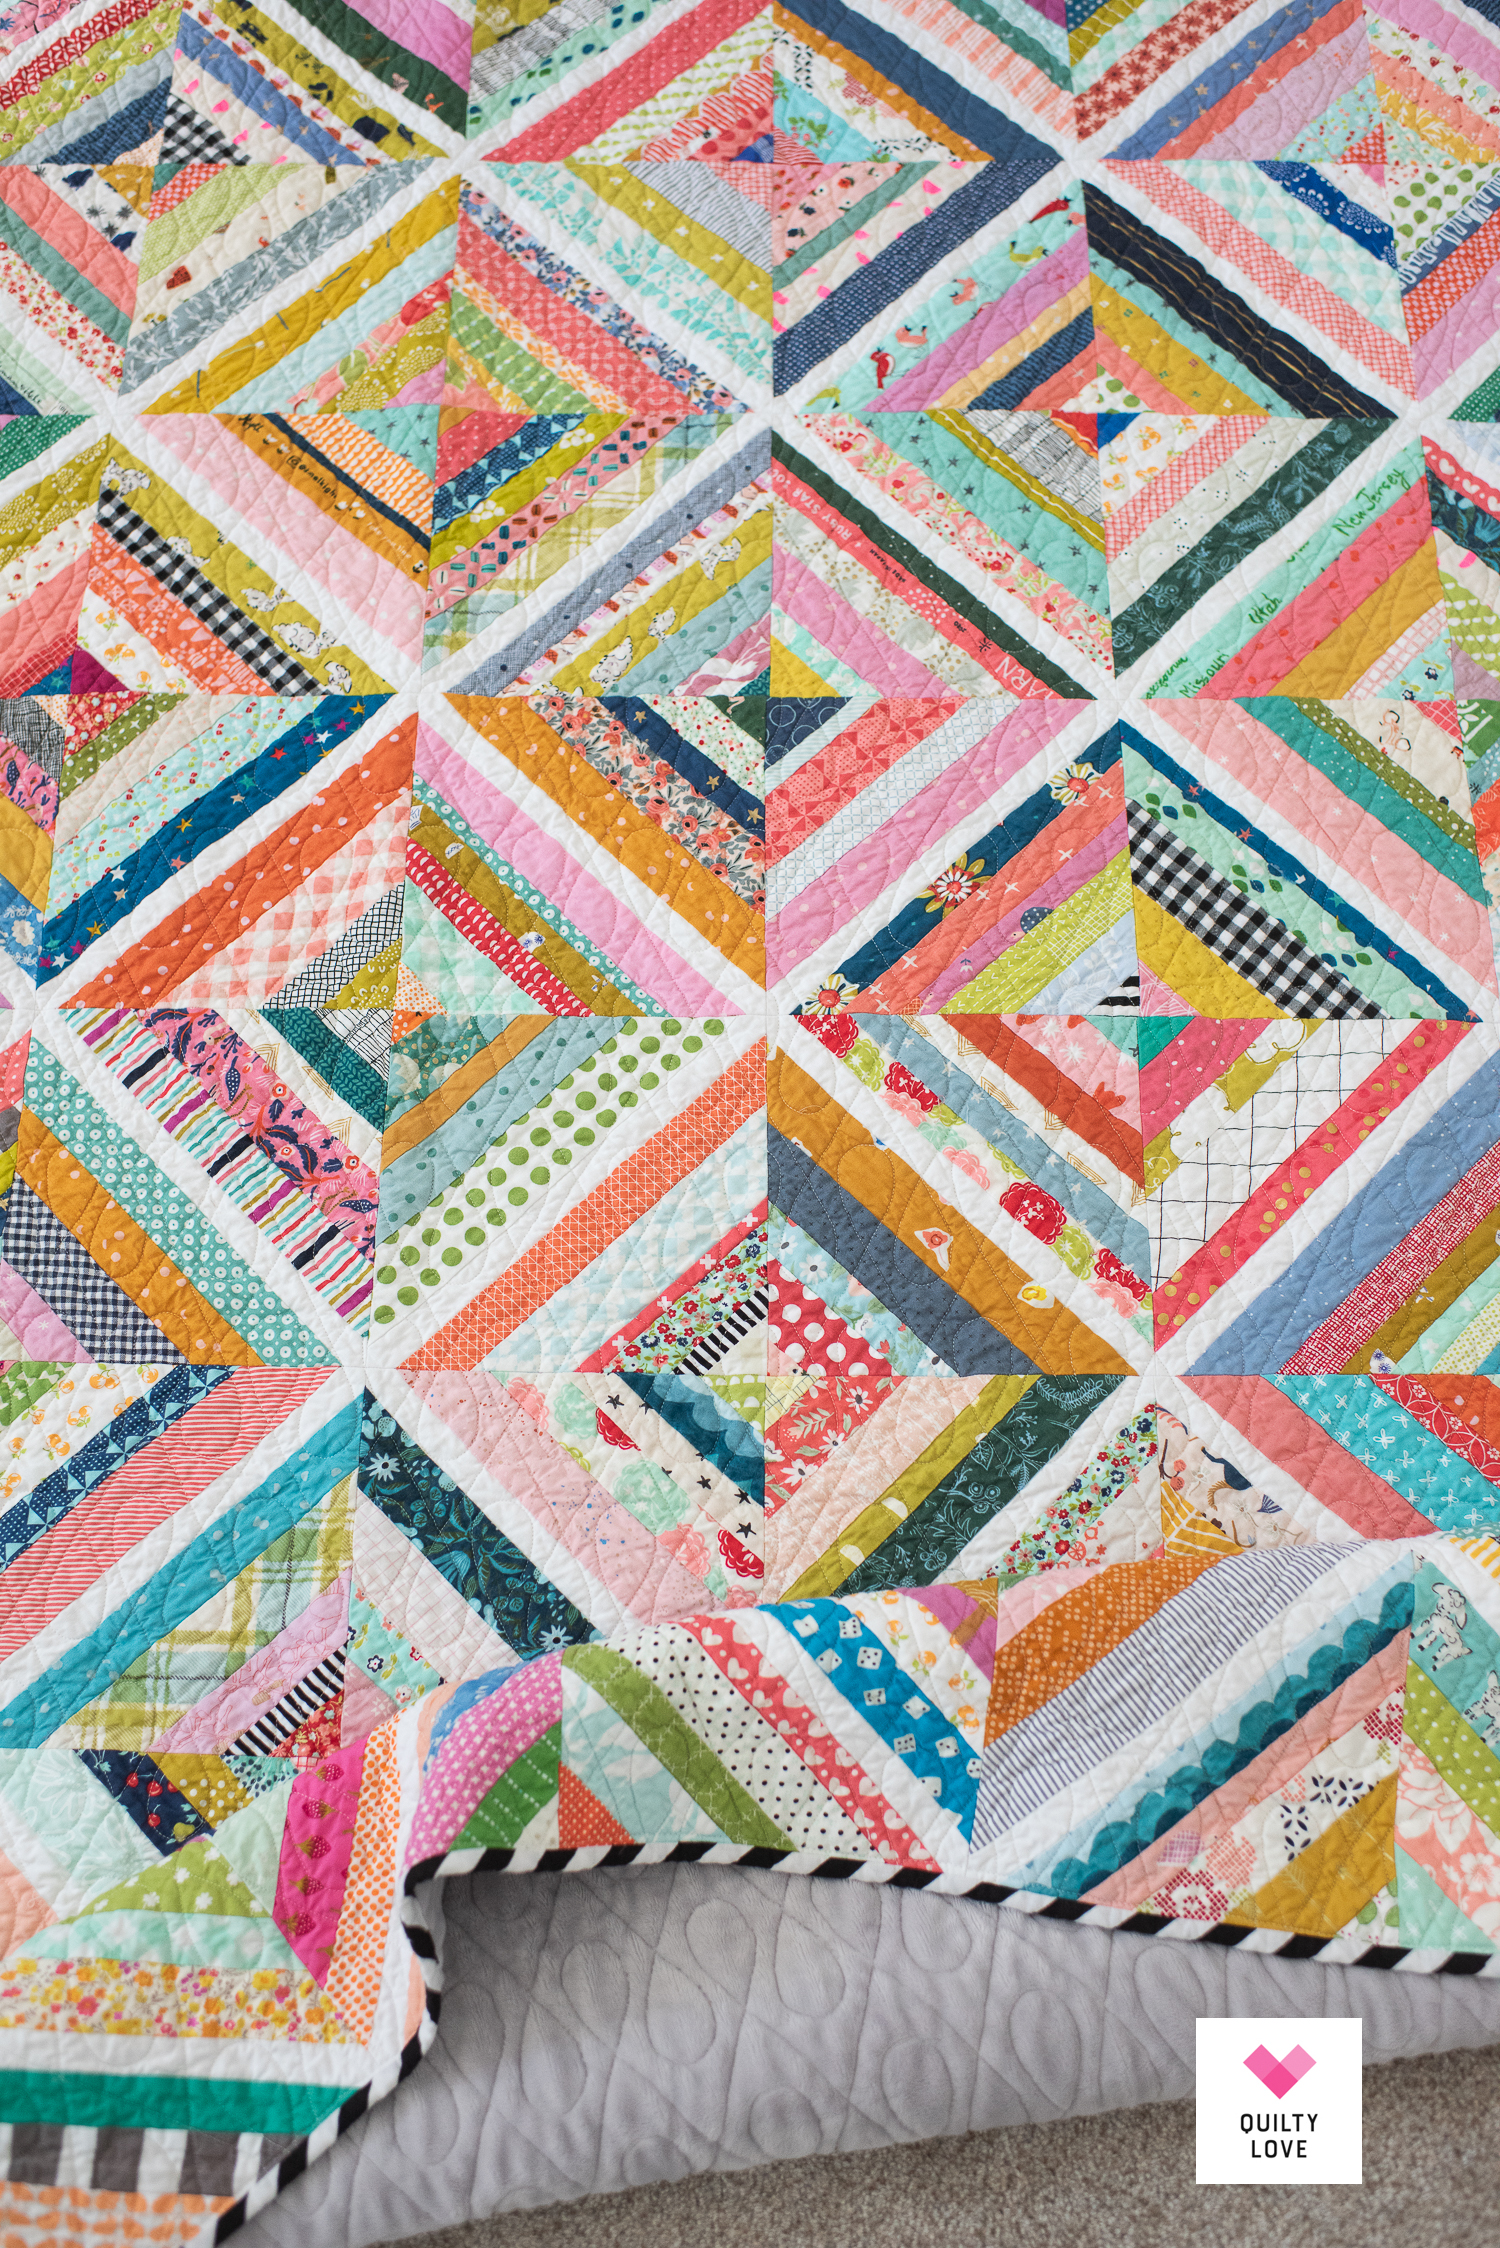
Long Arm Quilting
I debated about quilting this scrappy string quilt myself or sending it off to be quilted. In the end I decided to send it to Modern Textiles because I knew we would be using it and so I thought it deserved a pretty quilt design.
Well, that and time..lol. I have such limited hours these days so some things need to be taken off of my plate. Quilting is an easy one to give up since I love the look of long armed quilts so much.
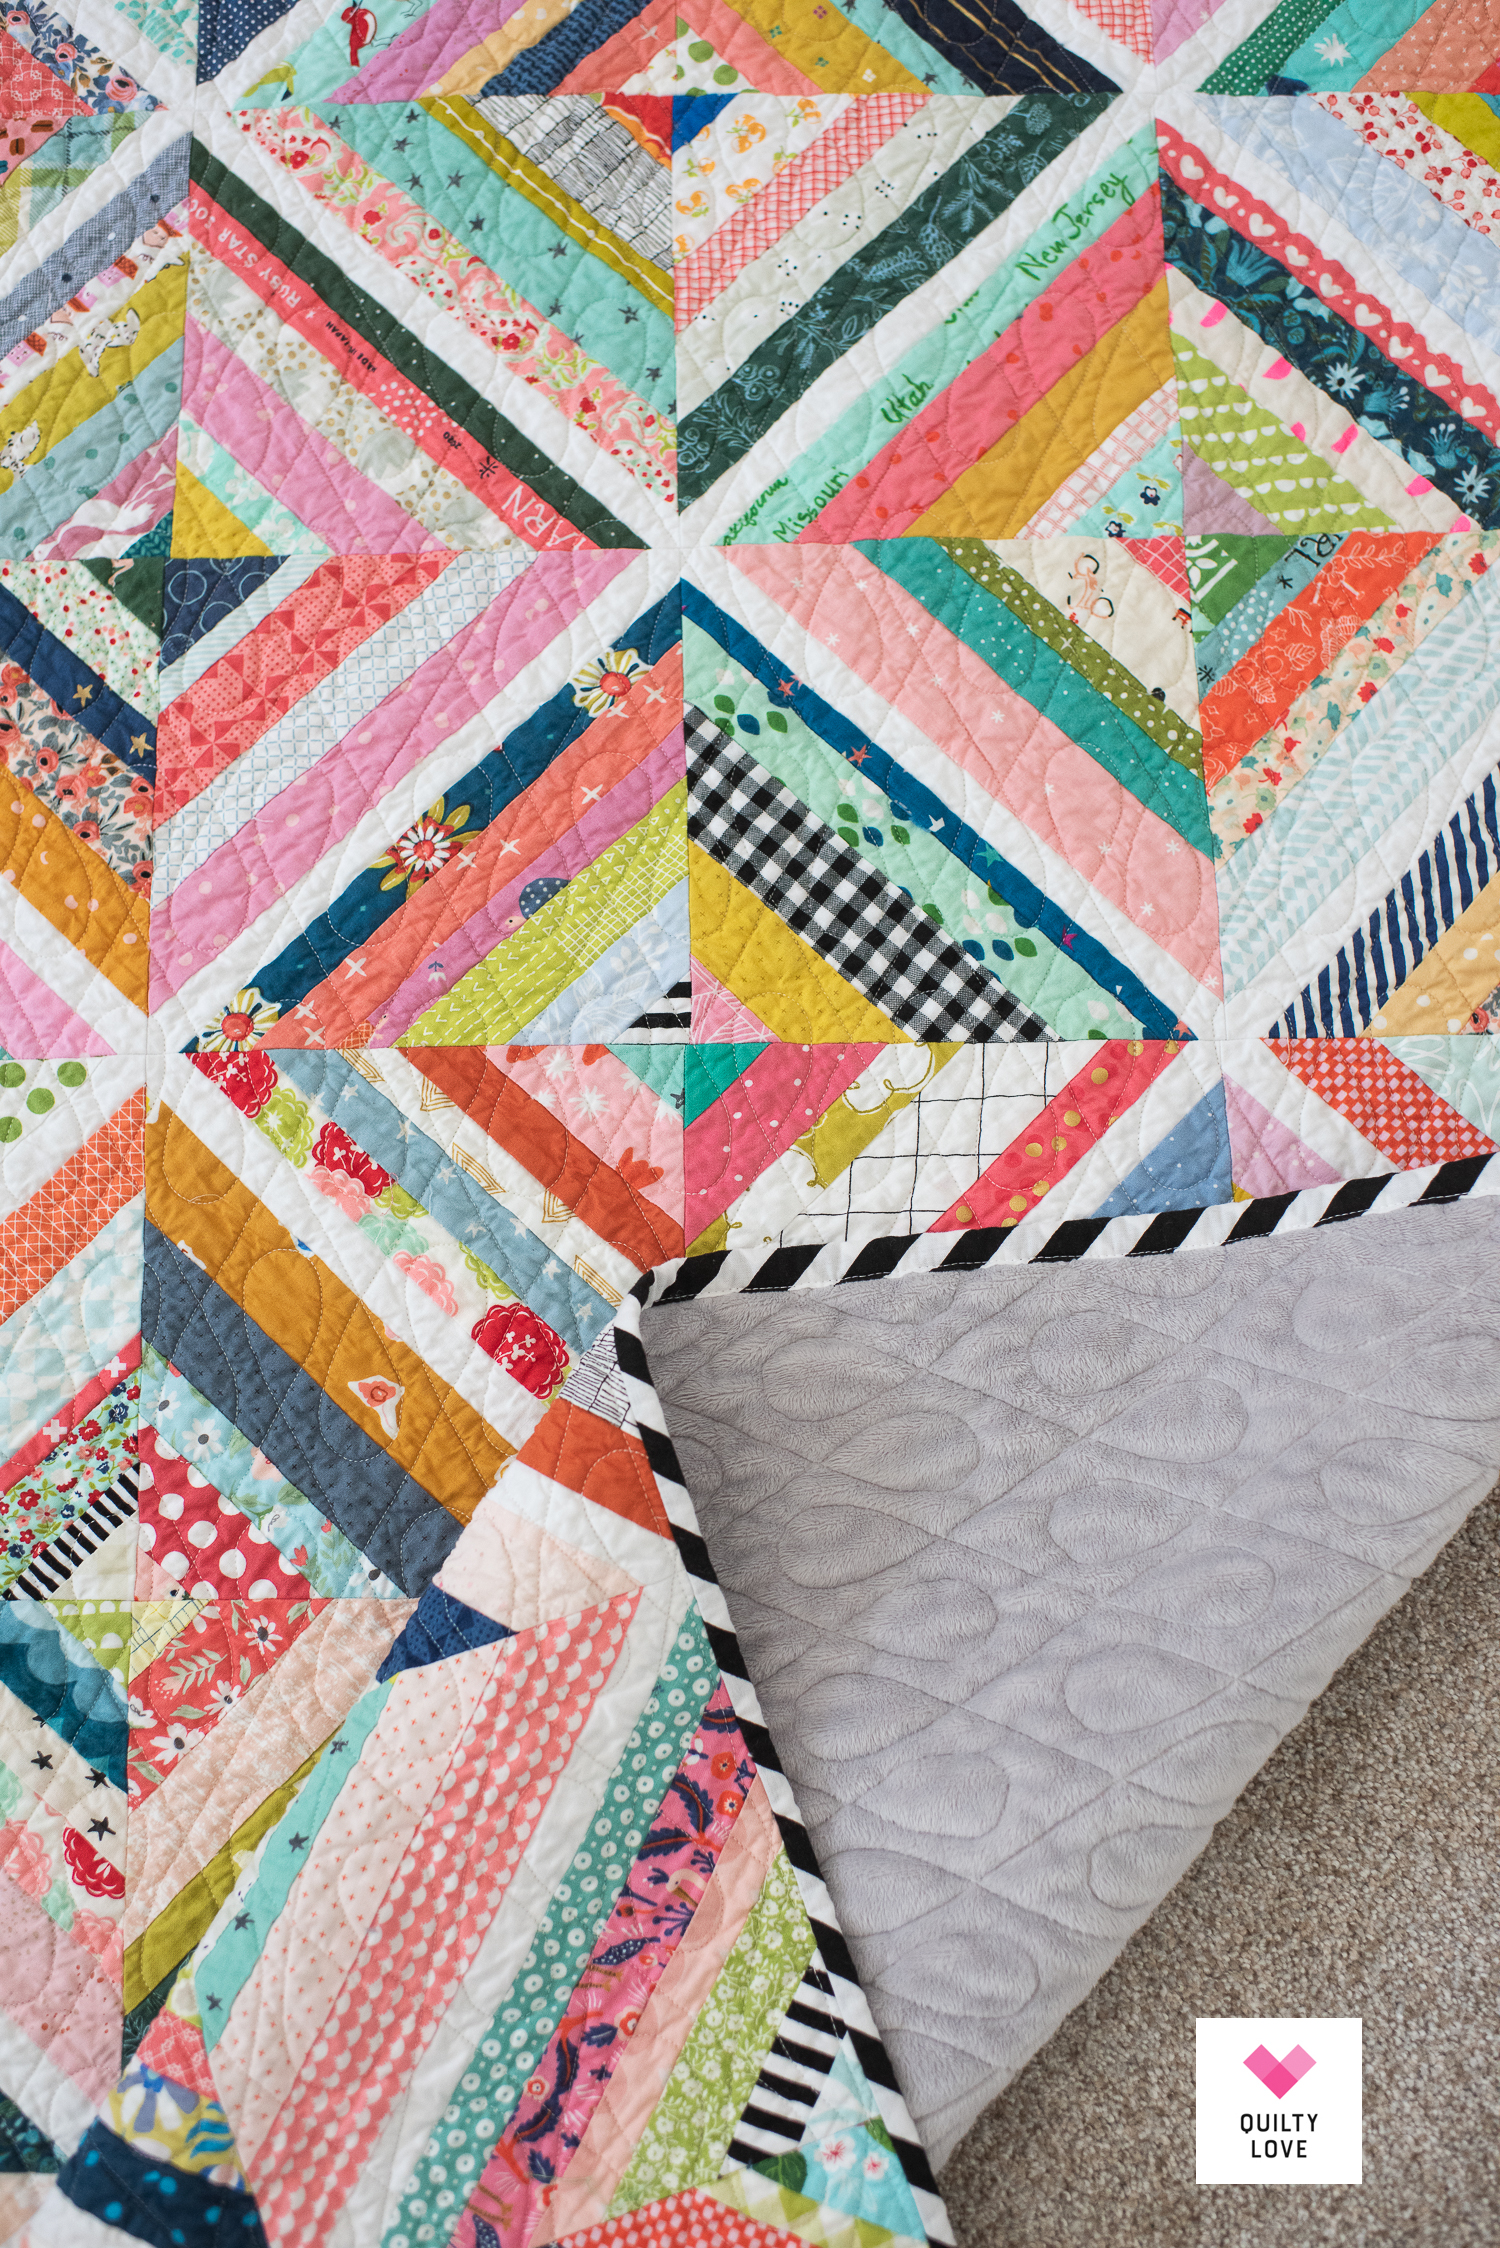
We chose the Wishbone pantograph on this string quilt because it is a looser quilting design that would make it easier with all of those seams and layers! Katie told me it quilted up just fine and there were no seam issues.
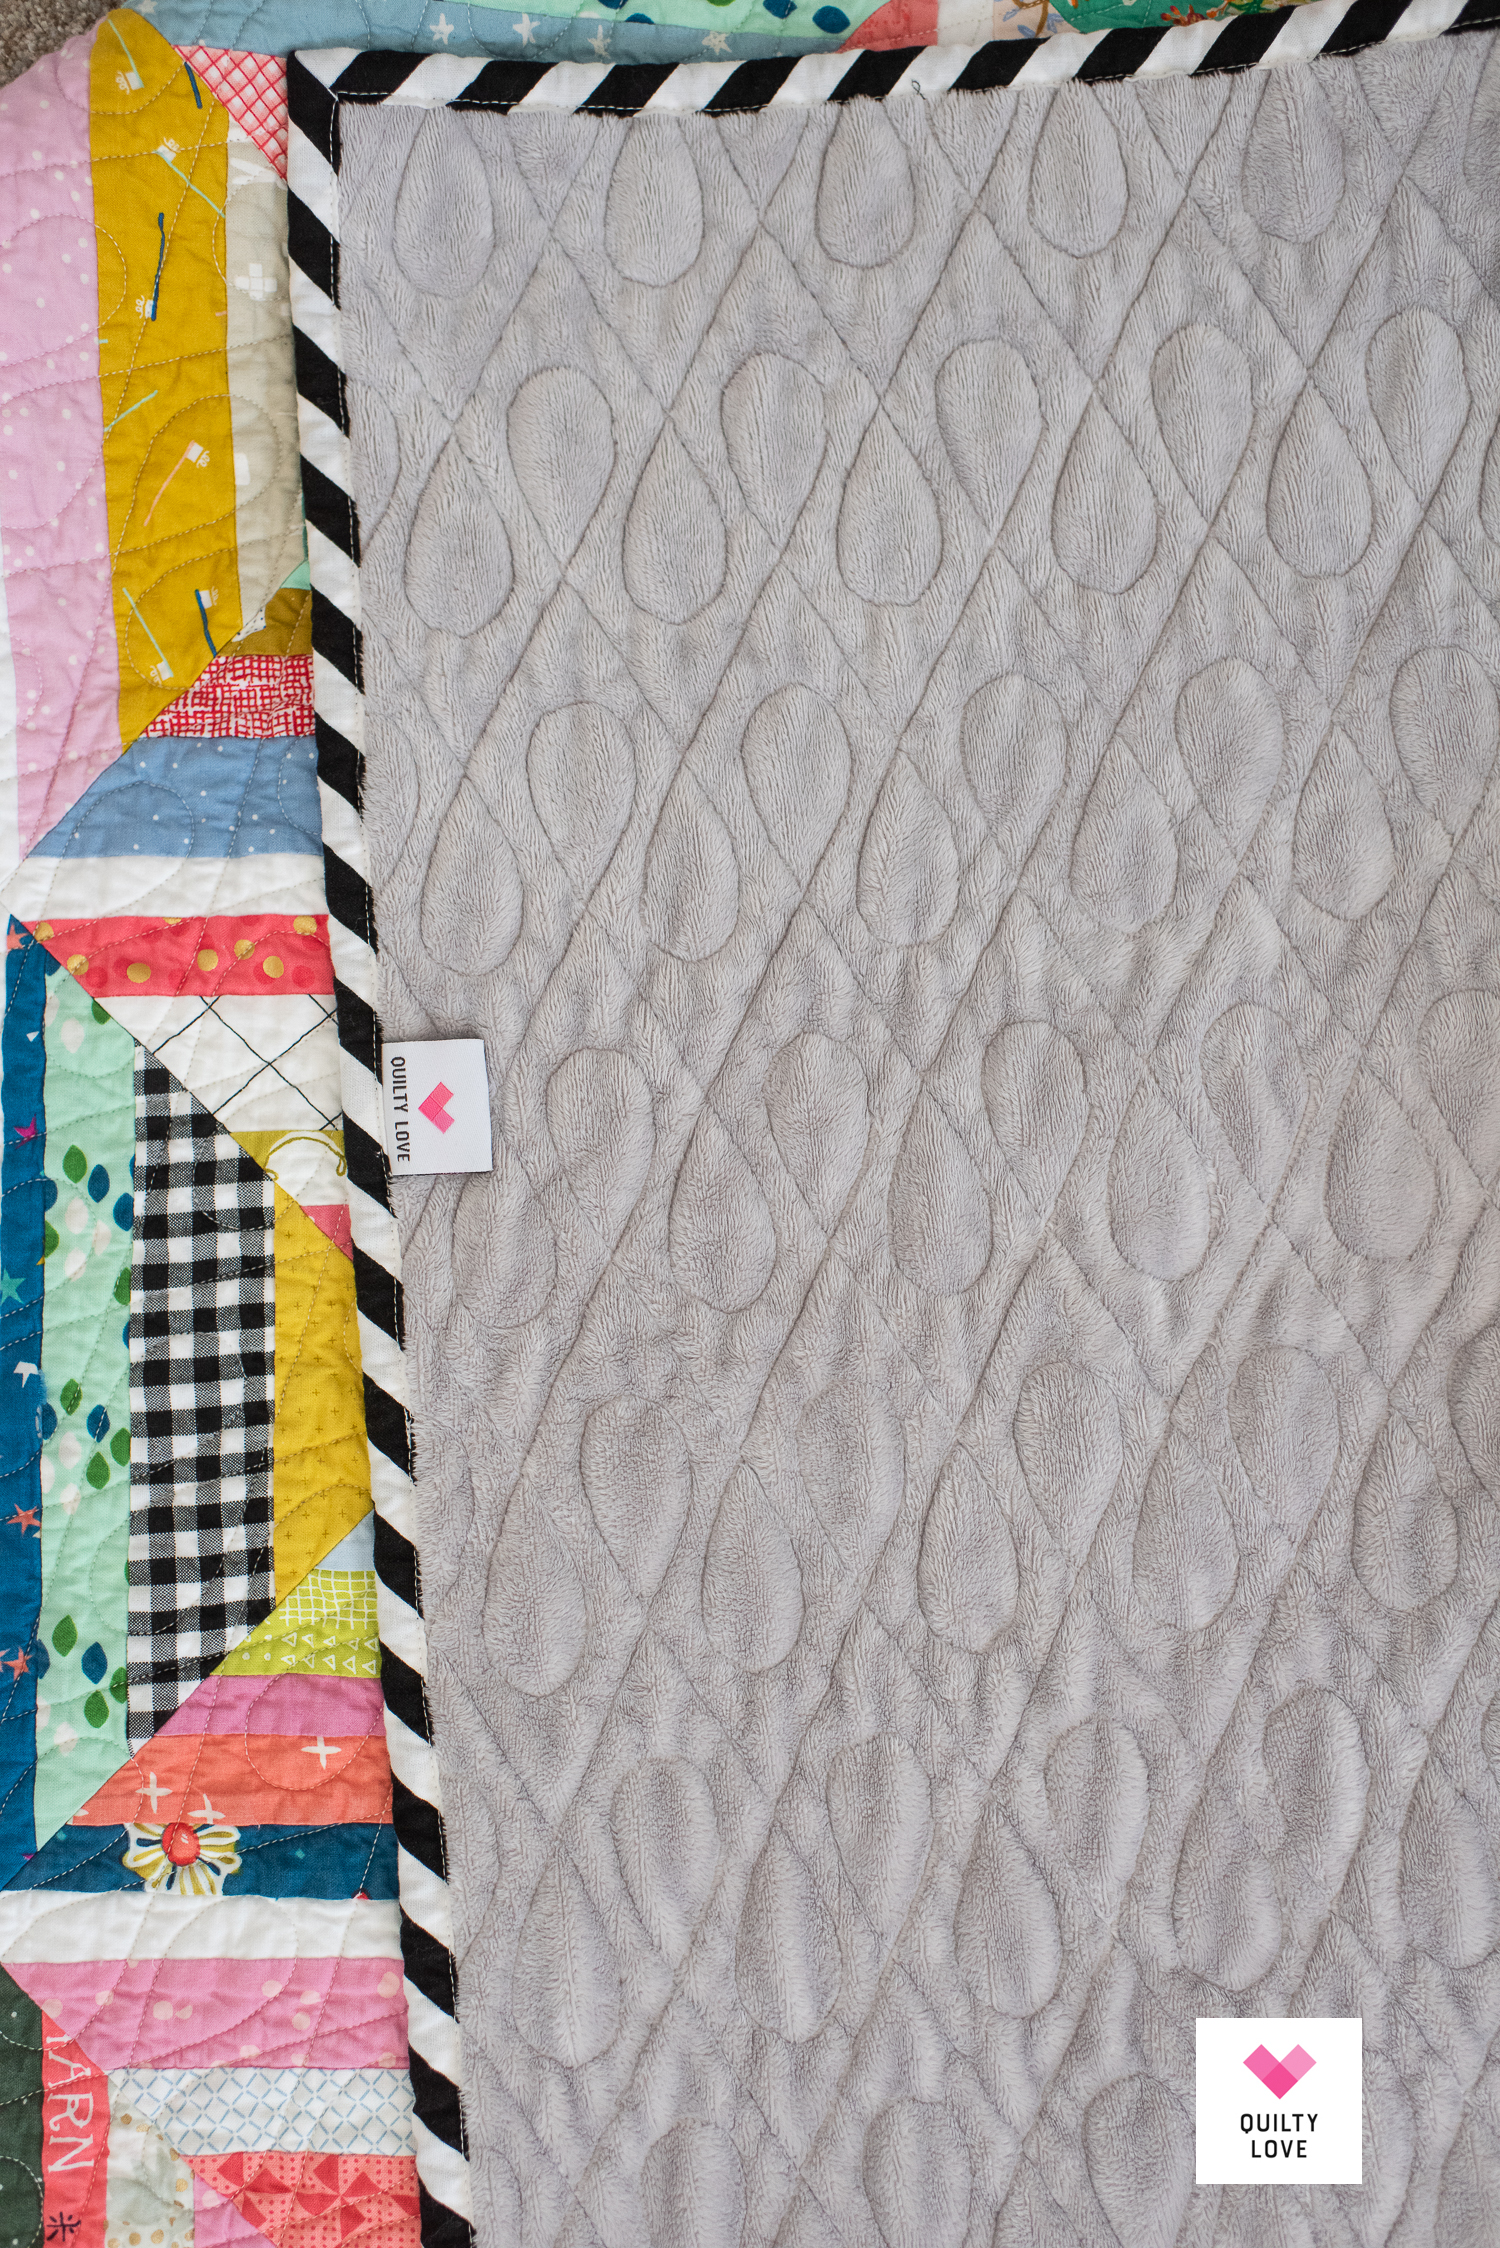
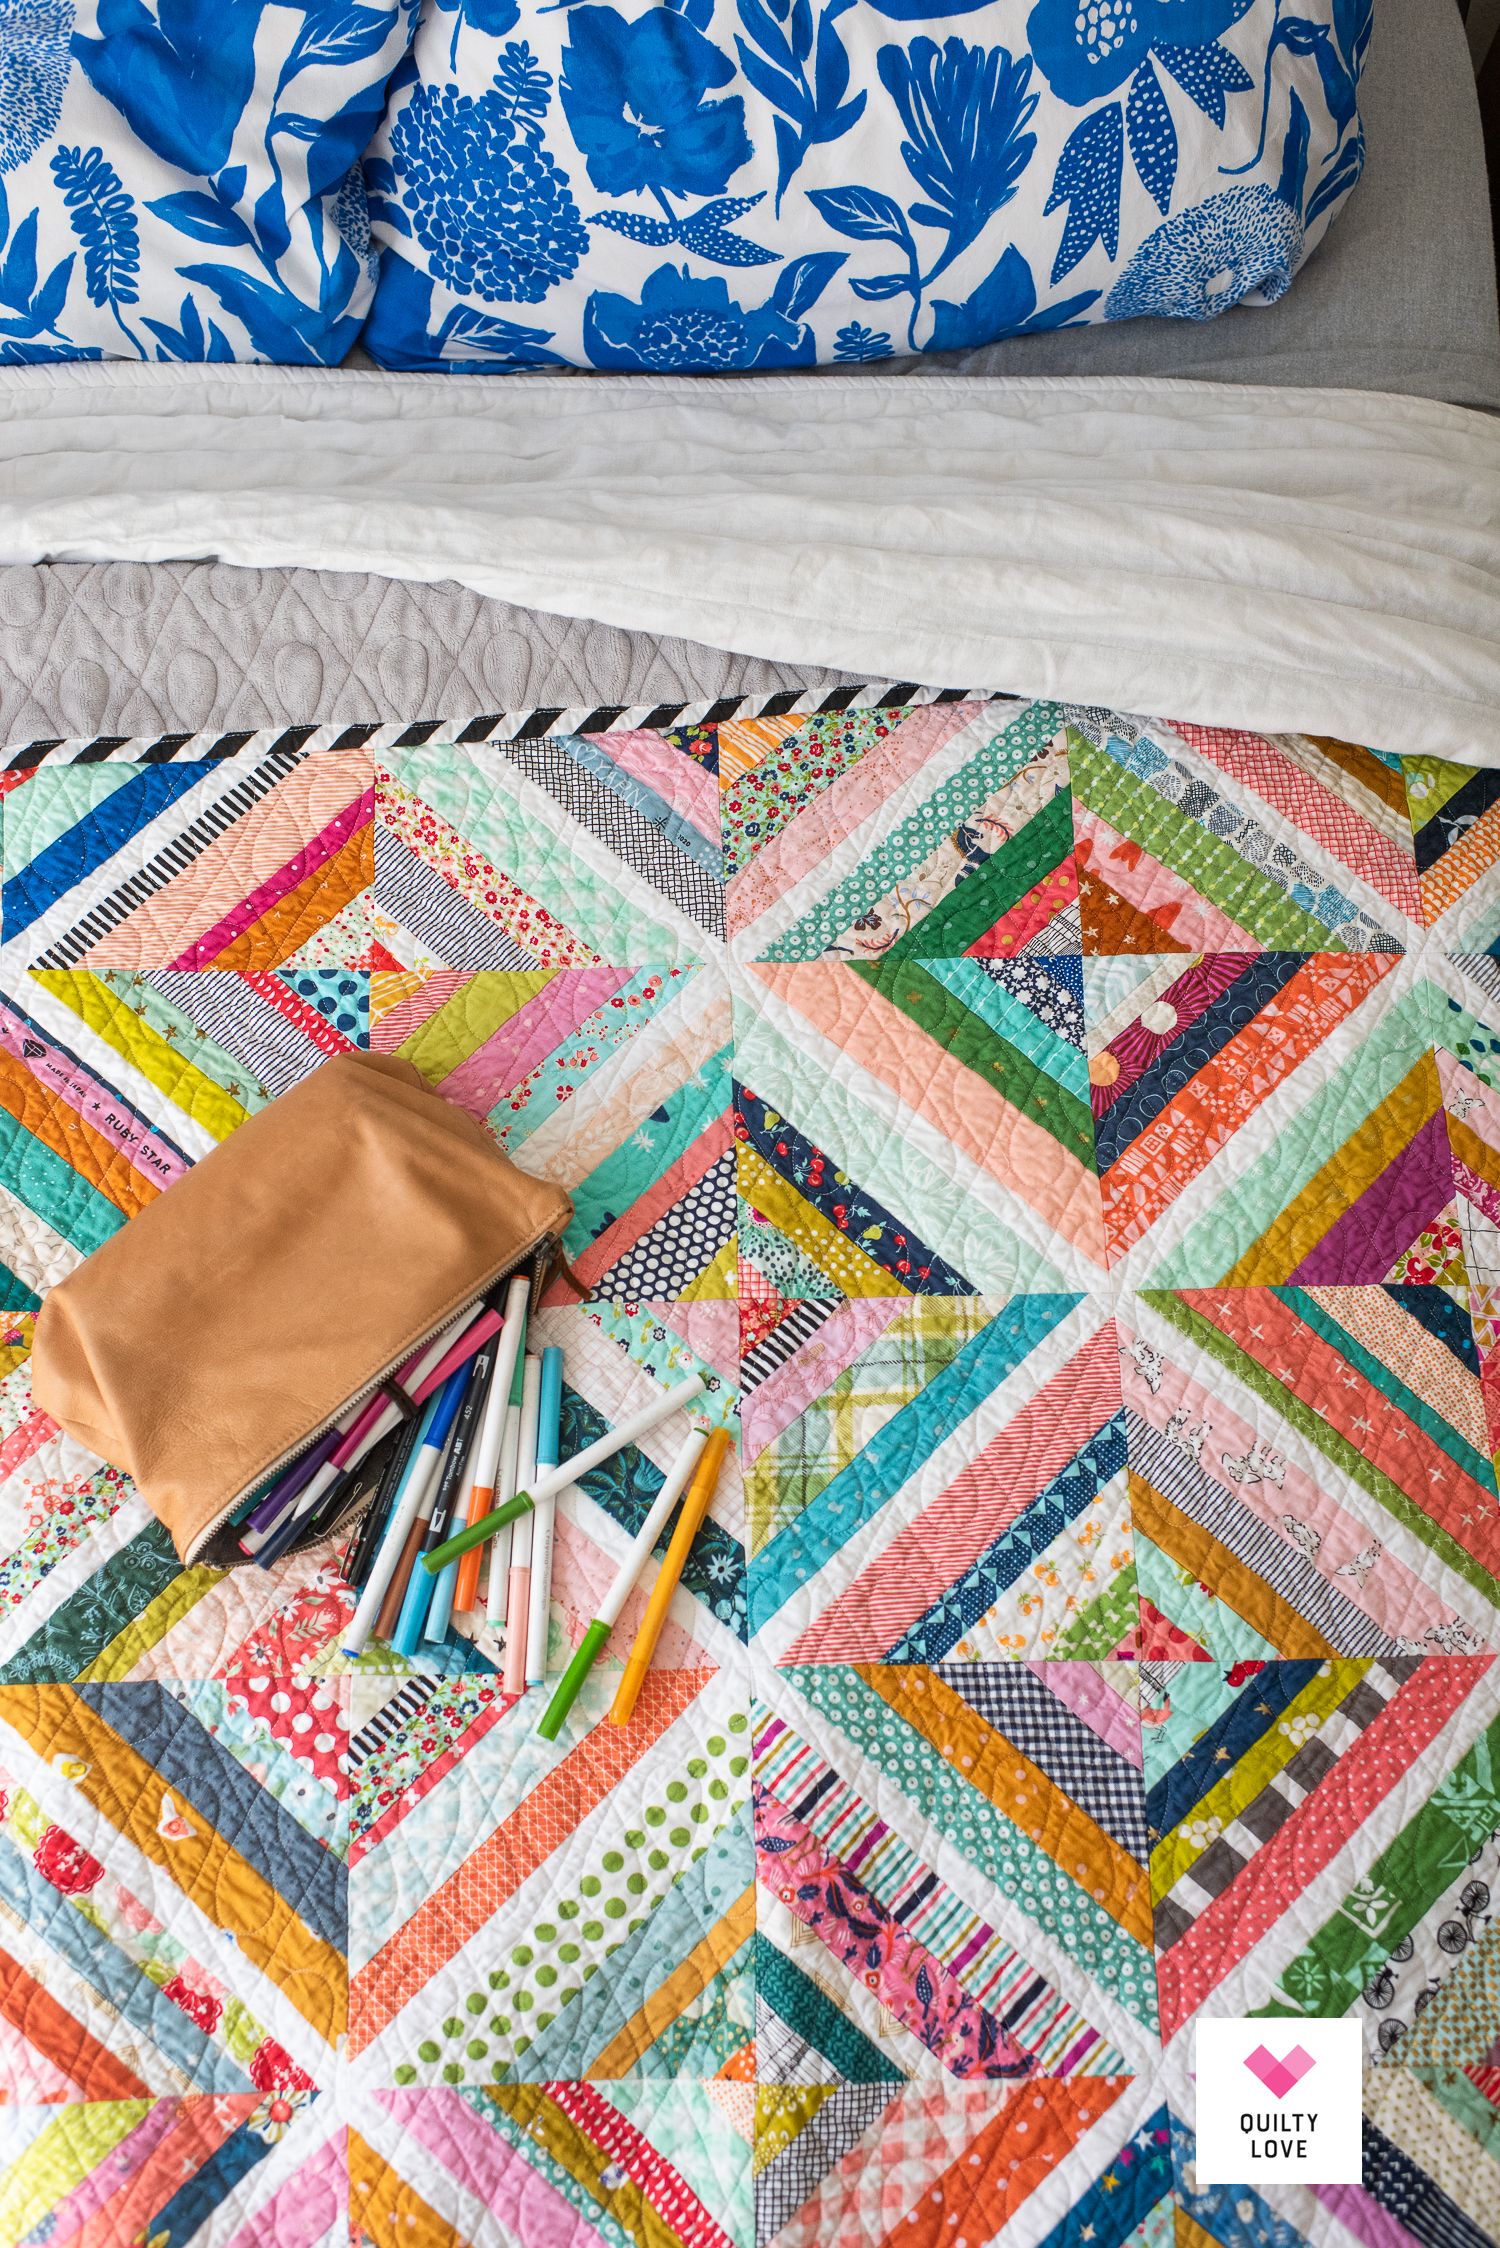
Striped quilt binding
I finished off this string quilt with a chunky black and white bias striped binding. I believe this fabric is from a Halloween fabric line. It’s Witchy Stripes from Hometown Halloween by Maywood Studios.
Minky quilt backing
Since I knew we would use this quilt I backed it in a Shannon Cuddle Minky! We all want the minky backed quilts so it’s a must if we are going to use the quilt. This is a Shannon Cuddle Wide minky in the color Platinum. If you are going to back your quilt in minky be sure to use the wide! Then there is no piecing necessary.

String Quilt Materials
Quilt Pattern: No pattern! There are lots of free tutorials.
Fabrics: Assorted scraps from my scrap stash
White sashing fabric: Kona Cotton White
Binding: Black and White stripe by Maywood Studios
Backing: Shannon Cuddle Wide Minky in Platinum
Pieced on my Janome MC6700p
Long Arm Quilting by Modern Textiles
