Finding tools and techniques that save time quilting means more quilts can be made! That’s why I was pretty impressed with this quilt cutting time saver and wanted to share it with you all.
I posted a short cutting video on Instagram a while back asking for fabric cutting shortcuts and people kept mentioning the Creative Grids Stripology ruler. I had never heard of this so I immediately looked it up.
Holy Hannah this thing is clever! I bought it instantly.
I have a tendency to make quilt designs with lots of little pieces…ha. So the Stripology ruler has been such a time saver for me! Need to cut 800 2.5in squares… umm yep, give me the ruler 😉
What is the Stripology Ruler?
The Stripology ruler is a quilting ruler that really speeds up fabric cutting. It’s the perfect ruler for strips, small squares and skinny fabric strips like one inch.
How does the Stripology ruler work?
This quilt ruler is super handy because you place it once and make many cuts at once. No lifting and shifting your ruler as you cut. This also results in super accurate cutting! If you want to see some improvement in your piecing, it starts with cutting! Seriously!
My favorite thing to use the Stripology ruler is for 2.5in strips and 2.5in squares. It is so amazingly fast at cutting these smaller sizes.
How to use the Stripology ruler to save time quilting step by step:
(Find video clips of this ruler in action down below.)
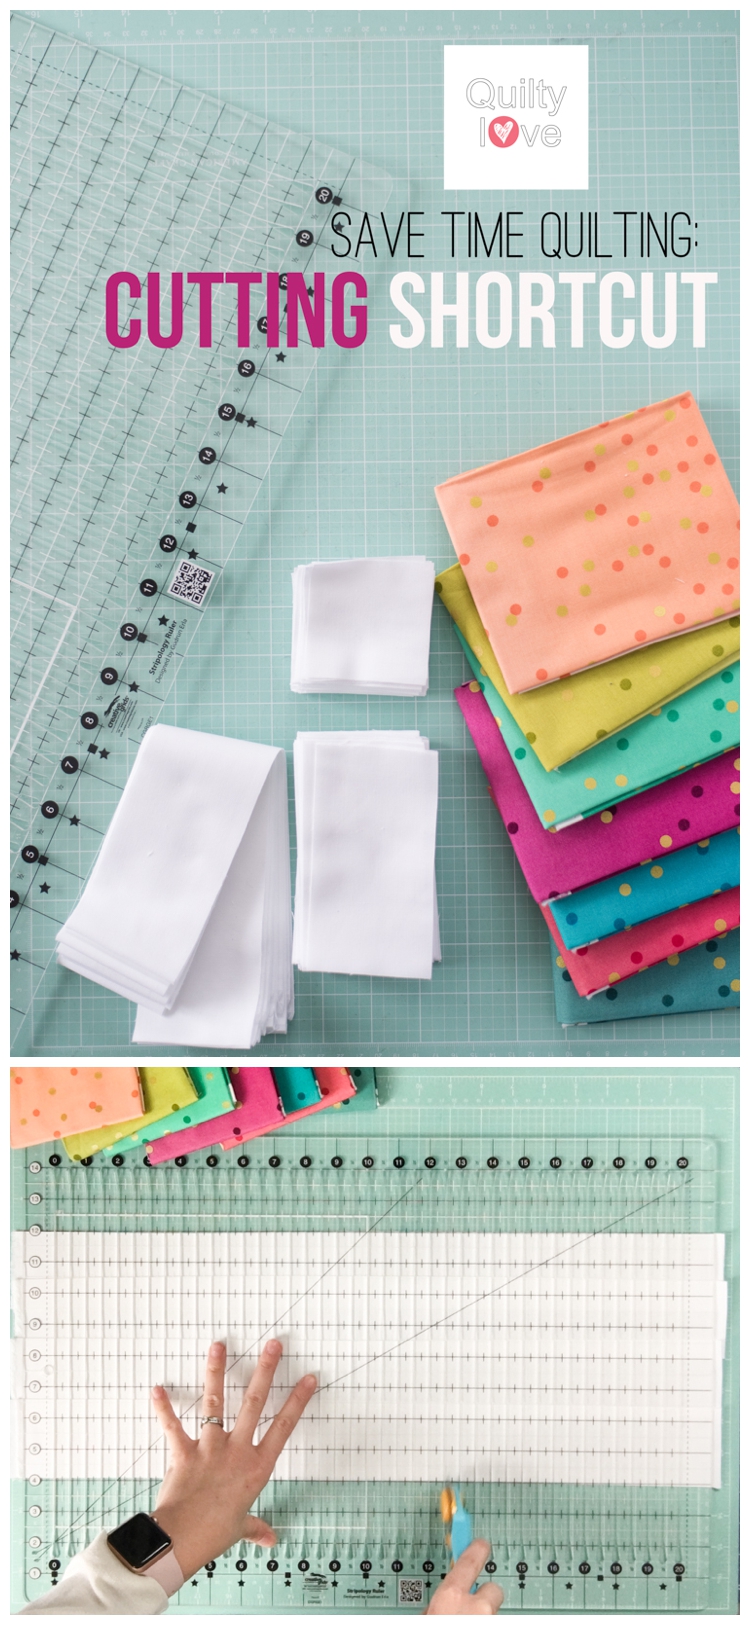
- To cut a width of fabric like I do below, first fold it in half.

- Line the folded fabric up on a line on your cutting mat. It’s always a good idea to use the lines on your mat to keep things nice and straight.

- Place the Stripology ruler over the folded fabric. This is where I wish this ruler was tiiiny bit wider. A folded width of fabric will juuust fit so be sure to center the ruler so the rotary cutter goes end to end here.
- Use your cutting mat to line up a line on the ruler with a line on the mat.

- Use your rotary cutter and start cutting! This ruler is nice and non slip and is easy to read. Common sizes are marked with shapes. Just find the shape and cut. No measuring, no counting, no thinking 😉

- Continue cutting your specified size the whole way through. I’m cutting 2.5in strips so I just cut on each square marking.

- And now you have perfectly cut 2.5in strips! You can cut 8 strips before adjusting the ruler.

Go from strips to squares
Now lets turn these 2.5in strips into 2.5in squares. This is where the real magic happens 😉
- Place your strips on your cutting mat. Use the lines on your mat to place them nice and straight.

- Continue placing the strips on the mat using the lines to keep them straight. I overlap my strips so I can cut more of them at one time.

- Carefully place the ruler over the strips the same as we did for the yardage. Line up the ruler with lines on the mat.

- Start on one edge and cut on the 2.5in marking the whole way through the ruler.


And BAM! Tons of 2.5in squares cut in minutes flat! I’m only showing 4 strips stacked up here but I’ll cut 6-7 strips like this at one time. Just cut slowly when you overlap them like this! And a new sharp blade helps. I just find this ruler so clever. Just think about how you can save so much time quilting!

Stripology ruler in action:
Find more of my favorite quilting tools and basics here.
Tools used in this tutorial:
- Creative Grids XL Stripology Ruler
- Olfa 45mm rotary cutter
- Riley Blake Cutting Mat
- My favorite white fabric – Kona Cotton in White
- The colorful ombre fabrics are VandCo Confetti Ombres
I really like to keep things simple when it comes to quilting notions and fabrics. This ruler really is more of a splurge so when you find yourself cutting strips and small squares a lot, it might be time to grab one. If you don’t like the cutting steps in quilt making and really want to save time quilting I think you will love this quilt ruler.
This ruler really comes in handy for my Ombre Gems Quilt Pattern.