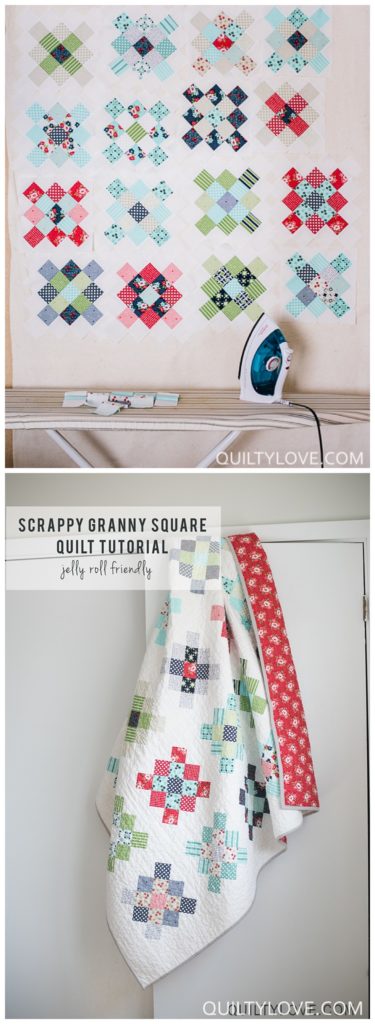
Scrappy Granny Squares Quilt Tutorial
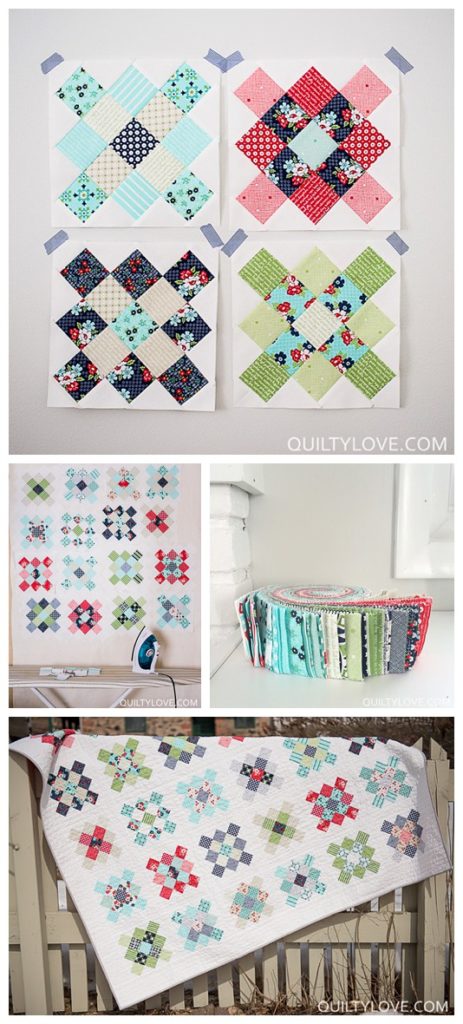
 A scrappy granny squares quilt has been on my wish list for some time now so when I snagged a jelly roll of Bonnie and Camille’s Daysail fabric I knew it would make for a fun version. It would be super cute in this current fabric of theirs too.
I opted for a scrappy version where multiple fabrics are used in each block. I’m always on the look out for a good jelly roll quilt and this one fits the bill perfectly.
The granny square quilt block is pretty simple to make and a great way to use up a jelly roll. This quilt used about 3/4 of a jelly roll.
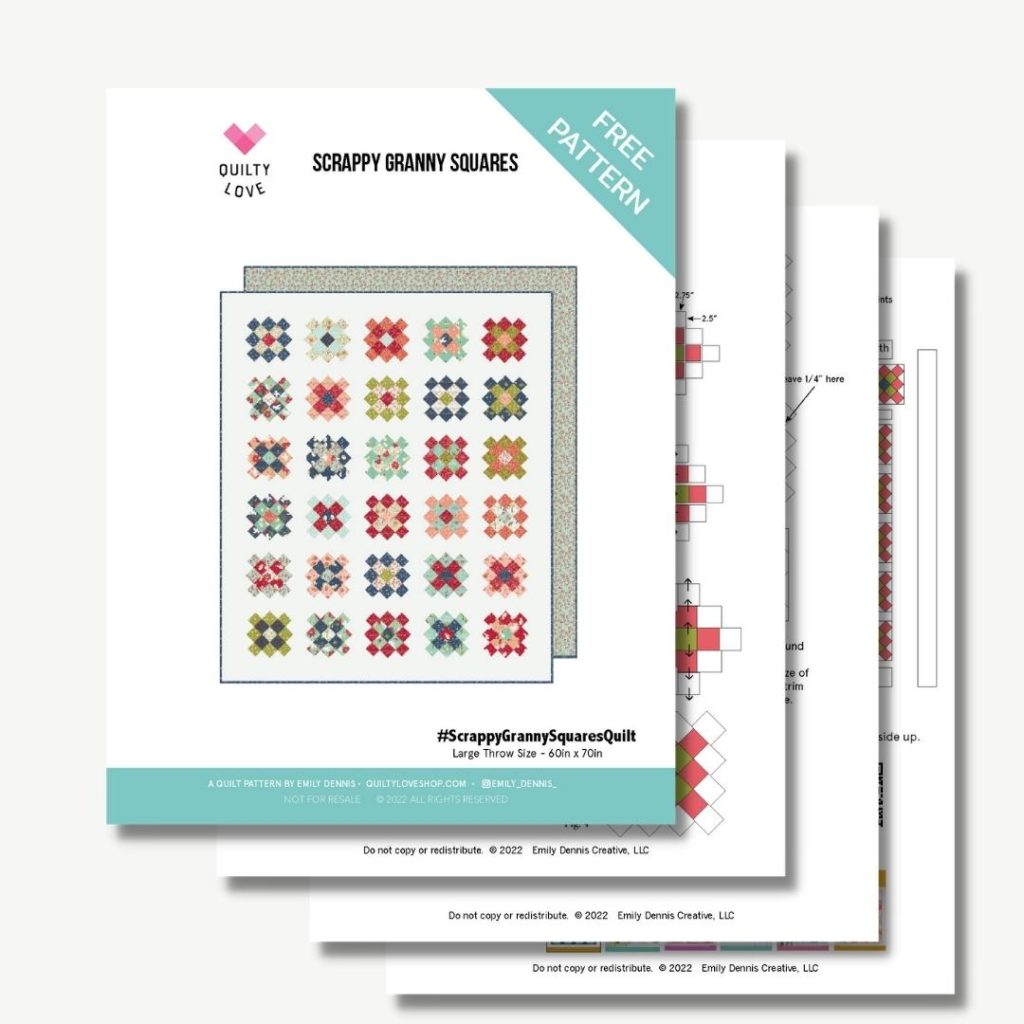
Follow the tutorial below or download the pdf instructions here.
Scrappy Granny Squares Quilt Tutorial
Each block contains:
» 12 – 2.5″ white squares (or 2.5″ x 2.75″ for easier trimming)
» 13 assorted 2.5″ squares [ 1 center, 4 middle color, 8 outer color ]
Fabric Requirements:
» A partial jelly roll
» 3.5 yards background (white) fabric (x36 2.5in x WOF strips and x6 4.5in x WOF strips)
Number of Blocks: 30
Quilt Dimensions: Approx: 60″ x 70″
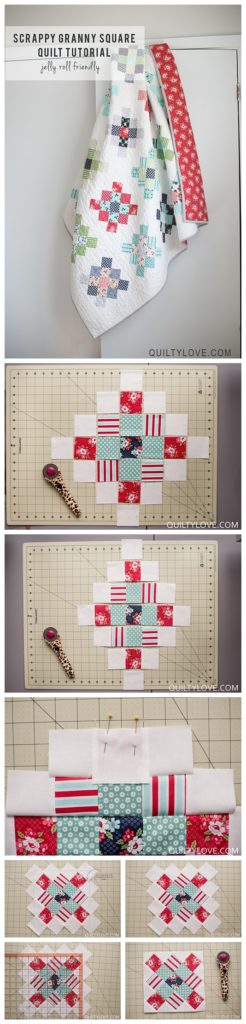
Step 1
Lay out each block as shown below. Use a different color for each round of squares.

Step 2
Sew together rows using 1/4″ seam allowance. Press seams open or each row in the opposite direction to nest your seams.
Step 3
Line up seams and sew rows together. The top 2.5in square is centered and sewn as shown below. Press seams open or away from center.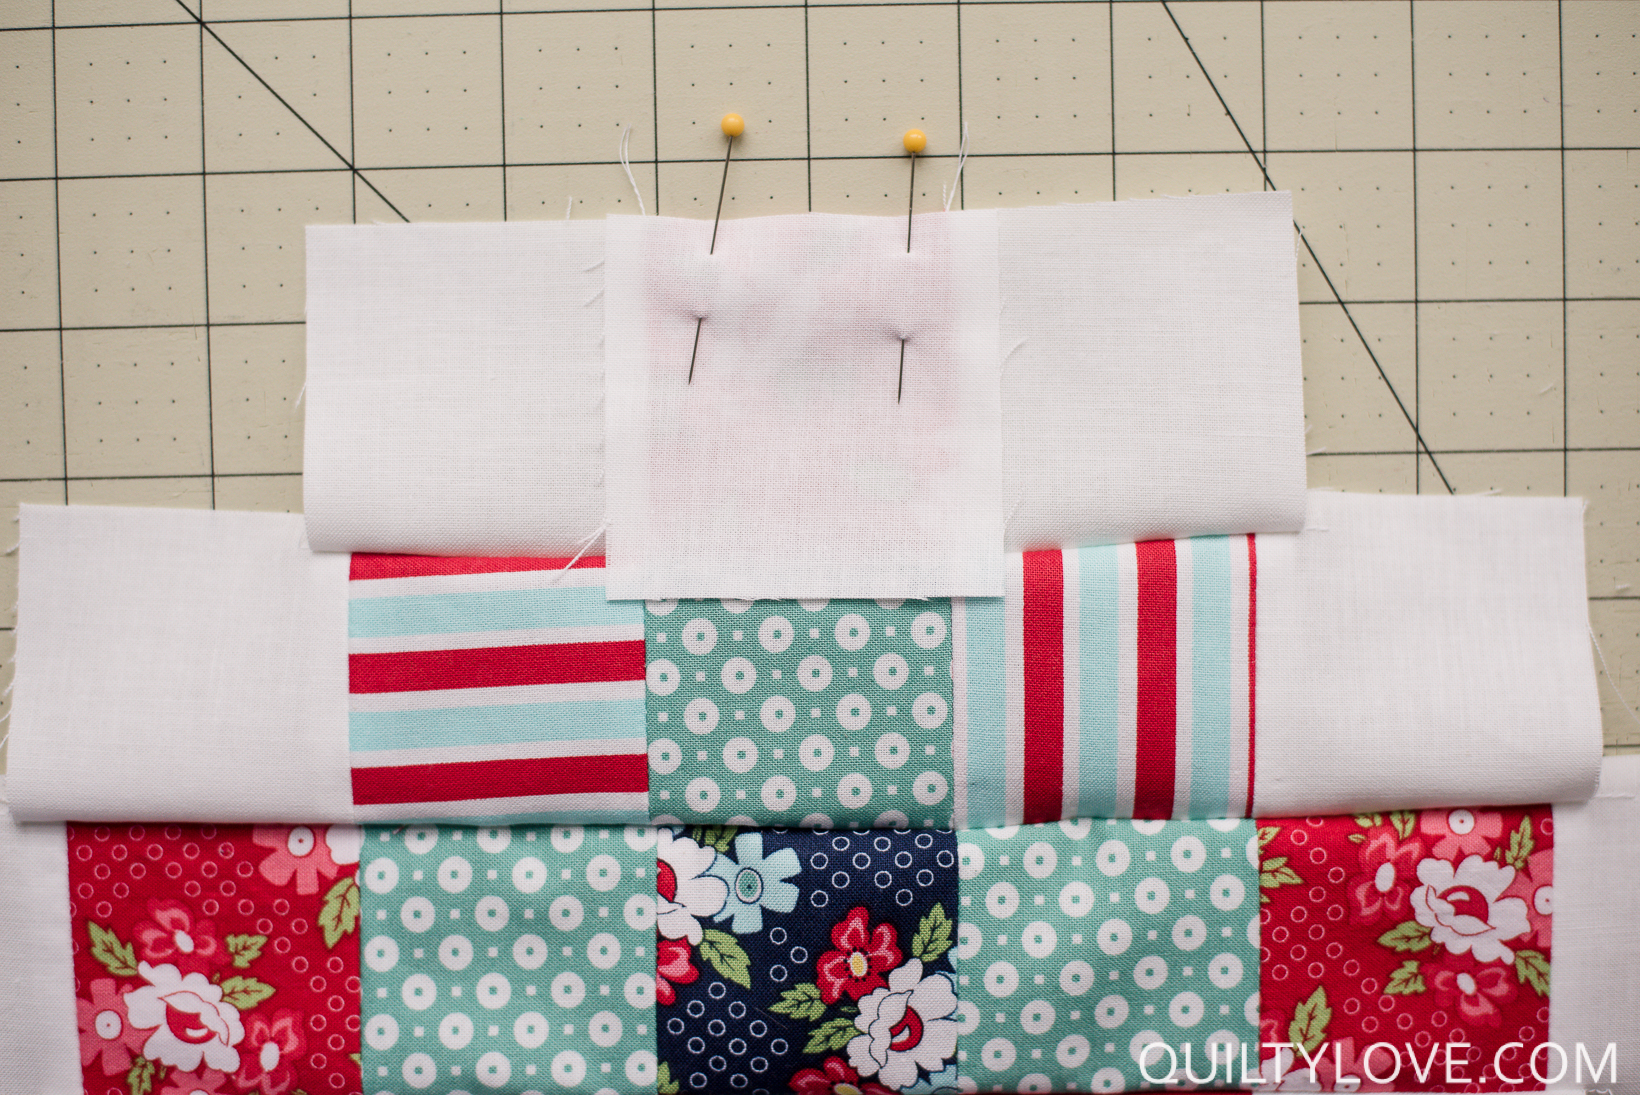
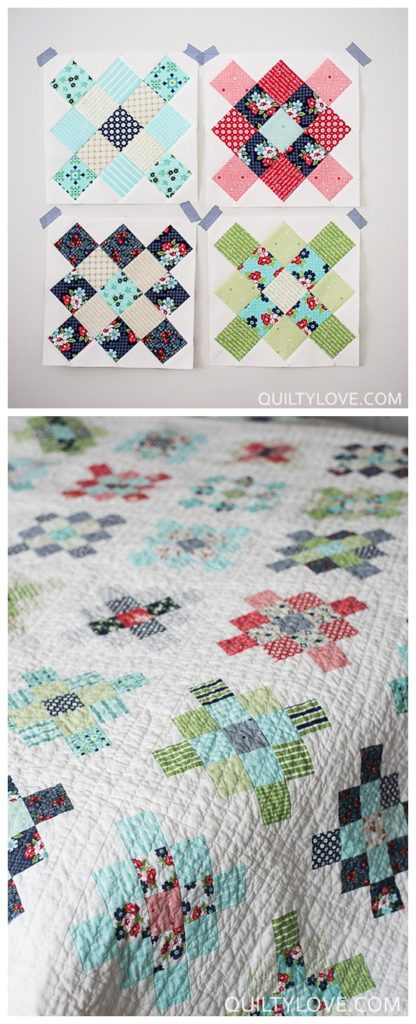
Your granny square block should look like this once rows are sewn and pressed.
Step 4
Trim block square block leaving 1/4″ – 3/8″ from each point. Trim to 8-3/4in – 8-7/8in square. Measure a few blocks before trimming to see what size your blocks are turning out. Then trim each one to the exact same size.
Step 5
-
- Layout granny square blocks as desired.
- Add 2.5″ white sashing between quilt blocks as you sew your rows together.
- Sew together quilt top in rows. Add 2.5in wide sashing between each row.
- Add 4.5″ white borders to the top and bottom.
- Add 4.5in white borders to each side.
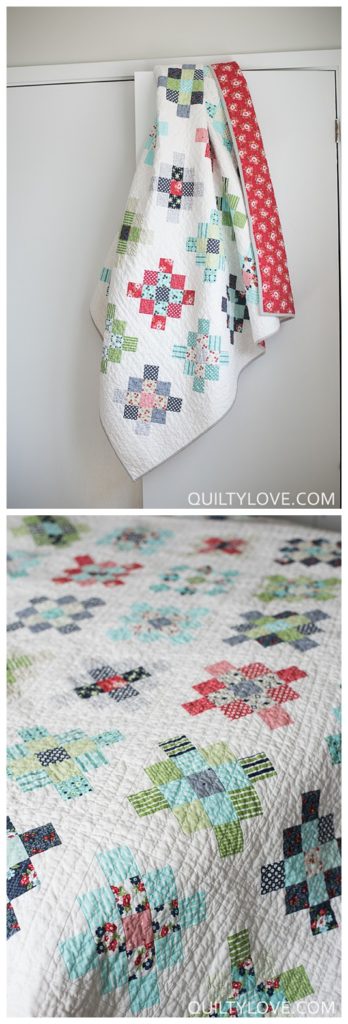
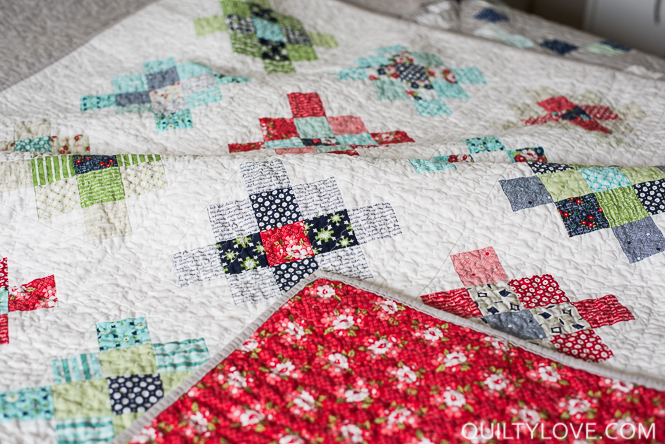
 Each scrappy granny square block is different and unique. Such pretty quilt blocks! I square up my quilt blocks using this ruler. It’s one of my favorites!

Be sure to press and starch each scrappy granny square block! There are a lot of seams in these blocks so starching helps! This is my favorite starch.


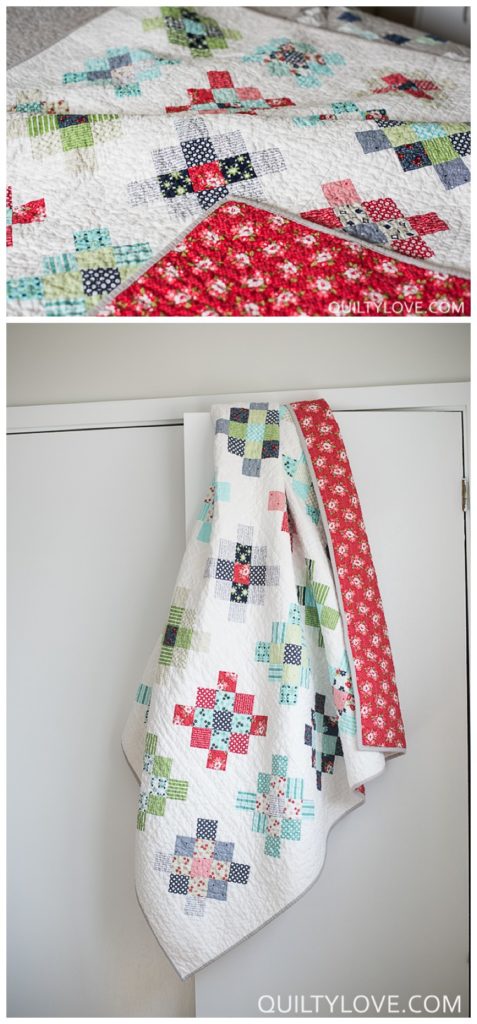
Nothing better than a freshly crinkled quilt out of the dryer! 🙂 I’m not always the most careful when I wash my quilts but I did throw in a few color catchers with this bright red backing.
I machine quilted the granny squares quilt with my tried and true zig zag. I should really branch out more on quilting designs 😉 The zig zag stitch is done using my walking foot. I use this one for my Janome machine.
Find the zig zag walking foot quilting tutorial here.

This ends up being the perfect size throw quilt. I gifted this one to my mother in law 🙂


Supplies Used:
Robert Kaufman Kona in White
Warm and White batting
Bonnie and Camille jelly roll by Moda
Check out my full quilting resource guide here.